
TGIF!!!!!
Let's head into the weekend with a fun project from Suzanne using our July Kit - For the LOLs.....

Hi everyone. The July Kit from Aunty Vera Scrap and Craft is so much fun and I really had a hard time deciding what to make because I had so many ideas pop into my head. I decided to make a Loaded Pocket in the end because you can add so many fun elements to one of these creations.
I followed a wonderful tutorial from Bona (LiveLoveScrap) on YouTube (Stand Up Loaded Bag Flip) for this project and she does an amazing job. Take a look at her tutorial and you will see how easy it is to make one of these fun papercraft items.
You can see Bonas (LiveLoveScrap) Stand Up Loaded Bag Flip video HERE.
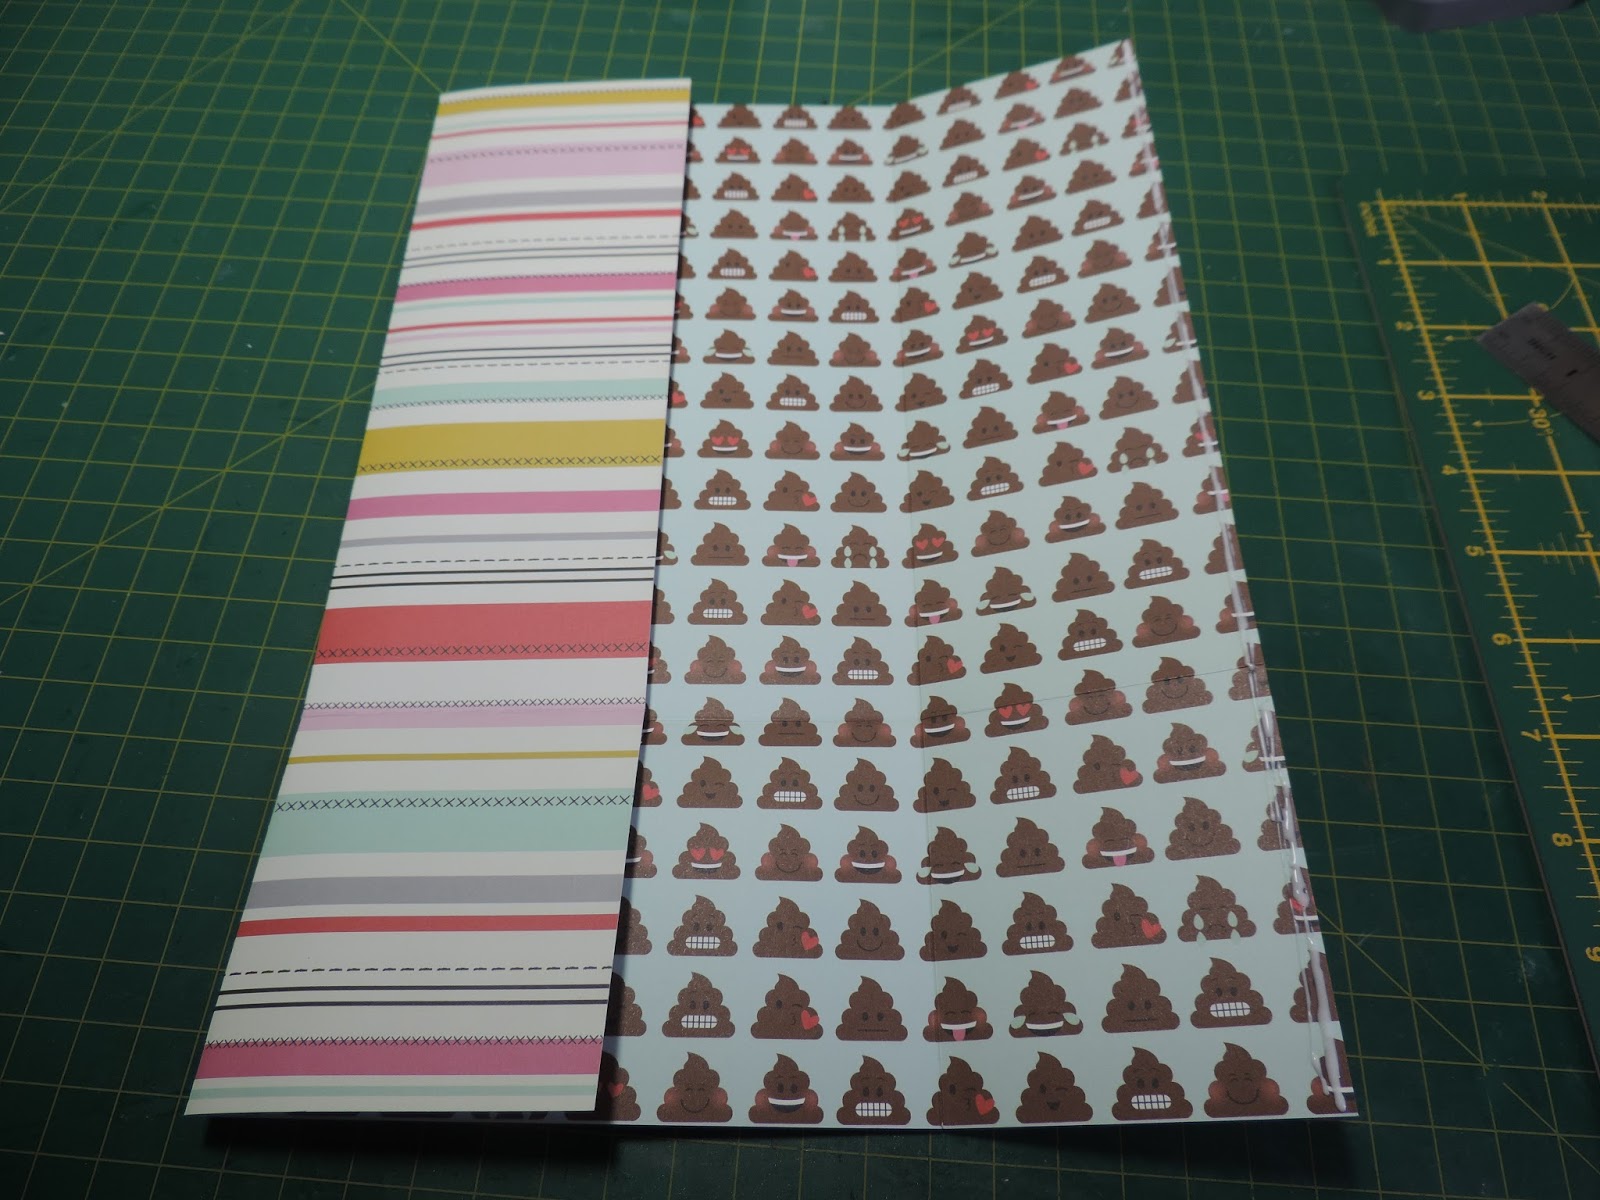
You need a piece of 12 x 12 double sided paper to start the project and I chose the one with the lovely stripes and faux stitching as the base of my loaded pocket. It is very difficult to describe in words how to make a loaded pocket, but here are a few pictures that will give you an idea of how easy it really is.
Here are the things from the July kit that I used. The 12 x 12 decorative paper, pebbles tag frames, emoji paper clips, sequin ribbon and the emoji dies.


 |
| I used this die from my stash also. |
 |
| the 12 x 12 paper I chose as the base of my loaded pocket |
 |
| score at 3 1/4 and 9 turn left 90deg and score at 8 1/2 inches |
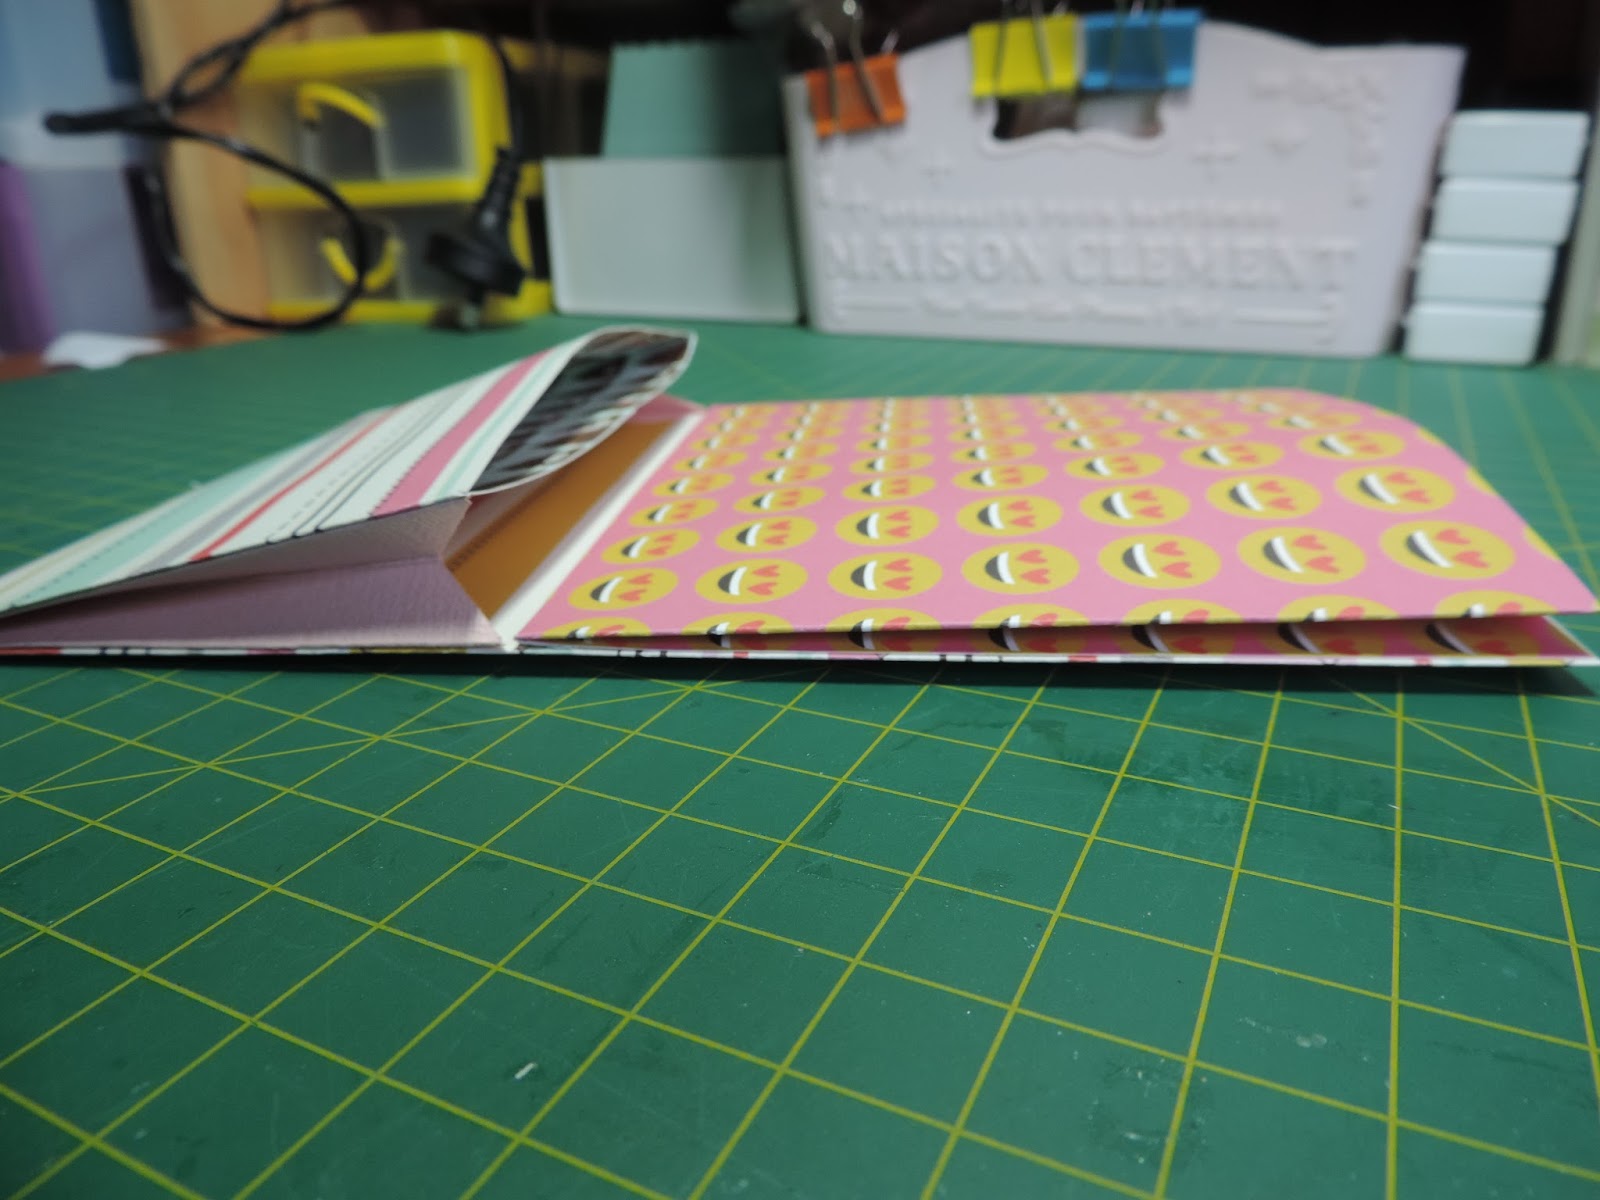
After you have scored this piece, you can glue the overlap together. The 3 1/3 inch piece that is at the bottom of the page is folded upwards to form a pocket on the front of the bag. To form another pocket you need to added a small concertina piece to this before gluing it to the front of the bag.
 |
| use two pieces of 2 x 3 1/2 to made a concertina piece for the front pocket. Score these pieces every 1/2 inch on the 2 inch side (1/2, 1, 1 1/2 inch) |
 |
| you can see here that when you fold this over and glue it to the front of the bag you now have two 3 1/2 inch high pockets on the front of the bag |
 |
| side view of what it will look like when you have added these pieces |
 |
| Now you have two pockets on the front of the bag |
 |
| This piece of paper is 7 3/4 x 5 1/2 and forms another pocket for the top front of the bag. This piece is scored at 1/2 and 1 inch and then 6 3/4 and 7 1/4 inches then turn left 90 deg and score at 5 inch |
 |
| I have added the pocket to the front top so that the loaded pocket has four pockets now. |
 |
| This shows the two pockets from the top. The back pocket is 8 1/2 x 5 3/4 and the front top pocket measures 5 x 5 3/4 |
To decorate the front of the loaded pocket, I added a film strip die cut and some emoji faces that I cut out using the emoji dies. I added some sequin ribbon to the front pocket and some of the speech bubbles from the decorative papers. I also added one of the cute emoji paper clips from the July kit.

For the loaded pocket, I made two small notebooks which I sewed the pages into. I used some of the 3 x 4 cut-aparts from the July kit for the little notebook covers.
 |
| I used two of the 3 x 4 cut-aparts left together to form the booklet covers. |
 |
| I cover the paper with Craft Smart Glaze which makes the paper very strong and gives it a soft shine |
 |
| I have sewn the paper into the covers and added little emoji faces to the cotton strings |


I also made several small tags from the paper.
This first little tag is made with two dies, one of which makes score lines on one side so that you can make a window that folds up

 |
| here you can see the fold up window |
 |
| the pink tag with hearts is from another die that I have |
 |
| These two tags have been made using the 4 x 6 cut-apart pages. I have simply added the 'love you' to the black and white striped one. |


I also made a shaker from one of the 4 x 4 cut-aparts. I used one of the frame dies and cut several frames out of pink paper. I glued the 4 x 4 paper to a square of pink cardstock in the back of the shaker.

 |
| I have added sequins, seed beads and stars to the unicorn shaker |

For the back pocket, I used a large tag die and one of the frames from the pebbles collection from the July kit to made a tag that photographs can be added to. One side of the frame tag is not glued down so that photographs can be added.
 |
 |
| Here is the finished product. |
I hope you enjoyed having a look at this loaded pocket.
You can see the video of my loaded pocket HERE.
You can get the July kit from Aunty Vera Scrap and Craft HERE.

Great as always. I adore the unicorn shaker 💕💕
ReplyDelete