


Hi everyone 😊
November's theme at Aunty Vera Scrap and Craft is
"The Man Who Won". After pondering this for a while, I came to the
conclusion that the man who has won has a family who dotes on him and
that he dotes on also. Therefore, I decided to try a family-themed
scrapbook page - as I am really enjoying my foray into the scrap-booking
arena.
I hunted up a gorgeous vintage photo of some family
members from 1926 that works perfectly with the Tim Holtz "Dapper"
papers provided. All of these papers are amazing so it took a while for
me to decide which one to use!

At
first I wasn't sure what to do with the Tim Holtz Stencil Chips but
finally I decided upon making a banner style title for the top of the
page by punching holes and attaching some broken down necklace chain. I
was really happy with how it turned out.

As
I usually like to do, I enjoyed mixing the old with the new and backed
my family photo onto some antique book page that I had been gifted. I
tried curling the page corners a little with some water - another new
technique for me of which I love the outcome. The gold book corners
finish the photo of beautifully and go with the other gold elements on
the page.

I
had some film from the inside of a computer floppy disc (if anyone is
old enough to know what they are! 😆) and had previously sprayed this
with some copper and silver acrylic paint. It went really well on this
layout.

Another
recycled addition was a strip of photo negative from my stash. I cut
the numbers from one of the "Dapper" papers to embellish further.

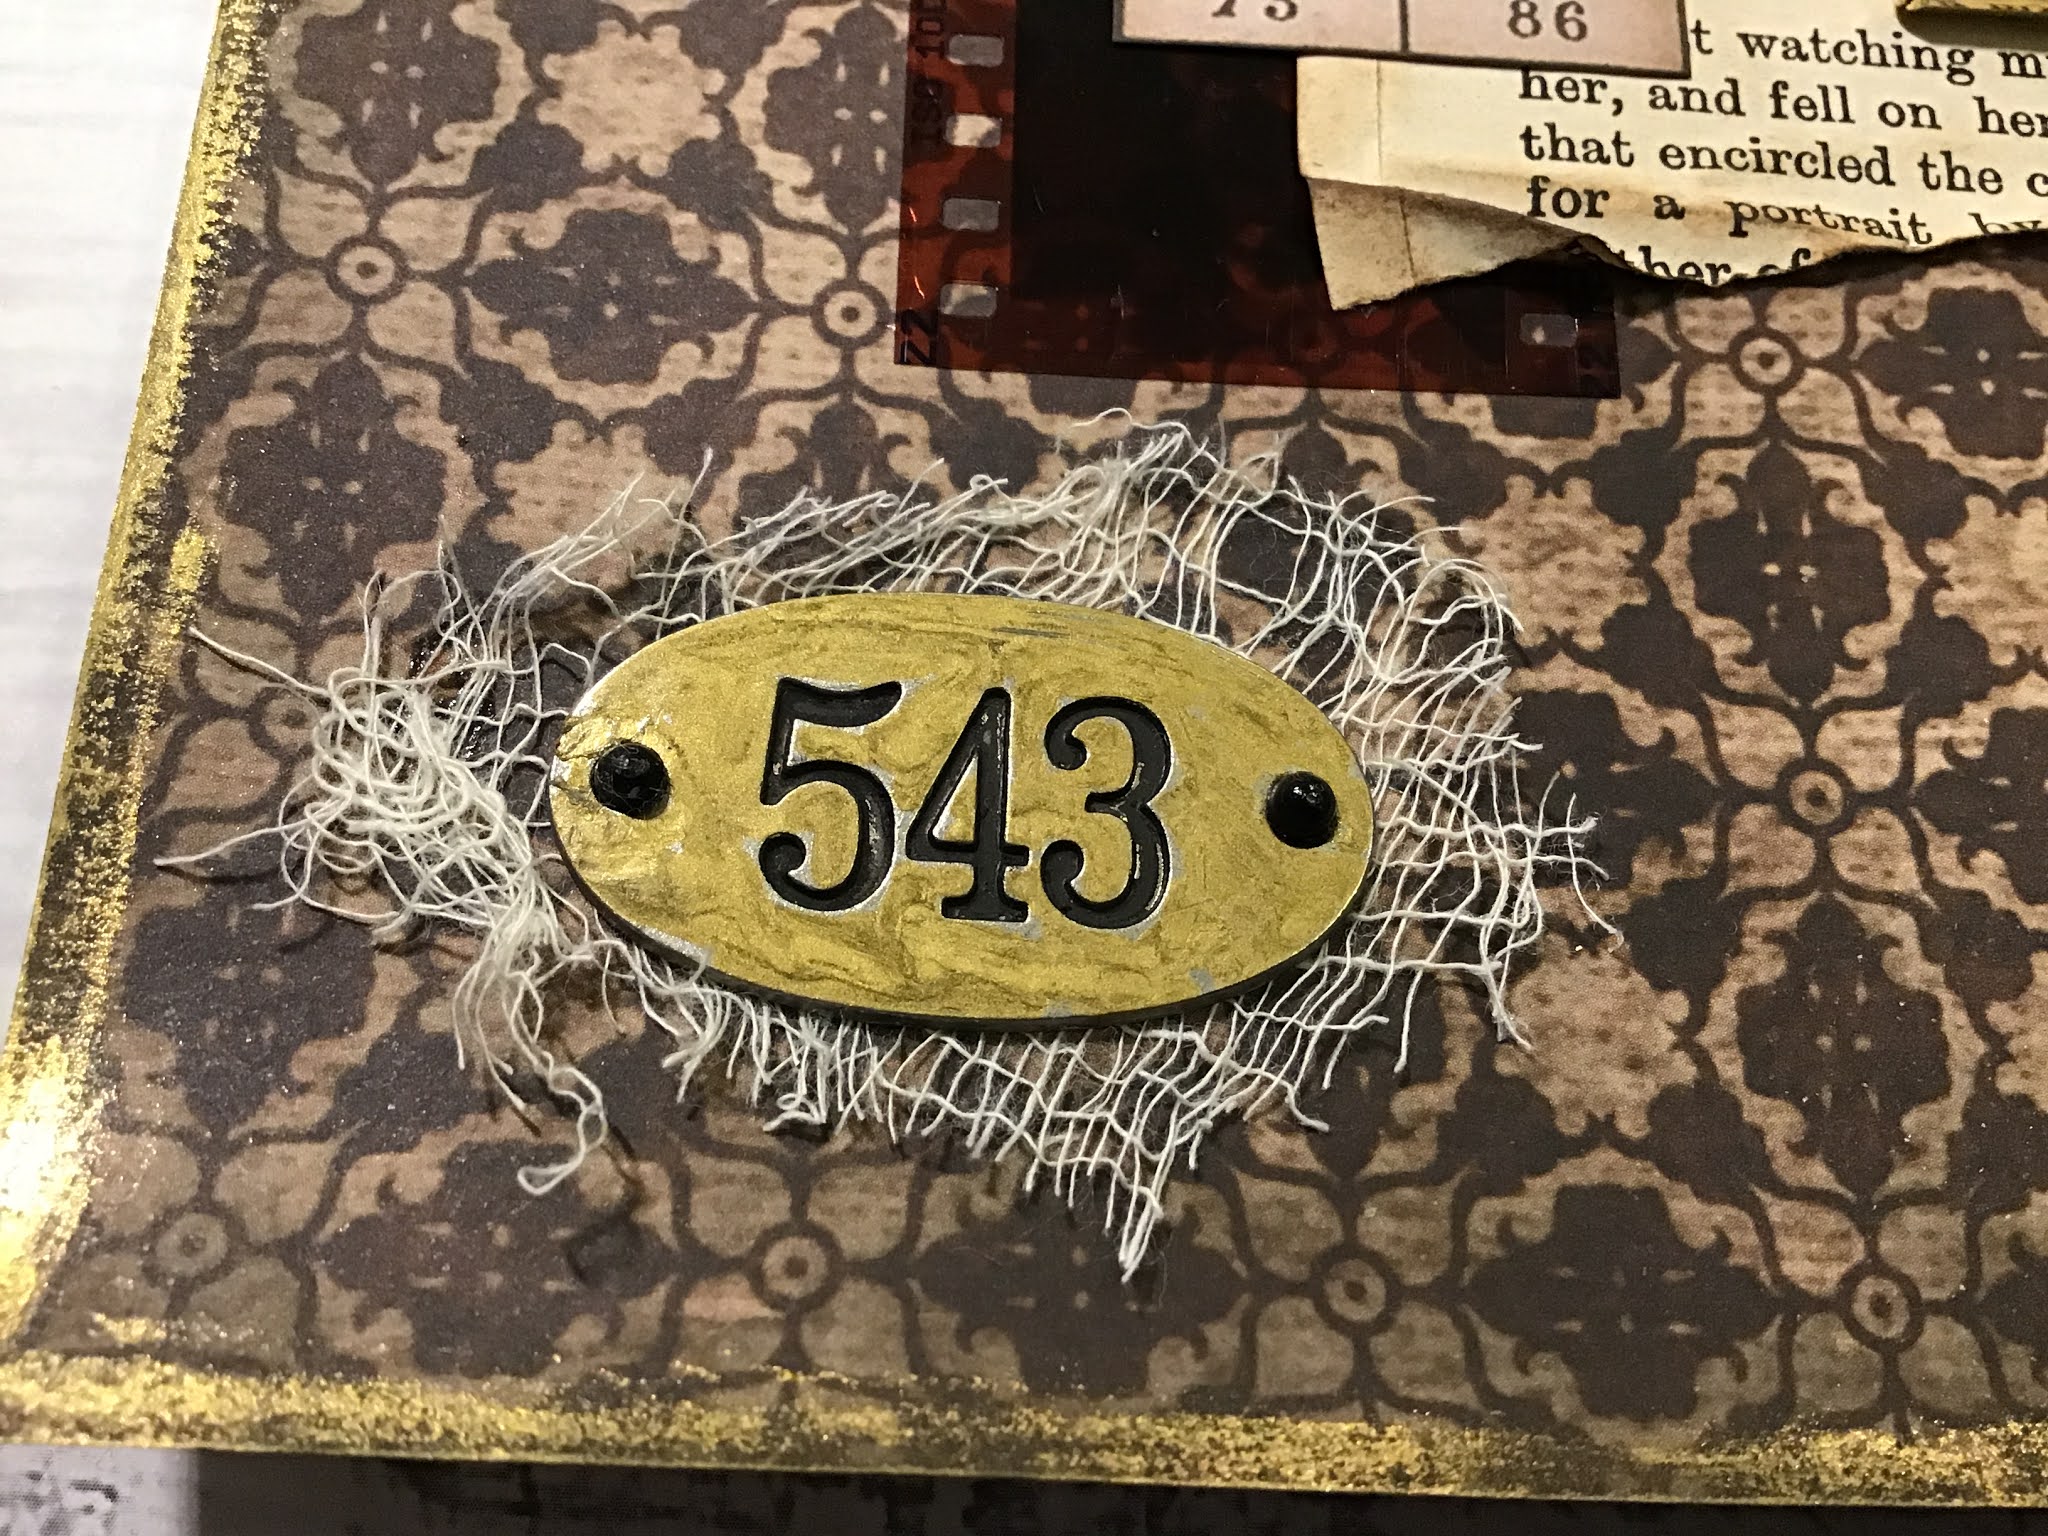
The
Tim Holtz adornments are great little metal pieces to add to any
project, however they are silver. With this project I wanted to run
with a gold theme and found an oil-based gold marker to colour the
adornment with - it worked perfectly. I backed this with some
cheesecloth for texture and stuck some black 'bling' over the holes to
look somewhat like screws.
This
little embellishment was made with a ripped piece of the "Dapper"
paper, some linen, two word stamps from the Tim Holtz "Noble Gent" stamp
set, and a lovely saying from the Tim Holtz Idea-ology "Small Talk"
sticker pad that I though was quite fitting.

I
backed the family photo onto some corrugated cardboard to enable it to
be raised and have the underneath cut, this meant I could slip this tag
in to write my photos details on. I used more jewellery pieces to top
the tag with.

The other side of the tag is a lovely pattern that will be good to write on.

Here is my finished page. I am very happy with how it turned out, vintage with a bit of gold glam and different from anything I have made before. I have loved using all of the Tim Holtz goodies and the "Dapper" paper stash is amazing!

Here is the process video for making this scrapbook page:
I hope I have given you some inspiration to get scrapping and try something different 💕
Happy crafting and stay safe,
Love Nat xxx
Aunty Vera Scrap and Craft products on sale that I am using for the month of November are:
Tim Holtz:
Idea-ology - Paper Stash "Dapper"
Idea-ology - Stencil Chips
Idea-ology - "Small Talk" Sticker Pad
Idea-ology - Adornments "Foundry"
Idea-ology - Vignette Divided Drawer
Idea-ology - Ruler Ribbon
"Noble Gent" - Cling Rubber Stamps


