Showing posts with label Prima Flowers. Show all posts

Friday, June 29, 2018

Coffee & Friends - Sarah's Simple and Fun Coffee Cards

Hello Crafty Friends!
Welcome to our final Coffee & friends project!
The Team has done such a fabulous job this past month.... I hope you have been inspired to create your own coffee and tea themed goodies!
Today Sarah show us a great idea for using up the leftover bits and pieces from your kit....... some quick coffee and tea cards that your caffeine friends are going to love!


Hello friends! I've had so much fun with the June Kit this month, and hope you have too! To finish the month off I decided to make some simple cards to give to friends. I started with these manila card bases that match the kit quite well.


For the first card I used one of the large stickers from the Coffee & Tea Collection Kit as a base.


I added some dimension by placing this gorgeous prima flower in the corner.


To finish the card off I added some Neat & Tangled sequins to the flower and the top corner. Although super simple, I think this card is really cute!


For my second card I used some scraps from the paper collection and layered them as a base.


I then placed two stickers on the card for the main feature and sentiment and added one of the dimensional coffee shop stickers to the bottom. I love how sparkly it is!


For my final card I used layers of the coffee time washi tape to create a background.


I then used the last two prima flowers in the corners, layered a sticker from the paper kit with some scrap paper and made a cute little faux tea bag to finish it off!


And here's my three cards together!


I hope you've enjoyed this project and are inspired to create some simple cards yourself!

Until next time - Sarah xx

*****************

Buy Aunty Vera's Monthly Kits HERE

June Monthly kit is available for $77.30 which is a saving of 20% on
 buying the items separately.

Postage is $9.00 to anywhere in Aus. 
For internationals, please email for accurate prices.

C O N T A C T:

*****************

Tuesday, November 14, 2017

My Crafty Friend - Suzanne's Large 12x16 inch Mixed Media Canvas featuring Prima Flowers

Hello Crafty Friends!
We're enjoying beautiful pre-summer weather down here in Australia, and our crafty friend Suzanne has created a beautiful canvas just perfect for this season!


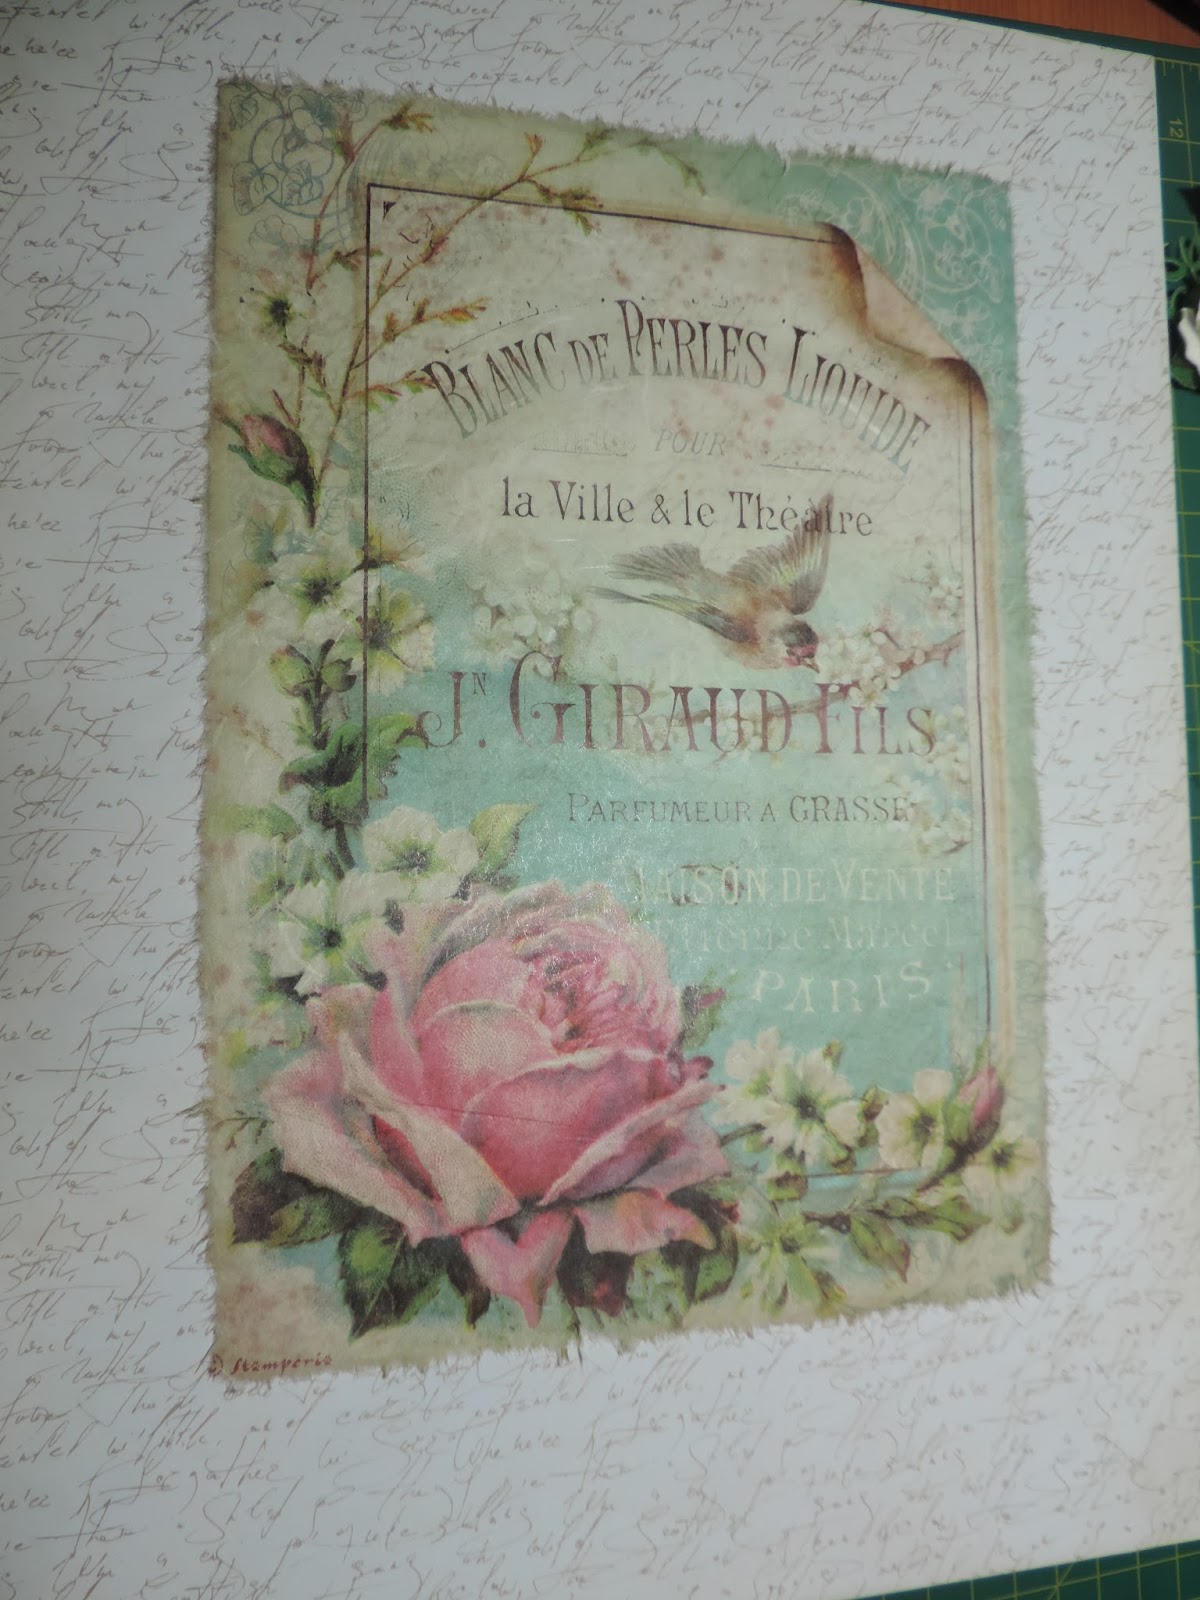
The November kit is so pretty and feminine and when I saw the Prima Flowers in the kit, I immediately had an idea of how I wanted to use them.  Very recently I was lucky enough to have purchased a beautiful Stamperia Rice Paper A4 sheet that matched the colours in the flowers beautifully.

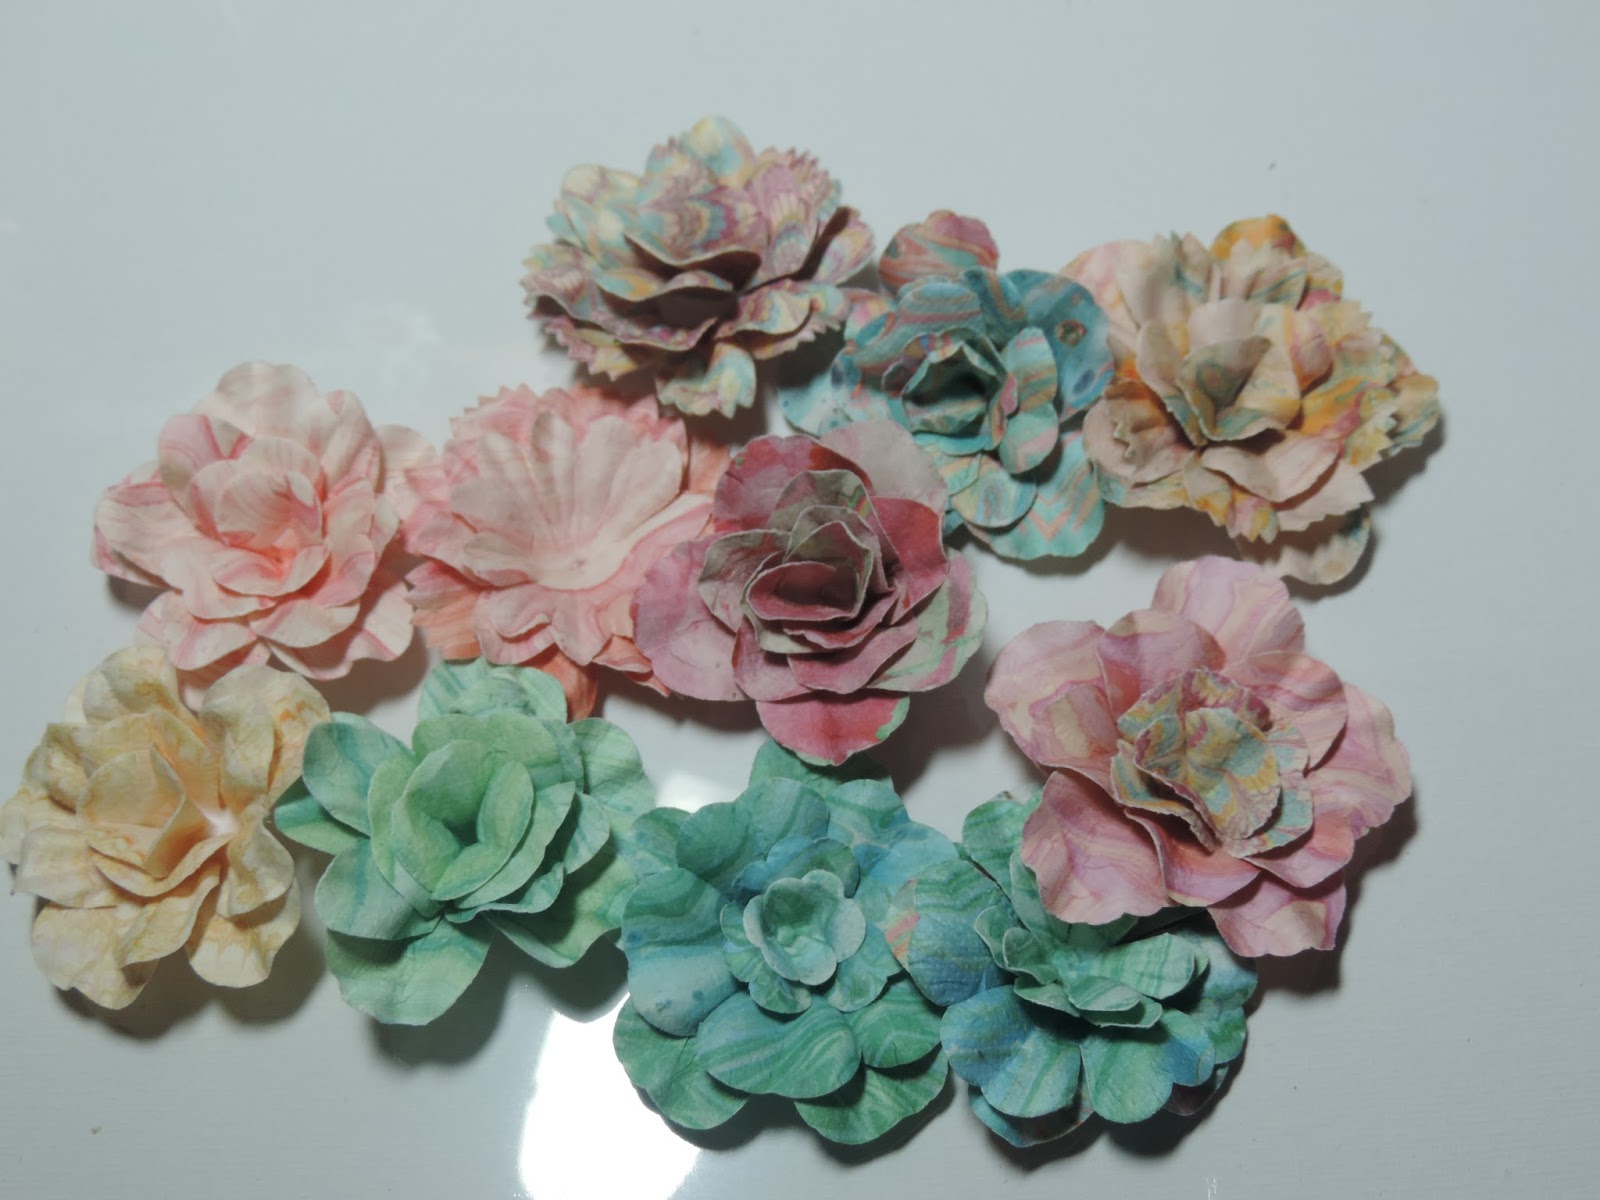
The prima flowers are a mixture of colours from very soft pink and apricot to beautiful sea green and sky blue and they are delicious.  Paper flowers are my favourite and these ones are exceptionally pretty.


 I wanted to change the flowers up and so I grouped the individual pieces into three matching pieces and made them into something that was more 3D.  I cut the smallest flower into two parts and shaped it into a flower centre


Once I had used the two pieces from the smallest flower I put glue into the second piece and added the flower centre.


Then added this to the bottom of the flower.


One finished flower


I did this to all the flowers in the collection


Here are all the flowers I made with the Prima Flower pack from the November kit


This is the beautiful Stamperia rice paper that came to mind the moment I saw the beautiful flowers because the colours match perfectly


I used some script paper from my stash to cover the canvas


Then I wet the edge of my rice paper and tore the edges off so that there were no straight lines and used decoupage glue to stick it down.  You can't see it here, but you can see the script very faintly through the rice paper.


 I mixed together some of my kaisercolour paint to match the rice paper colours and used my foam dabbers to dab on some paint around the canvas


Because the rice paper had a beautiful bird in flight on it I decided to use a small bird's nest that I had in my stash and made some tiny blue eggs from polymer clay to go in the nest. I used some twigs from the trees in my back yard to make a tree branch for the nest to go in.


I also added a rose to the top right corner from a napkin and placed some floral stems around the rice paper.  Here you can also see that I painted the canvas with the cream and green paint.  I used the green colour down the right hand side as this matched the rice paper and the cream paint where the rice paper was cream.  I used the green to frame the entire canvas by going around the edge with the darker colour.


I then started to add the Prima flowers and some others from my stash.  I had also made some leaves to add to the canvas.


Adding more flowers


Flowers around the bird's nest


 The completed bottom of the canvas


The flower cluster up the left hand side of the canvas


 I die cut some flowers to go on the floral stems which frame the Stamperia rice paper


 I used some of the gorgeous Santoro Pearl drops for the centre of the flowers


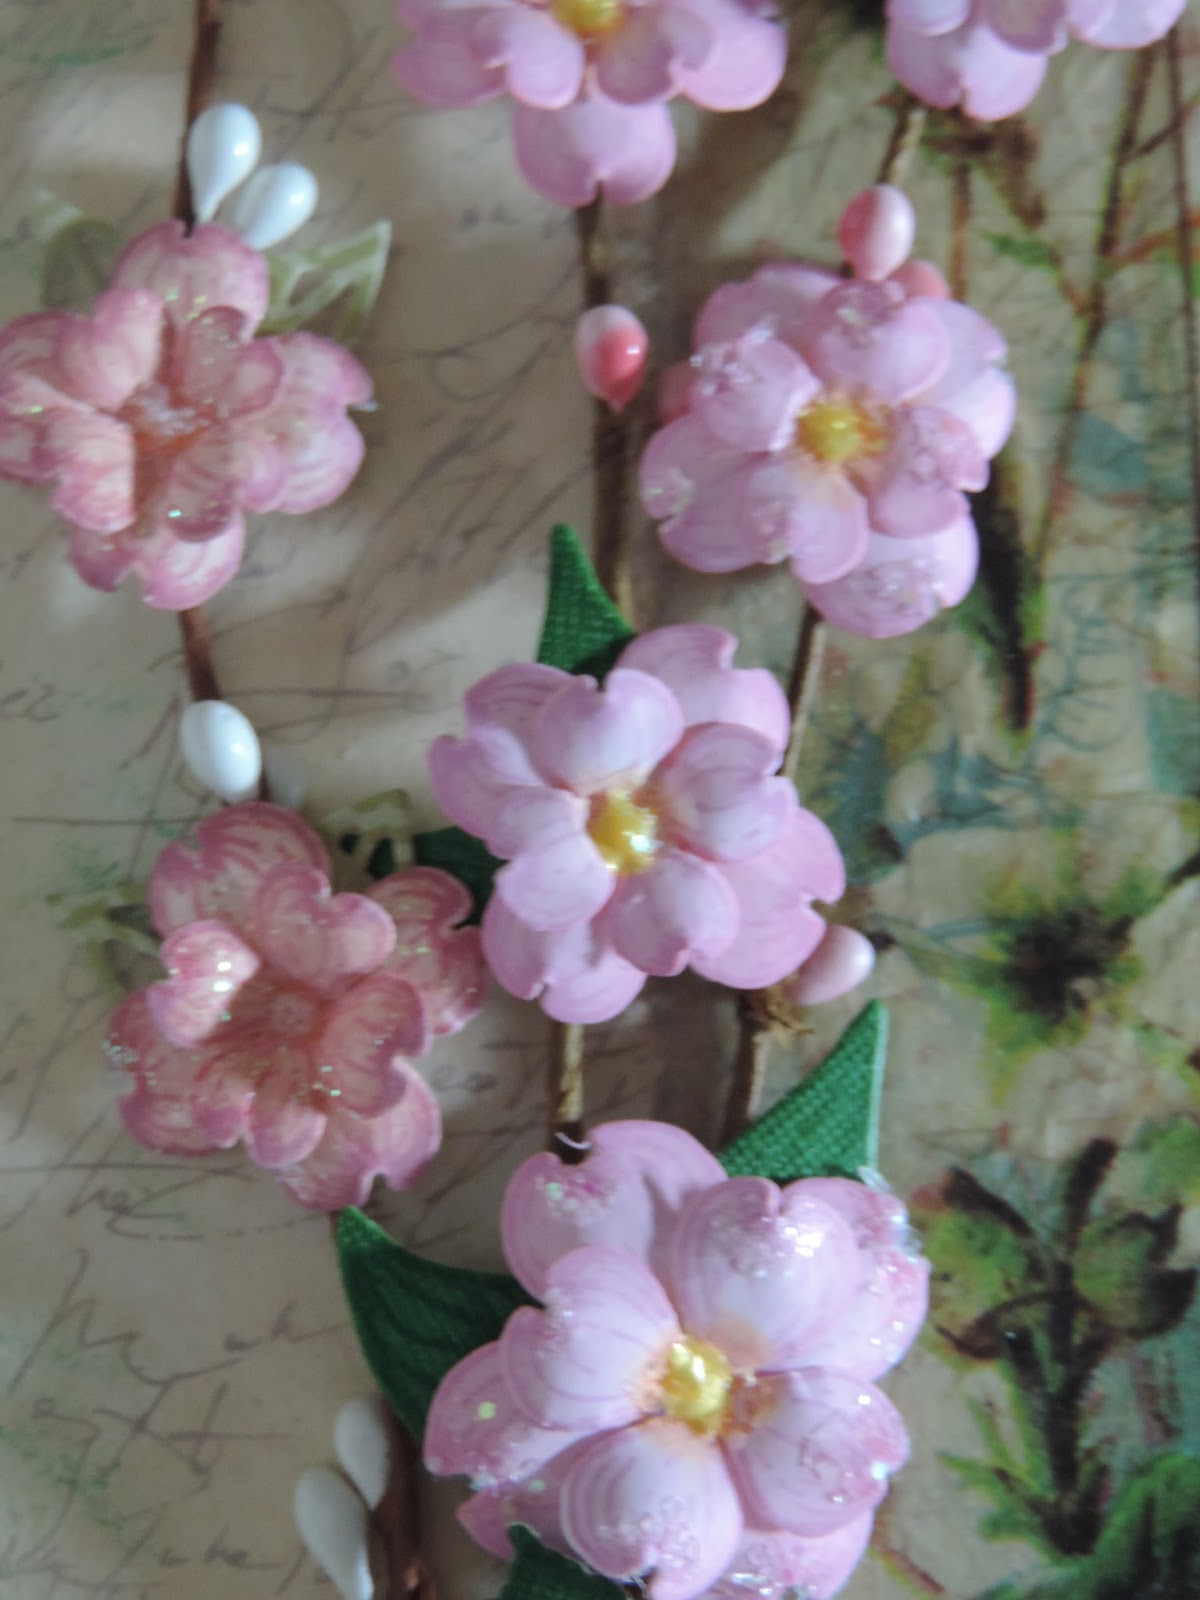
A close up of some of the flowers


I added another stem and used a slightly different shade of flower for the stem to add more interest.


A close up of the flowers


 A die cut butterfly completes the top left had corner


A close up of the top part of the canvas


A close up of the bottom of the canvas


 Here is my completed canvas


You can see a quick video of my canvas HERE.
You can get the November kit HERE


Wednesday, November 1, 2017

Aunty Vera November Kit Reveal - My Crafty Friend

Hello Crafty Friends!
It's November and time for a new kit.
This month we celebrate friendship and say thank you to all our crafty friends.
A big thank you especially to our 2017 Creative Team who join us for their final official month of crafting for the year.
Ready? Here it is.... My Crafty Friend...


What a fun crafty month we're all going to have!
And of course there's been a tiny glitch with the arrival of those Maya Road 'mini quill' embellishments. So when our first lot of kits run out, we'll create some more with a slightly different replacement.

Ready to look at what's in the box?
Join our Creative Team for their unboxings.....


Watch Amira's unboxing HERE.

Watch Suzanne's unboxing HERE.

Watch Lolly's unboxing HERE.

Ok friends.... clear your craft stations and get ready to play!
xx Aunty Vera and the Creative Team xx

Tuesday, August 15, 2017

Going on a Bear Hunt - Suzanne's Two Mixed Media Tags

Hello Crafty Friends!

Welcome to another crafty week of Bear Hunts and Weekend Adventures!
Today, Suzanne creates a pair of gorgeous mixed media tags.
Enjoy!


Hello everyone.  The beautiful August kit from Aunty Vera Scrap and Craft is a treasure trove of wonderful crafty bits and pieces and the fabulous BoBunny Weekend Adventures papers.  For this project I have decided to make two mixed media tags.

I cut two large tags from chipboard and painted both of them with gesso several times.  I then gave them a light wash with the Ken Oliver Color Burst Cerulean Blue and water.

I used the sizzix bigz L tag die for the tags.

I  mixed some of the color burst Cerulean Blue with some texture paste and used a palette knife to put a border around the outside of the tags

a mixture of colour burst Cerulean Blue and texture paste

mixed together

I used a palette knife to smear the texture paste around the tags

I cut two more tags from the 'road trip' (reverse side) which is a lovely yellow background with small houses all over it.

two yellow tags from the August paper collection

I cut about 2mm off each side of the tag before I distressed all the edges of the yellow tags so that you would be able to see the blue textured background of the bottom tags.

distressed edges


I glued these distressed tags on top of the other tags

Yellow tags glued to the base tags
I then painted the yellow paper with translucent gesso so that I could add paints, etc to this layer without it soaking into the paper,

Translecent Gesso is very helpful when you want to add paint to a layer but don't want it to soak into the paper underneath

I made a wash with the Cerulean Blue and the Chartreuse and coloured some cardstock for the leaves for these tags.


coloured cardstock for the leaves
I used a stencil and texture paste to add some texture to the tags in random places

stencil and texture medium
 I made of mixture of water, Cerulean Blue and Gesso to splatter the tags with


I splattered the tags with the gesso mixture using a fan brush


I used some skeleton leaf dies and some swirly leaf dies to add to the tags


I also used the beautiful Prima flowers which were in the August kit.


I found two sentiments from the paper collection to add to each tag.  "Bring on the sunshine" and "Stop and smell the flowers".  I layered each sentiment on some cardstock that I had coloured with the Cerulean Blue Color Burst


I then started layering some of the diecuts onto the tags


I also coloured some gauze with the color burst - both Chartreuse and Cerulean blue and layered the sentiments on some foam tape before adding them to the bottom of each tag.


Then, it was time to add the prima flowers from the kit and I also added a few from my own stash that I had made previously.  I always lay these elements out and arrange them how I would like them to look before gluing them down.


I then added two yellow bling pieces from  the Docrafts "pocket full of posies" to each tag and some of the yellow ribbon from the Docrafts "folk flora" ribbon pack. Both are from the August kit.

Here are the finished tags


Here are the two finished tags


Thank you so much for having a look at my tags.

You can see the video of how I made these tags HERE.

You can get the August kit from Aunty Vera Scrap and Craft HERE.

Related Posts Plugin for WordPress, Blogger...