Showing posts with label Sarah. Show all posts

Friday, October 26, 2018

I'm Not Afraid - Sarah's Happy Haunt Album

Hello Crafty Friends!
Ooh! Sarah has been working on a secret spooky book project.... and here it is! Ripping the pages out of an old book and changing it into a Happy Haunt Book..... I am all love heart eyes!!!!


Hi everyone! One of the things I love making more than anything else is crafty books - whether they be junk journals, mini albums or even flip books. So when I saw the I'm Not Afraid kit I knew I needed to 'build-a-book'!

To start with I gutted an old hard cover novel. Using a scalpel, I cut the pages out and kept just the cover.


I then used cloth tape on the spine to help strengthen it before altering my cover.


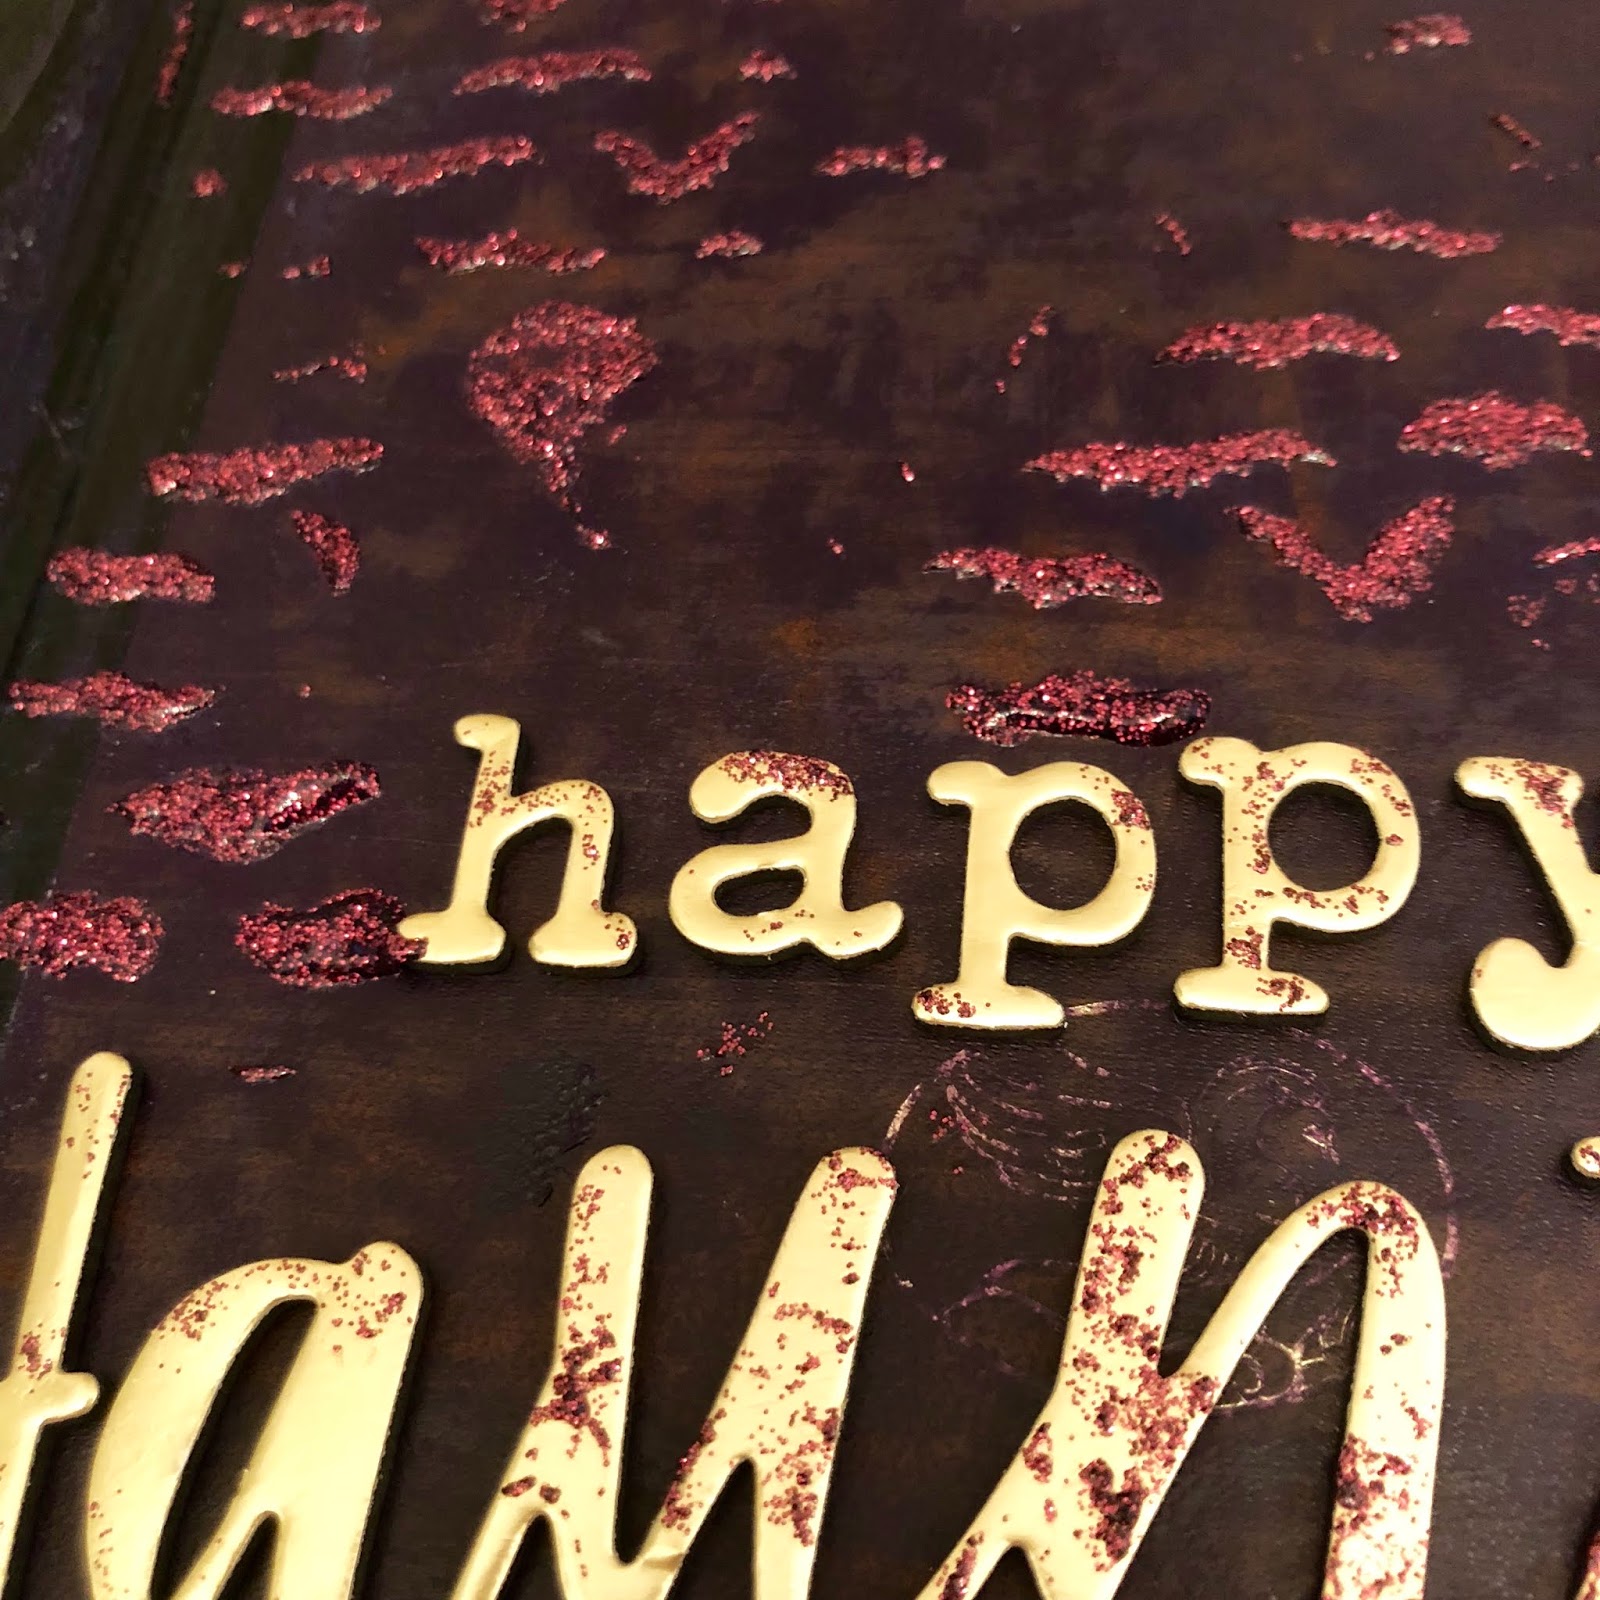
Next it was time to get messy! Using some acrylic paint from my stash I painted the entire front cover this deep purple. I later used some sealer that rubbed away a little bit of the paint so that it left a sort of blotchy purple-red - perfect for halloween!


For the title I added some thickers to the bottom right corner. So shiny!


I then glitzed up the background by using some Nuvo Glimmer Paste with the Black Bats Stencil. It's such a beautiful plum colour and oh so sparkly!


I also added some of the glimmer paste to the thickers just to help it all blend together.

For the middle of the cover I used a Tim Holtz Broomstick with some wet glue strings to form cobwebs.


So how did the cover all come together? You'll have to wait till the end to see! But I can sneak peak this cute little charm I made using the Tim Holtz Glass Vials along with some sequins and chain from my collection. I hope Snape would be proud of my potions!


After my cover was complete it was time to assemble my pages. I used a simple hinge system to bind my pages - you can find lots of variations of this technique on YouTube. I used papers from the Hocus Pocus collection in the kit, some as plain pages and others as pockets.


You can see a pocket page here, with one of the tags I made in a previous post.


You can also use journaling cards from the collection like I did here. I simply matted some 3x4" cards on black card stock. They look fantastic sticking out of the pocket!


I then made another pocket spread with one of my previous tags.


And this is the bag of the book.


Now for the big reveal... the completed book! I added some black lace from my collection to the spine, as well as some green trim around the edge. I then attached the charm to the spine of the book using an eyelet. And that's this sparkly, Happy Haunt Album done!


You can check out a flip through of the album HERE
I hope you've enjoyed this project. Please share your creations with us!

Sarah xx

.............................

BUY Aunty Vera's Monthly Kits HERE

October Monthly kit is available for $81.07  which is a saving of 20% on
 buying the items separately.

Postage is $9.90 to anywhere in Aus.
For internationals, please email for accurate prices.

C O N T A C T:


.............................

Find me on youtube here

Follow me on instagram here

Thursday, October 18, 2018

I'm Not Afraid - Sarah's Mini Pocket Letters

Hello Crafty Friends!
Halloween is such a great excuse to send fun crafty gifts to our friends..... and Sarah's mini pocket letters are just perfect for this.... you can get a whole bunch of them made in one crafty session. ok... challenge to self..... Mini Pocket Letters!! Make them TODAY!!


Hello everyone! I hope you're enjoying the Halloween themed projects this month. For my next post I thought it would be fun to create some mini pocket letters. I love creating things I can send to people, and this is a small project that you can make a few of in one go.

For my first sleeve I fussy cut the words from a Journaling Card sheet and adhered them to the Halloween hat paper. How's that song go...?


Oh that's right! He did the MONSTER MASH! 


This middle pocket features a fussy cut mummy from the same journaling card, this time backed on the other side of the paper sheet. I love his little glasses!


I added the ribbon on the side from my stash and called this mini pocket letter done. So simple but super cute!


For my second pocket letter I started with plain black card stock and then added different elements. You can see here a fussy cut ghost from the paper collection, some gorgeous golden halloween washi, some ghost die cuts from my last project, and the first letter of our title using gold thickers.


I wonder what we could be spelling??


Oh! Another 'o'? 


BOO! This is was such a fun little pocket spread to make. I added some accents using a white gel pen and some black lace from my stash, which adds some elegance to this otherwise very simple layout.


For my final pocket letter, I created the sides with some card stock from the collection and then layered some of the washi on top. I love creating buntings, and this was the perfect page to add one to the top!


For the middle pocket I again used some thickers to create a title. I love how the gold thickers and foil washi are so shiny!   


And here's my three pocket letters together.


I hope you've enjoyed this project and make your own Halloween projects for friends.

Bye for now!

Sarah xx

.............................

BUY Aunty Vera's Monthly Kits HERE

October Monthly kit is available for $81.07  which is a saving of 20% on
 buying the items separately.

Postage is $9.90 to anywhere in Aus.
For internationals, please email for accurate prices.

C O N T A C T:


.............................

Find me on youtube here

Follow me on instagram here

Monday, October 8, 2018

I'm Not Afraid - Sarah's Trick or Treat Surprise Tags

Hello Crafty Friends!
Are you ready for more crafty Halloween fun? Don't be scared... Sarah has created some fun 'surprise' tags that are just oh so spooky cute!!


Hello everyone! Sarah here ready to share my first project of the month. You're in for some spooky projects this month... but 'I'm Not Afraid'!

This week I made some tags with a surprise twist. For the first tag I started with these gorgeous gold thickers to create a 'trick or treat' heading.


Next, I created the middle of the tag by using the 
Hocus Pocus Jack-O-Lantern paper as a base and adding some ghosts from the Alexandra Renke Die Set. They're so cute! I added some kindy glitz glitter to brighten them up too. 


Those french doors open and... boo! I love this little reveal with the Halloween Hats paper and PhotoPlay Die Cut.


I added some twine from my stash and that's the first tag done!


For my next tag I again used the gold thickers, this time for an 'eek!' title. 


I used the Golden Halloween Washi Tape top and bottom and added this cute pumpkin patch Die Cut as a feature.


This time for the reveal, the card folds down to reveal these adorable Monster Mash Stamps that I coloured with copic markers. I added a 'boo' with some more PhotoPlay Die Cuts and included some sparkle with some more washi tape.


Here's the inside of the tag all folded out. 


And this is the outside. 


Hope you weren't too scared by these spooky Trick or Treat tags! 

Bye for now,

Sarah xx


.............................

BUY Aunty Vera's Monthly Kits HERE

October Monthly kit is available for $81.07  which is a saving of 20% on
 buying the items separately.

Postage is $9.90 to anywhere in Aus.
For internationals, please email for accurate prices.

C O N T A C T:


.............................

Find me on youtube here

Follow me on instagram here


Thursday, August 30, 2018

We Can Be Heroes - Sarah's Super Envelope Album

Hello Crafty Friends!
Hasn't this past month just flown by..... faster than a speeding bullet?!!
We're wrapping up our month of super heroes with a fun Envelope Album from Sarah......


Hello friends! What a wonderful month of superhero goodness we've had. For my final project I made a simple flat envelope album.

To start with I picked out six gold envelopes.


I cut a sliver off four of the envelopes so that both ends were open like this:


Next I began assembling the album using the envelopes as the pages. I formed the first two pages by gluing the flap of one inside another. 


Once it's glued down, it looks like this:


I continued adding pages, leaving the closed envelopes as the front and back cover. I folded the last flap around from the back to the front to create a spine. And that's the base of the album done!


Once the base was complete, I used the marvel papers to decorate each page. For each spread I combined one of the background papers with a character page. Here is hulk:


Captain America:


Spiderman #1:


Spiderman #2:


And the edge of the Hulk:


For the front cover I used this spotted background and added a spray of the Heidi Swapp Color Shine. I then used some of the Marvel Stickers to add a title and of course some Avengers. In the bottom corner I added some of these gorgeous Eyelet Outlet Brads


And that's the album finished! By cutting off the edges of the envelopes you're left with pockets on each page for journal cards, photos or ephemera. I love having things stick out from the edge!


I hope you've enjoyed this project. Be your own Hero!

Sarah xx

...............................................................
BUY this month's Kit HERE.
August Monthly kit is available for $88.55 which is a saving of 20% on
 buying the items separately.
Postage is $9.90 to anywhere in Aus.
For internationals, please email for accurate prices.
C O N T A C T:
info@auntyverascrapandcraft.com.au
 ................................
Join me on Youtube here


Related Posts Plugin for WordPress, Blogger...