
Hello Crafty Friends and Happy National Scrapbook Day!!!
Our NSD 2017 Challenge is well under way. Yesterday we revealed Team Amira's Challenge - scrapbooking fun with mixed media!
Today.... Lolly creates a not-so-scrapbook mini book.
First - a quick look at the prize for Team Lolly's Challenge......

Tim Holtz Notebook Binder, G45 Vintage Hollywood ephemera cards, mini Prima flowers and (the newest of my favourite things) 7Gypsies Architexture Trinkets. Such fun!!
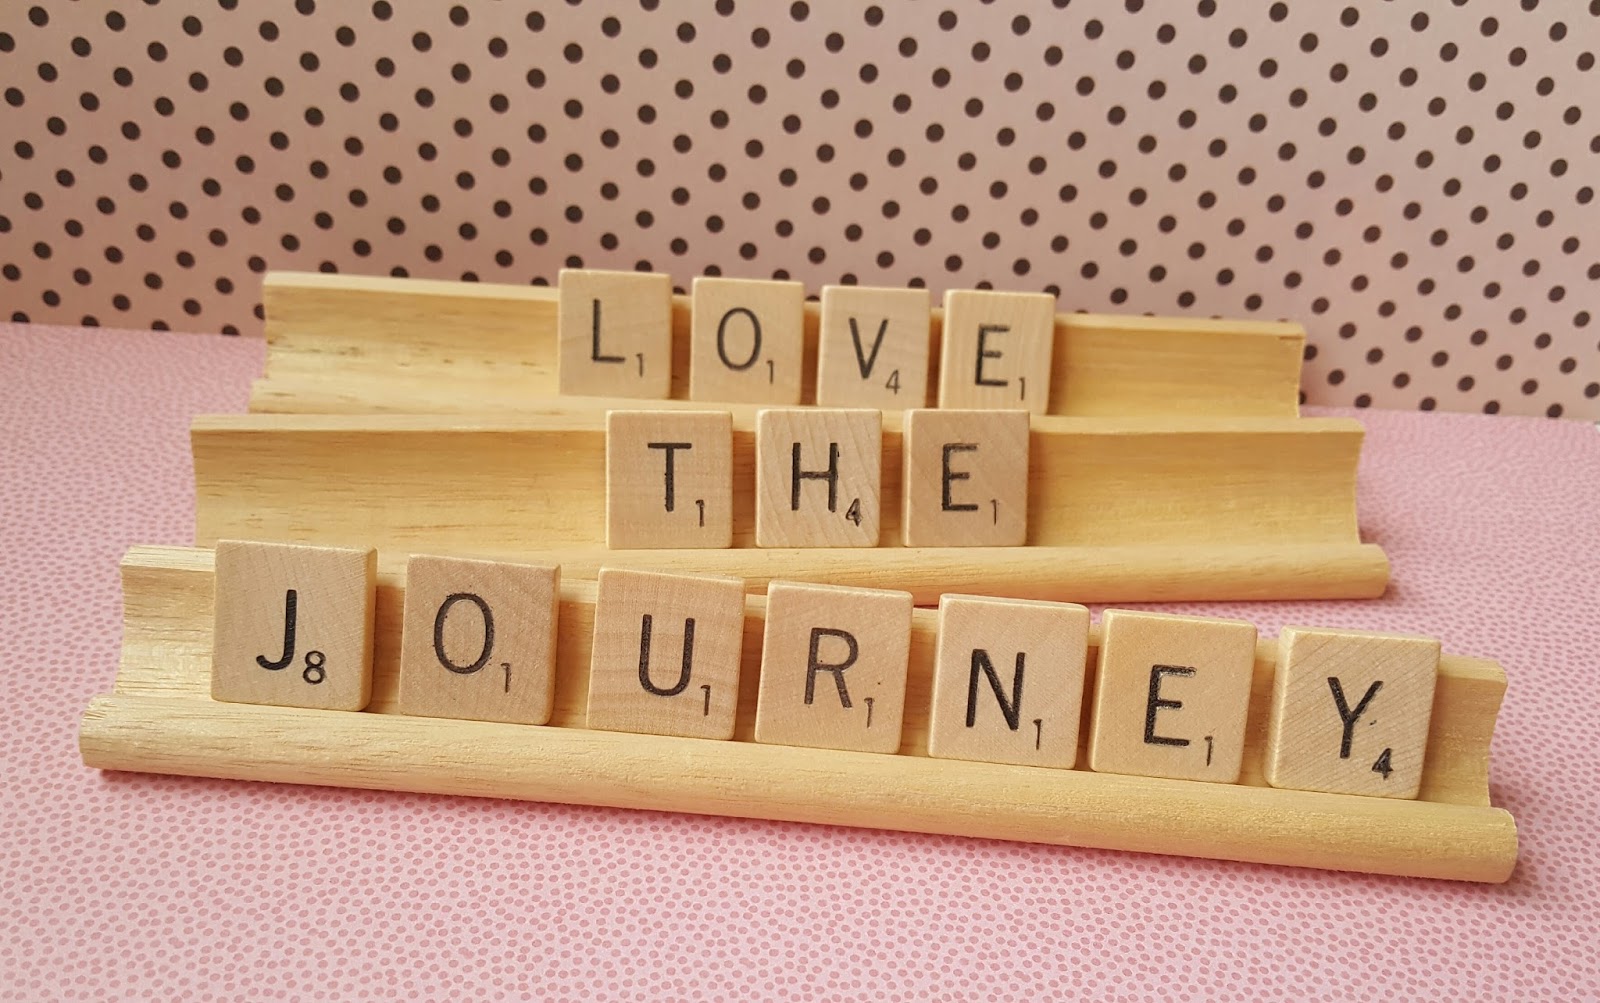
To be in the draw to win this prize, enter Team Lolly's challenge. And have fun with it... cause that's what this challenge is all about - loving the journey!

I am not much of a scrapbooker. Okay, I'm not a scrapbooker. At. All. Seriously. I did some photo albums "way back when," but I haven't touched a scrapbook since. So what to do with National Scrapbook Day when I'm not a scrapbooker? I'll make a book! My goal was to create something that would enable me to painlessly add photos quickly, without fuss. If it got too complicated, I knew I wouldn't use it. So here is my not-so-scrapbooking approach to "scrapbooking" for you. I hope you play along with this challenge!
I made what I'm calling a Memory Book. It is a two ring book with hinged rings so that papers and photos can be added quickly. It holds 4 X 6 inch papers (such as Project Life cards), which is a huge incentive -- the PL cards can be used with my book! I have a set of lined PL cards and a set of grid PL cards, and I am putting them in this!

For the covers, I cut two pieces of heavy chipboard at 5 X 6 1/2 inches, and I cut the outside paper covers for those at 6 X 7 1/2 inches and the inner cover linings at 4 3/4 X 6 1/4 inches.


I used double sided tape to attach the chipboard to the paper covers, wrapped the excess paper to the back of each cover, and then used the cover linings (and liquid glue) to cover up the folded edges. I was going to use my two hole punch on the covers, but this chipboard is too thick once it has all those paper layers on it. The Crop-A-Dile punch did the trick instead. I also added eyelets to the holes on the covers. If you don't have a nice sturdy chipboard, this also works with old cereal boxes. If you want it to be more sturdy, glue two layers of cereal boxes together before layering the papers on them.
I cut several 4 x 6 inch papers from this paper collection by Craft Smith called Love U A Latte for the inside cards, and I made envelopes specifically for this project. On the Envelope Punch board, you can look up the size of CARD you want to make, and it will make an envelope slightly larger to hold that size of a card. However, I wanted to make the envelope 4 x 6, not the size to hold a 4 X 6 card. I figured out the dimensions: Cut a paper at 7 3/4" and score at 3 1/8. Then just punch holes in the side without the flap, to add to the Memory Book.

I also wanted a fold-out pocket. I cut papers in 6 x 9 7/8, scoring on the long side of the back of the paper at 4 and again at 7. Then I folded the shorter end over and glued it on the top and bottom edges to make a pocket.

Next, I wanted to make tabbed divers on the Tab Punch Board. You can just use 4 x 6 cards and adhere your own tabs if you wish. I used the Tab Punch Board and cut the papers to 6 x 4 3/4 inches, and I made the tabs on the long sides.

I also sewed a vellum pocket on one of my 4 x 6 cards inside.
To see the entire project and all the tutorials for the various techniques, watch here: ---
Details of the challenge: Make a Memory Book yourself. You do not have to use all the special types of pockets, etc., that I used, but you do need at least a cover, one photo, and some cards.
It would be helpful to write your name on a slip of paper and put that next to your project when you take pictures of it.
Submit your project photo(s) in one of these ways:
1) Post on Vera's Facebook page where a special ALBUM has been created jsut for this occassion
2) Post on Vera's crafty group. We've created an ALBUM there too.
3) Email Vera: info@auntyverascrapandcraft.com.au with NSD 2017 - Team Lolly as the subject
Submit your photo no later than May 31 Australian Eastern Standard time. If you are in the U.S. no later than the evening of May 30. Please note that by submitting your photo(s), you agree to let Aunty Vera use your pictures on her blog. A random winner will be chosen from all the entries to MY challenge (go, Team Lolly!), a winner from Suzanne's challenge, a winner from Amira's challenge and a winner from Vera's challenge, and then, a grand prize winner will also be chosen from all four challenges!
The theme of this year's Aunty Vera Scrap and Craft Challenges for NSD is Love the Journey. What a perfect focus, and an excellent way to remind us to have fun with this.
Let's make this a super event. Go, Team Lolly!
- - -
http://www.lollypalooza.net

awesome challenge Lolly
ReplyDelete