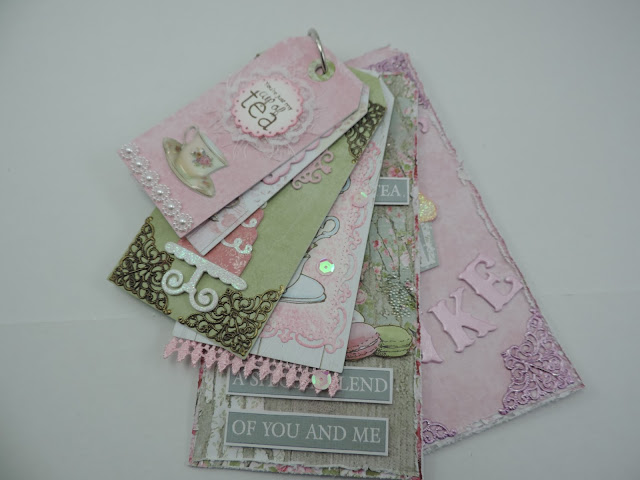
Don't you just love all those pretty tea time images in our May Kit?
Today Suzanne creates a set of tea-time inspired tags.
Poor yourself a cuppa and enjoy!......
This is my second project with the May Kit from Aunty Vera Scrap and Craft and I have created a set of six tags in three different sizes. The smallest tags are 12 x 6 cm, the next size up are 16 x 8 cm and the largest are 20 x 10 cm.
 |
| The two small tags |
The second tag I created I used some of the patterned paper for the front and back of the tag. I added one of the beautiful teacup stickers from the kit (7 gypsies) and made an embellishment with a small doily die and some lace and eyelash trim and a stamp from my stash (You're just my cup of tea). I stamped this out with the brown stamp pad from the kit and inked the edges of the doily die with Distress Oxide ink (worn lipstick). To the bottom of the tag I added a piece of pearl trim that matched the teacup nicely.
 |
| Middle sized tags |
The next tag is the white wood panel paper and I have diecut a frame and stamped the teacup image onto this and coloured it with my prismacolour pencils. I stamped the image again on scrap cardstock and cut it out and used it as a mask before I used the worn lipstick Distress Oxide ink on the rest of the diecut. I then spritzed this piece with water and quickly dabbed the water away. This left the pretty speckled pattern on the white cardstock. I added a small sentiment from my stash as well and some pink sequins and pink lace trim to the bottom.
 |
| The large tags |
The last tag has the peeling wallpaper patterned paper on the front layered on top of another one of the papers. The edges have all been distressed. I used a sticker from my stash for the sentiment and layered it on white cardstock to make it pop. I fussy cut the teacups from one of the papers and added it to the tag on top of some tulle which I have stuck on with matte gel medium. I also added some small clear glass balls to finish it off.
 |
| the 6 tags together |
 |
| The tag dies that I used |
 |
| enamel dots, the stamp set, die cut tags, sentiment and ink used to stamp sentiment |
 |
| die, distress oxide ink and ink pads used to stamp teacups (I used brown) |
 |
| Die, lace and eyelash trim used on one small tag |
 |
| sentiment embellishment and bling trim for one small tag |
I hope that you have a go at making some tags. They are quick and lots of fun to make.
The May kit from Aunty Vera Scrap and Craft is available HERE.
You can watch my video on how I made these tags HERE.
Thank you for joining me today!
xx Suzanne


I love tags!! I adore YOUR tags XxA
ReplyDeleteI love tags Suzanne and use them heaps.. These are elegant and very feminine. Love them x
ReplyDeleteFantastic...sp pretty and love the shade of pink
ReplyDelete