
I think Suzanne is having too much fun with this month's underwater themed kit.
Have a look at her gorgeous mini album and ocean inspired tags. Just awesome!!

The beautiful September kit from Aunty Vera Scrap and Craft is one of my favourites so far because the ocean is a place I love to be. It holds special memories for me as my family and I have spent many happy hours on holidays at the beach and also out on the ocean on Dad's boat.
This project was so much fun to make that it was hard to stop creating more and more tags for the little mini album I created with one piece of 12 x 12 patterned paper. This little album requires a piece of paper that has a pattern on it that does not change if it is folded certain ways. Paper with words and pictures that cannot change orientation can't be used.
 |
| I used this lovely starfish paper because it doesn't matter if it is upside down or not, the starfish will always be up the right way. Brilliant! |
 |
| This side with the scales is the same as it does not matter what way the pattern goes. |
 |
| folded into 4 equal pieces |
 |
| scored at 2 inches both back and front |
Now cut up 3/4 of the way to the first score mark.
 |
| cut up to the 3/4 mark |
 |
| valley and mountain fold the panels |
 |
| glue the open section of the fourth and fifth panel back to back |

You can make two pockets that are top loading by gluing the back and bottom of the 2nd and 3rd panels and the 6th and 7th panels
 |
| The album now has 5 pages with space for 8 tags in small pockets and two larger tags in the top loading pockets |
Using a 1 inch punch, cut a semicircle from the two top loading pockets.

Use some distress ink to ink the edges of the little album

I then made eight small tags and two large tags to go into the album.
I fussy cut a whale from the Echo park - Under the sea papers and I added this to a tag that has been cut from another of the papers which has bubbles all over it. I made the sentiment on my computer and inked the edges.

The next tag, I cut some waves from some different hues of blue paper and added this to a tag with a dolphin that I had also fussy cut from the papers. The sentiment was done on my computer.


The next tag, I used the Doodlebug shape sprinkles and a small coral chipboard piece which I coloured with the liquid pearls to form an underwater scene. I also added another sentiment which I made on my computer


This next tag is a little different. I used the beautiful Gorjuss girl stamp from the September kit. The lovely little postage stamp girl was the perfect size for a cute little tag. I coloured her with prismacolour pencils


Another small tag was made by stamping out a mason jar on water colour paper and colouring it with water colour pencils. I then stamped the two fish from the gorjuss girl stamp and coloured them also, although as you can see, not very well.

This next tag is made using a lovely napkin and a diecut from my stash.

This tag has been made using another of the beautiful papers from the September kit and a seahorse diecut from my stash. The sentiment is from the bottom strip on the Echo park paper.

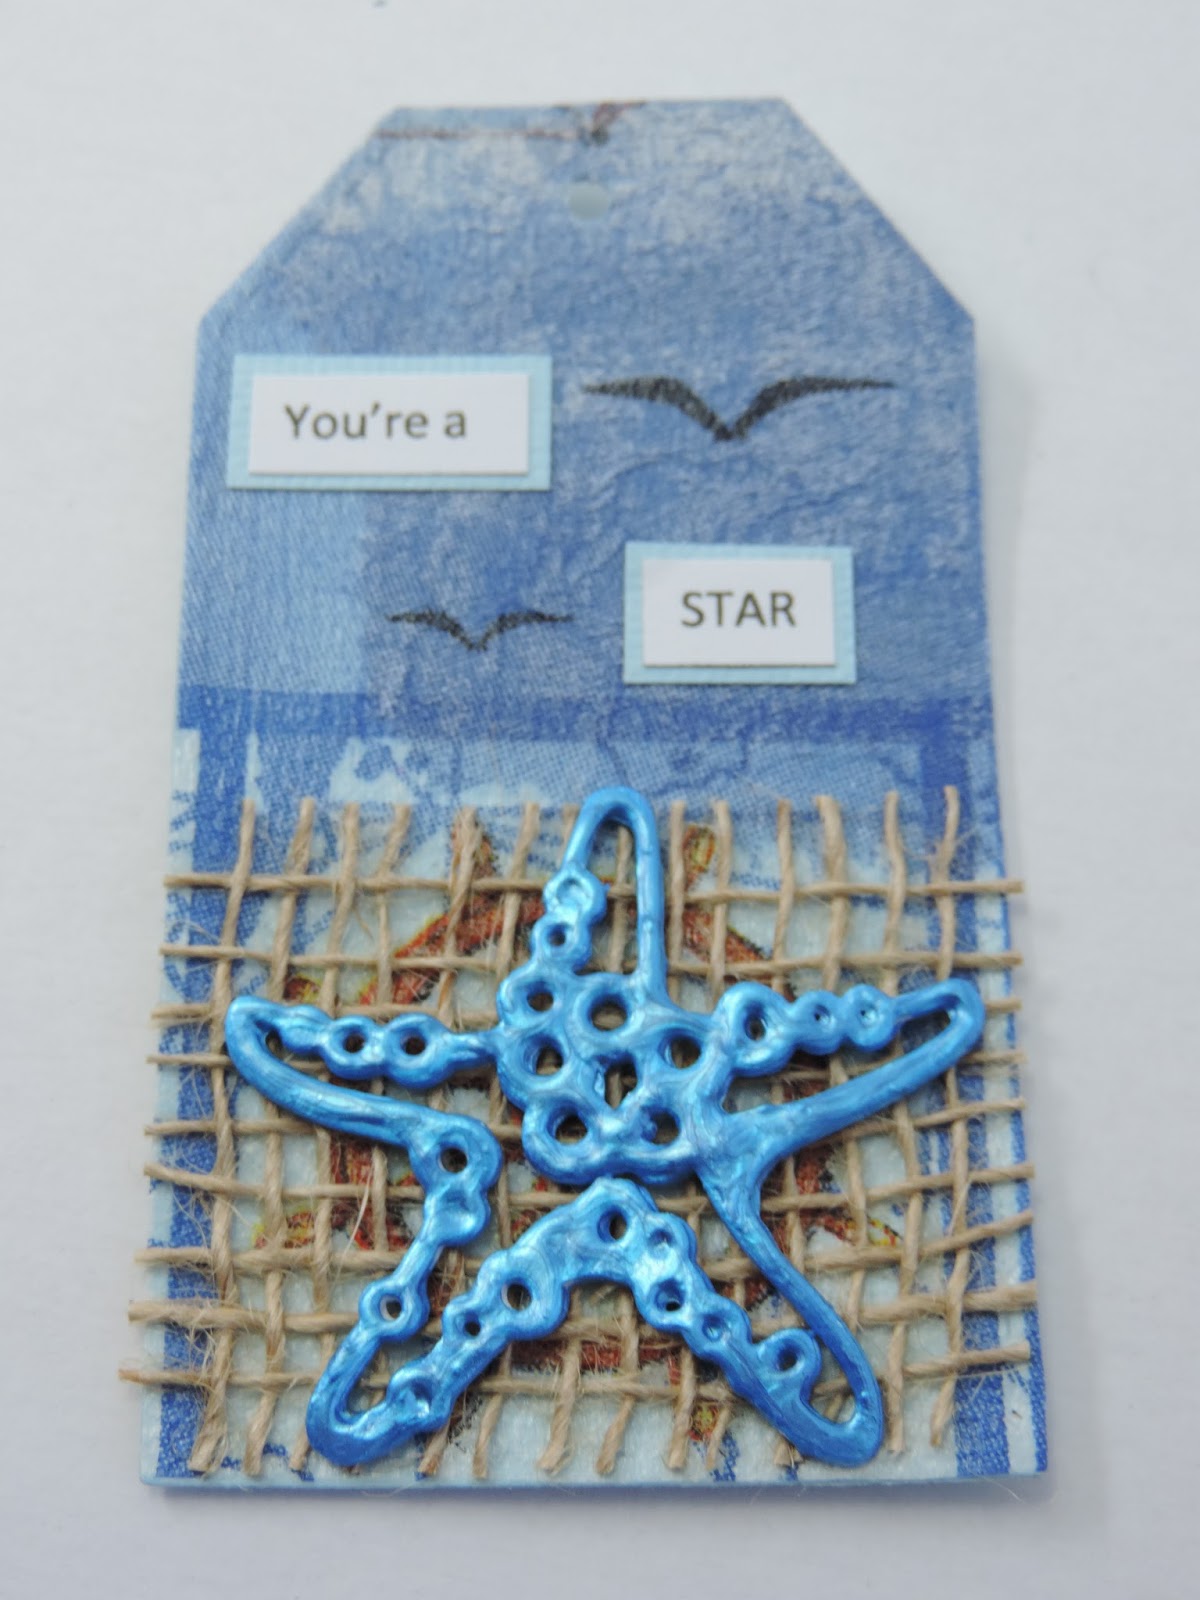
This one has been made using a napkin, some hessian which is in the September kit and a starfish diecut that I coloured with the liquid pearls.
These last two tags are cut from some of the beautiful papers from the kit and I have added some of the lovely green ribbon also from the kit, to finish them off.

Here are the eight smaller tags all together

To finish off the album I cut a 1 inch x 4 inch piece of paper from the kit and covered it in a couple of layers of mod podge to give it strength before adding it as the spine. I also added some more hessian and another starfish to the front.

You can see a short video of how I made this mini album and a show and tell of the album and tags HERE.
You can get the September kit from Aunty Vera Scrap and Craft HERE.

Wow another brilliant project. Love the liquid pearls you used fantastic.
ReplyDelete