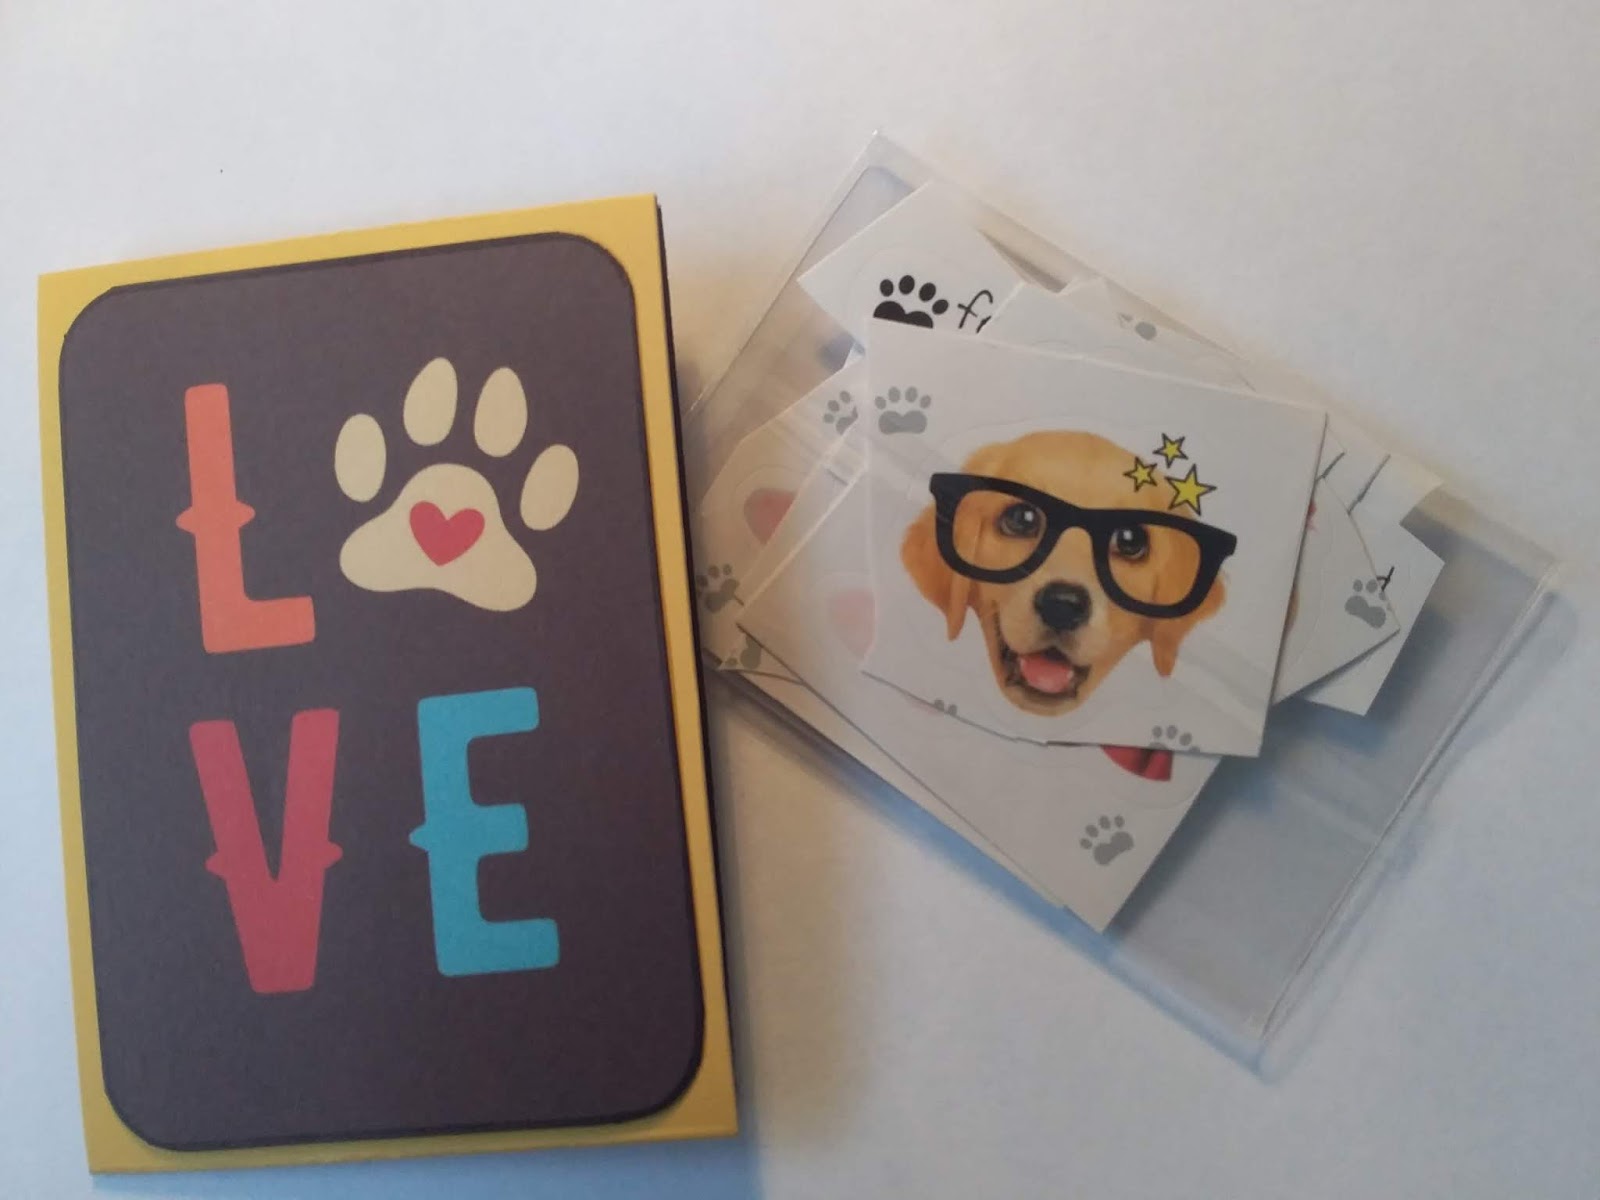
Showing posts with label Dog Days Are Over. Show all posts

Tuesday, March 31, 2020

Dog Days are Over - Wendy's Echo Park Paper Dogs


Echo Park
Paper Dogs

Hello Everyone...
I really needed to pop back for this month, mainly to grab another one point for the Doggies but also to show you how I made these awesome, oh so colourful paper dogs!

A few years ago , I went through a phase of following Romero Britto. He is an amazing Brazillian abstract artist that uses bright colours in his art works. He has a distinct graphic style that blends Pop Art and Cubist-like abstraction. I think they are so awesome and also so very very inspirational.
After being inspired by Romero, I really had to come up with my own dog and that's what I did!


This project uses up the Echo Park I Love My Dog scrap or left over papers from the other projects this month. I went hunting through my template book looking for a certain 'dog' I had drawn from a couple of years ago and was so happy when I found it.

The original drawn picture and template images after dissecting my drawing.

After I found my drawing, I traced it again and then dissected each individual part of the dog to then make a template for ease of tracing. The template was made from the Kaisercraft Chipboard, also sold by Aunty Vera Scrap and Craft.


I cut each individual piece out of the chipboard and then traced around these pieces on to a piece of manilla folder (below). You can also trace them on to some recycled thin cardboard but at the time I didn't have any.


I cut the shapes out of the manilla folder and then decided which piece of bright coloured scrap paper was going to be used for each dog body part. The whole idea is to cover each piece with a different pattern and/or colour, so the dog is very abstract and whimsical looking.


The manilla folder cut out is then glued to the patterned or coloured paper and then cut out again when the glue has dried. I used a black marker and went round the edge of each piece defining the edge of the dog body parts. It is then just a matter to glue the individual pieces together then to make a whimsical gorgeous abstract dog.


This is so fun!! 
 You don't have to be an expert drawer to draw a dog. You can use specific shapes and put them together to make an abstract dog as well.

These are the other little doggies I made in the process.

To decorate the front of my doggies, I cut out the little images from the Woof Woof patterned paper from Echo Park I love My Dog collection and glued them to the front of the dog. They all look so darn cute!!

You can watch the full process video below:


So many uses for these gorgeous little doggies!

Hope you will make some yourself.
 I'd love to see your abstract styled dogs in group.
 But remember, enjoy yourself and have heaps of fun!

WOOF WOOF
Wendy xox

Monday, March 30, 2020

Dog Days Are Over - Photos added to Wendy's Mini Accordion Album


Photos added to 
the Mini Accordion Album
'Dog Days Are Over'


I wanted to come back here to leave the video to show you all where I have added the photos of our Crafty Vera and Friends facebook group's dogs to the mini album I had previously made.

Thank you to everyone that helped me by leaving a gorgeous picture of their family pet dog that I was able to use in the album.

I hope you all enjoy the video flip through.


Thank you all once again, the album looks fabulous!
Wendy xox

Tuesday, March 24, 2020

Dog Days Are Over - Wendy's Dylusion Puppy Dog Tales Stamp Fun


Dylusions Puppy Dog Tales
Stamps

I you had of seen my last process video of my art journal page, you would of noticed I changed my mind about using the Dylusions Puppy Dog Tales Stamps that I had already stamped, coloured and cut....Oh dear! I really changed my mind on that one.

Anyway, I really didn't want to just throw them away, even though it did briefly, very briefly, cross my mind...heehee!

With the coloured and pre-cut stamps sitting in front of me at my table, I was trying to come up with some ideas of what or how to use them.
I picked up my personal journal and started looking through it and realised that the images would make cute looking pieces of ephemera in this journal.


1. This first doggy image has been made into a topper for a note pad. So easy to make. Stamp the image, colour it with what you like, I used my old pencils, staple a few pieces of paper together and then glue the image on to the top of the paper pad. Then write the word 'notes' at the top. It really looks so cute. BUT.....once I had that done and was very happy with it and also thinking about my next project...making a fridge magnet...I ended up cutting a small rectangle piece from my magnet sheet and glude it to the back. I had made myself a Magnetic Note Pad for my fridge...so cute!!


2. The second image from the Dylusion Puppy Dog Stamp set was made straight into a fridge magnet. I glued the already coloured and cut dog on to a piece of my magnet sheet and cut it out. I like to seal my magnet, so I grabbed my Dimensional Magic from my supplies and put a thin coat over the entire top of the image and let it dry. He looks so adorable!...and even cuter stuck on my fridge.


3. My third doggy was made into a belly band wrap for my personal journal...yah! finally something for my journal, heehee! 
This was such an easy process. I had part of a sheet of the Echo Park Coordinating paper from the I Love My Dog collection and I cut a strip of it at 3/4 of an inch and left the length at 12 inches.
I found a page small enough to wrap the piece around vertically and then glued my already cut and coloured doggy on it...so dang cute!


4. Now with the next little fella...I decided to make another 'note' pad and not add a magnet to the back of it. I had three pieces of the white paper left. I stapled the top of the papers and then glued my already decorated image on the top. I wrote the word 'notes' in between his gait and that was done...looks so regal sitting up there!


5. My last image wasn't coloured, it had only been stamped. So I used my sharpie markers and coloured the cute little fella...I then cut him out, adorable he is!
I grabbed a white, already folded, card base and also my Squeezed Lemonade Distress Oxide and a small circle stencil. I used my dabber to add the oxide to the card through the stencil. I only filled about three quarters of the card with circles and then for the bottom right hand side of the card, I used my dabber to rub some oxide colour on. I glued my doggy image to this corner. I drew the word 'Hello" on the card, made a border line on two of the sides with a bit of squiggly lines.


I thoroughly enjoyed making all these cute little items using the Dylusion Doggy Tales Stamps.
They all turned out wonderful!

The doggy projects sitting on to of their original stamp image.

Finished projects

GO THE DOGGIES!!!!

You may like to watch the whole fun process in the video below:


Be sure to check out Aunty Vera Scrap and Craft discounted items for March and also pop over to the Crafty Vera and Friends facebook group to see all the whacky competition between 
CATS VERSUS DOGS this month.
You all have a great doggy day!
Wendy xox
Saturday, March 21, 2020

Dog Days Are Over - Wendy's Art Journal Page


DOG DAYS ARE OVER

ART JOURNAL PAGE

I decided to have some fun playing and experimenting with a few of the items from Aunty Vera Scrap and Craft this month. I had this idea in my head on making an art journal page but after doing a very cool background, my first plan got scrapped...lol...
Do you ever find that happenng to you? At first I wanted to use the stamp set Puppy Dog Tails from Dylusions and I had already stamped out those gorgeous looking dogs and coloured them...but...they just didn't work on my journal page background...so it was back to the drawing board, so to speak...lol


I used my paper doll journal, it still has a few blank pages in it and I really wanted to fill them up.

Starting to play, I painted my pages with a coat of gesso. Then brought out the Distress Oxides Squeezed Lemonade, Worn Lipstick and Mermaid Lagoon. This was my first time using these oxides so experimenting was a good choice. I dabbed each of the coloured oxides onto a pieces of acetate and gave it a squirt with my water bottle. Starting from the lightest colour Squeezed Lemonade, I dabbed the acetate with colour on to my pages. I did this with each colour consecutively until I was happy with the amount of colour on the pages. 


Now, I was really enjoying my play time which is why I forgot to stop and take more photos. I do appologise for that. 

When  the amount of colour, from the Distress oxides, was right for me, I picked up a black marker and decided to squiggle around the shapes that had been made from pressing the oxides on the page with the acetate. This really gave me much delight! I added another dimension to my background which I really loved. So much so, that I was quite happy not to continue any further on the pages...lol.
At this stage, I took my book outside and sprayed a sealer over the oxided background.
I left my pages on my table for the night and came back to them the next morning. Hmmmm...not sure if that was a mistake or not because I still wanted to NOT add anything else to the pages...lol.

The images from Dylusions Puppy Dog Tails I had stamped the day before were really not giving me any joy. I had coloured them the night before and when I placed them on my background, they got completely lost....hmmmmm,...NOT HAPPY JAN!

Anyway I decided to put the pre-stamped and coloured images to the side and draw and make myself up my own little puppy dog. I grabbed some recycled cardboard and a pencil and drew my own quirky or whimsical puppy dog.

I kept each part of the dog seperate: the body, the head, the ears, the hind legs, the front legs, nose and lastly the eyes. I drew and then cut out each part of the dog. I used the Echo Park I Love My Dog pattern papers (the scraps left from the previous project) and covered each dog part. Just mixing and matching until I liked what I saw. 


I went round the edge of each piece with a black marker and then glued the pieces together and there you have him...my doggy! Poor thing I still haven't named him...lol lol

When I brought my journal back in front of me, I felt something was still missing from my page so I added a border. I used a piece of the Echo Park Co-ordinating paper in red and cut a few strips of border in a zaggard style. I then glued that on to the edge of my pages.


Once the border was in place, I grabbed another off cut of the Echo Park I Love my Dog patterned paper and hand drew my theme title for the month...DOG DAYS ARE OVER...
I used a ruler for the letter height and when done cut them out.


I also used my black marker and edged each letter. I glued my title on the left side of my layout and then used foam tape with a bit of wet glue and placed my doggy on the right hand side of my layout.


My red border was still looking a little drab to me so I used my black marker and edged it and then I also added some black circles around the red border....liked that much better with some spots

You can see the whole process of this cute layout come together in the video below:


Don't forget the little competition going on at Crafty Vera and Friends facebook group...
--CATS VERSUS DOGS--

GO THE DOGGIES!!!

You all have a great doggy day!

Wendy xox

Saturday, March 14, 2020

Dog Days Are Over - Wendy's Mini Accordian Puppy Album


Mini Accordion Puppy Album


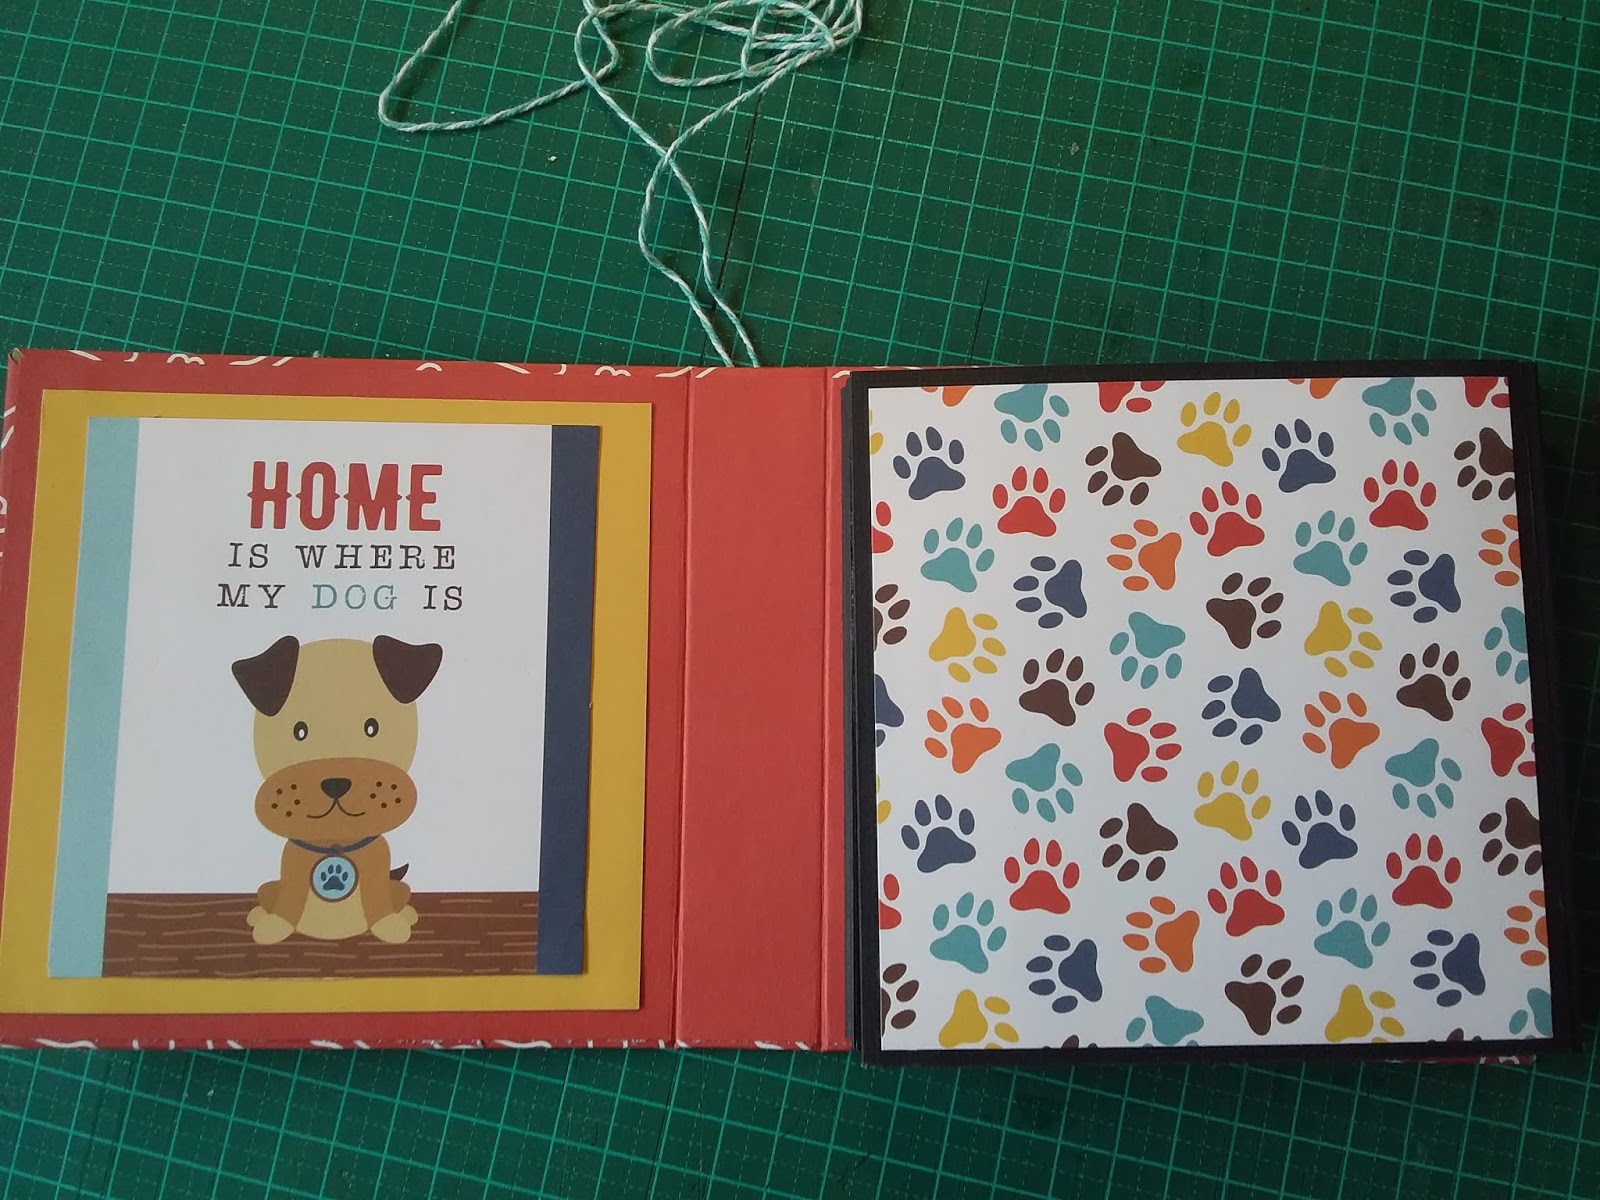
How wonderful would it be to make a special mini accordion album to store your precious photos of your beloved dog in? I think it would be pretty cool, indeed!
In this day and age of technology, people are forgetting how cherished an actual hands on picture of someone, something and even our pet dog can feel.
Today, I decided to make a mini accordion style album, a place where you can store and proudly show off your family loved pet dog...

What I used:
*Graphic 45 Chipboard sheets
*Echo Park I Love My Dog Collection
*Echo Park I Love My Dog Coordinating Paper Pack
*Sew Easy Fancy Floss (for tie closure)
* A Brad
* An awl or something to poke a hole in cover with.

The Cover
Cut two pieces of the chipboard at 5 by 5 inches and one piece at 5 by 1 inch. This is the cover for the album. To cover the base, I used the reverse side of the 3x4 journaling card sheet of paper. This was cut at 7 inches and leaving it 12 inches wide.


When placing the chipboard on the patterned paper leave about an 1/8th of an inch space between each side of the spine.


I glued the chipboard on with double-sided tap as well as a little wet glue. Then cut the corners off diagonally. Then I used a stylus to score along each side of the chipboard to make an easier fold of the flaps. Then I used a wet  glue to glue each side down.


I grabbed the red corordinating coloured paper and layed it on the inside of the cover and marked off the places where I had to cut it down, so it would fit nicely on the inside. I used double sided tape with some wet glue to adhere the inside cover on. When it was dry, I gently scored down each side of the spine to make the papers bend easier.


The Pages
For my pages (there are a few) I used some black cardstock from my own supplies. I cut the black cardstock at 9 3/4inches for the width and cut the height at 4 3/4 inches. You will need to cut five pieces of black cardstock for the pages. 


I then scored the width side at 4 3/4 and 5 inches. This gives you a 1/4 of an inche spine in the pages.


Putting the pages together, you alternate the spines. So if you start with a spine on the left side, your next page spine will be on the right hand side and then the next on the left hand side...alternating the spine. This is when you decide if you want to add pockets to your pages before gluing them. You can add a pocket at the top or on the side. I chose to add a pocket at the top so I only glued down both sides and at the bottom of my pages. This gives me a nice big pocket at the top where I can add a large mat for a photo.


When my 5 pages were all glued together. I cut out 10 mats from The Echo Park I Love My Dog Collection and 2 mats from the corordinating paper pack to decorate the black pages. These mats were cut at 4 1/2 by 4 1/2 inches and attached to each black page with double sided tape.


Before I attached my accordion pages to the cover. I poked a hole in the middle of the back cover near the spine. I used a brad and tied a length of the Sew Easy Fancy Floss on to it and pushed the brad through the hole. I placed a small piece of tape over the spikey bits of the brad just to protect the cover paper a little. This gives you a novel tie closure on the album.


I then attached my pages to the inside bottom cover with some double sided tape and wet glue. I glued another mat over this inside cover.


Time to Decorate:
I used two of the 3 by 4 journaling cards from the I Love My Dog collection, placing one on the inside front and one on the inside back.


I made four photo mats to go into the pockets. These were cut at 4 1/4 from the back cardstock and rounded the corners of each. I then cut 4 more in the plain coloured coordinating papers at 4 inches by 4 inches and rounded the corners. And glued the coloured mats onto the black mats. The mats fit in the pocket nice and snug.


mats in pockets


I decorated the front of my mini album with another 6x4 quote image from the Echo Park I Love My Dog Collection and backed it on to some black cardstock.


Some pictures of the pages with the beautiful coloured patterns.


I absolutely love the end result of my mini accordion album and hope to gather some dog pictures from our Crafty Vera and Friends Family to add to it to make it complete.

You can view the whole process below :


Let me know if you make one for your family dog in our facebook group, I'd love to see it!

Don't forget the items and papers I used are discounted for the month of March
at Aunty Vera Scrap and Crafts  online store.
You all have a good doggy day!
Wendy xox

Saturday, March 7, 2020

Dog Days Are Over - Wendy's Dog Themed Pocket Letter


DOG THEMED
 POCKET LETTER

This month in Aunty Vera Land is going to be a fun competitive time, where Aunty Vera is playing Dogs against Cats. I chose 'dogs' because who wouldn't want a 'man's best friend' right at his side. I, unfortunately don't have one but that doesn't stop me from bringing the best 'dog' themed projects to you for the month.

This first project is a fun and colourful 'Pocket Letter'.
One that you can keep for yourself or send it to a friend to show how much you also care for their dog! And, inside the little pouches you can fill it with crafty goodies that they can use in their own projects in the future.

Background: The first pocket letter was put together by Janette Lane in February 2015. Shortly after that there was a mad rush by crafters in making them and pocket letters became a craze. The craze has since died down but occassionally you still see the pocket letters popping up here and there, where they are still being used in swaps or to send Happy Mail in.
The pocket letter I am showing you how to make today is slightly different than the norm, this one has a shaker pocket in the center middle pouch.


Let's Get Started:
What I used:
*Echo Park I love my Dog Paper Collection
 and the coordinating plain paper pack.
*A 9 pocket plastic sleeve (mainly used for collector cards)
*Aunty Vera Washi Tape - "Puppy Dogs"
*Sequins or gems for shaker
*double-sided tape/ dimensional tape
*A selection of ribbons or fibers for decoration
*A selection of crafting items to place in pockets


To start, I used the coordinating plain paper pack from Echo Park I love my dog collection and chose a few of the wonderful bright colours. You will need to cut 8 pieces from this paper and I 'mixed and matched' the colours.
 Cut 8 pieces at 2 1/ x 7 1/2


Score each piece at 3 1/2 and 7 inches. Fold in half at 3 1/2 inches and then fold at 7 inches to make a flap. I like to round the corners on the small flap but this is optional.


I cut  out the 3 by 4 journal cards from the collection and made myself a template at 2 1/4 by 3 1/4. This makes the front image a little smaller in size than the folded pocket. It will leave a nice little border around the edges so you can still see the colours of the base papers.
I also rounded the corners on each image cut.


I worked out where I wanted each front card placed on the individual pocket pouches and before gluing them down, I went around each image with a black marker to put and edge on them. I then used double sided tape to stick them down.


When I had the front images adhered to the pouches I put them aside for awhile so I could work on the plastic sleeve. I used Aunty Vera's washi tape and ran a strip along the side of the sleeve where the holes are on both front and back and then repunched the spot of the original holes.

I started to then work on making the shaker pocket in the center pocket of the sleeve. I placed some sequins and a few charms in it and then sealed it up. I placed a strip of double sided tape on the inside of the plastic pocket right at the top, which sealed it together. I then ran a small strip of the same Aunty Vera Washi tape along the top outside of the pocket which gives it a double type of seal.
And the shaker pocket is made.


I was now up to decorating the back side of my paper pocket pouches. I cut around some of the small images from the other Echo Park pattern papers and also used more of the washi tape. I also cut some of the words from the Puppy Love paper and added them to the back decorations on the paper pockets. I used a small piece of dimensional tape to place the words down. As a personal touch, I used my black marker and drew a line border around the edges of each pouch and added a squiggly line to it.

I also added some ribbons and fibers to the side of the pocket letter as a decoration.


Finished backside of Pocket Letter.


Finished Front side of Pocket Letter.


Below shows individual front and back images and also the contents of goodies I placed in each pocket.....


I really enjoyed putting this pocket letter together and I hope you will make a themed 'doggy' one for yourself or a friend. You can watch a process video by clicking below.


Don't forget the fabulous discounted items for this month
 at Aunty Vera Scrap and Craft Online Store

You all have a great day!
Wendy xox
WOOF WOOF !!!!

Related Posts Plugin for WordPress, Blogger...