
Suzanne has been busy creating spectacular underwater backgrounds for her Seaside cards. Have a look below and click on the link at the end of the post to SEA her creating process....

Hello and ahoy my crafty friends. The September kit from Aunty Vera Scrap and Craft is an absolute beauty for land lovers and us sea loving folk alike. I have been having the best time with the kit. I hope you can get your hand on one before they disappear.
For this project I made three cards. All three cards have the same kind of background. I made these interesting backgrounds with a piece of 5 1/2 x 5 1/2 inch white card stock, some mod podge, the colour burst from the August kit, gesso and the white backing of some napkins that I have been using for different projects.
First, I crunched up some of the napkins and applied this to the cardstock with mod podge.


When placing the napkin on the surface I make sure to have lots of bumps and lumps before flattening them out. This ensure that your surface will have lots of texture. The more lumps and bumps the better.
I then used a white piece of napkin and wet it thoroughly before sprinkling it with the colour burst from the August kit.


Sprinkled with color burst

After sprinkling with colour burst, I wet it some more to spread the colour

I then dried the napkin

And then I crunched it up

I then mod podged this to the other layers. A note of warning here folks, the color burst will react with the mod podge, so do not put your brush back into your mod podge.

I poured the mod podge on to eliminate any chance of getting blue into my mod podge

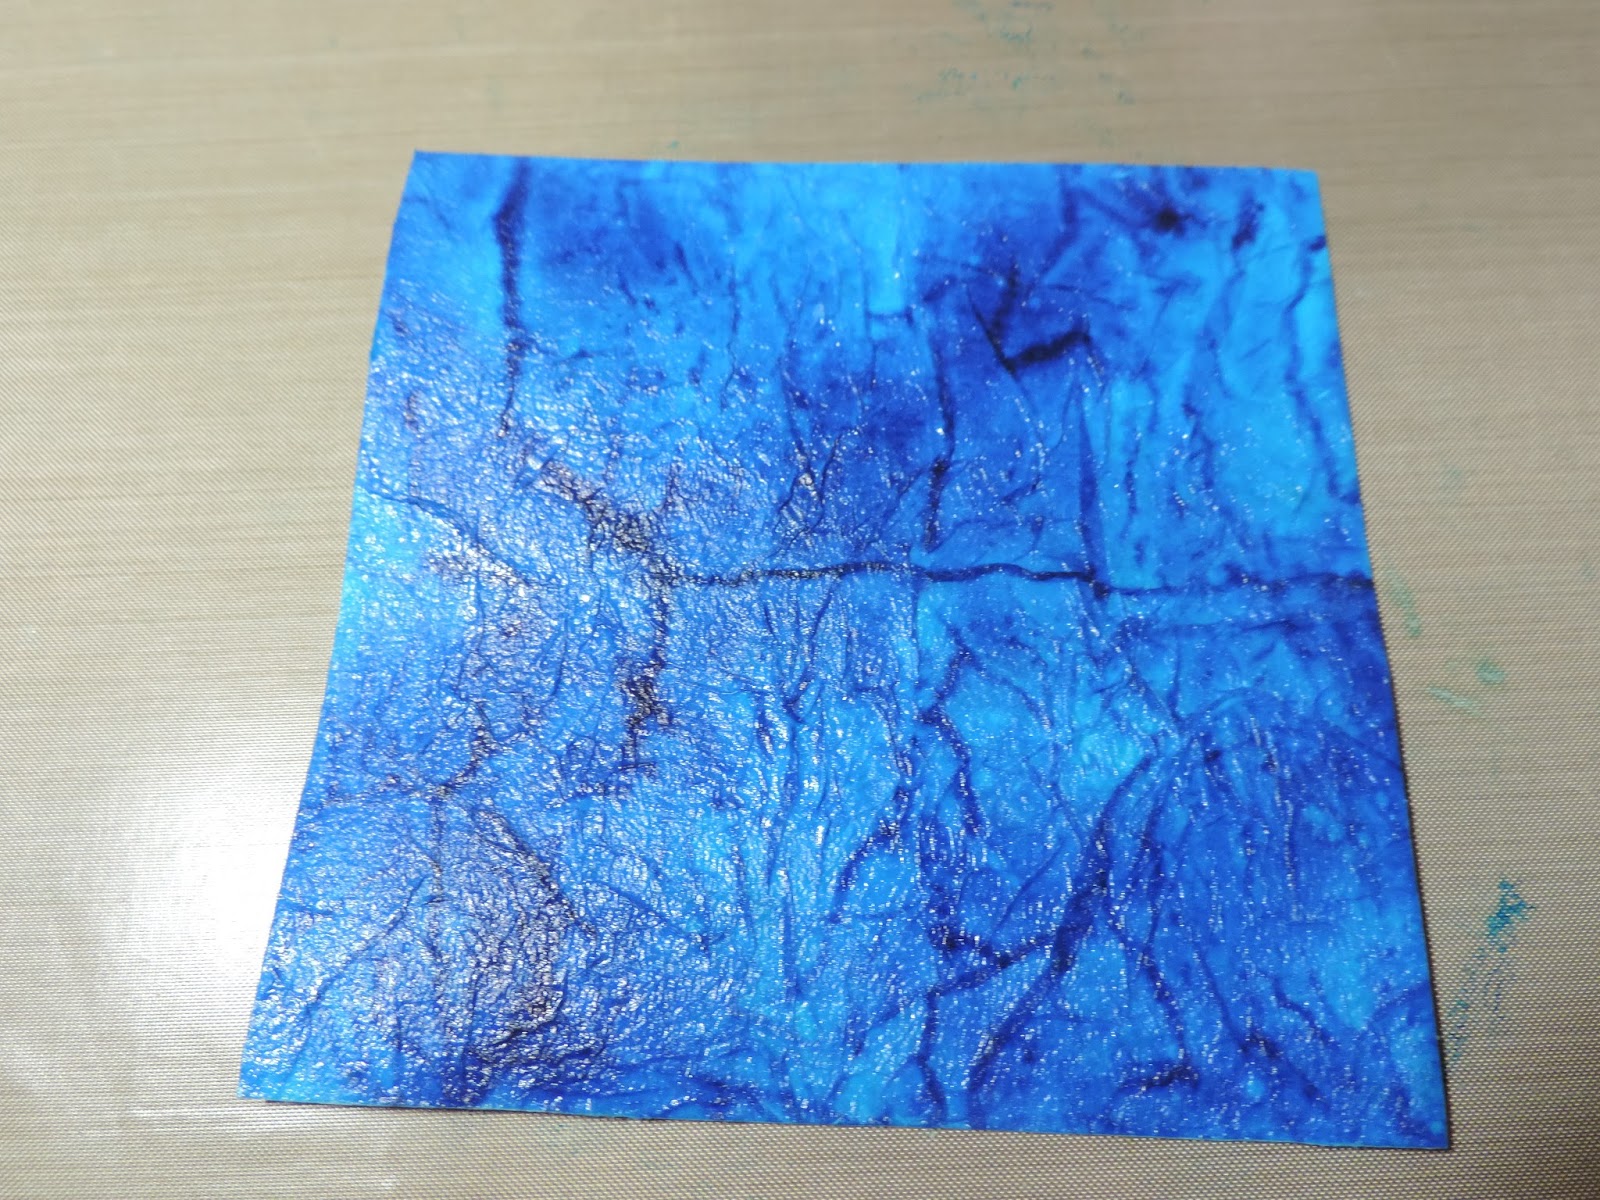
This is what it will look like when the pod podge dried. This would also make a terrific background, but I was looking for a different look. I wanted it to look like peeling and cracking paint.
Then I used Gesso to scrape over the entire surface

Scrape the Gesso across the surface

Dry this surface with the heat gun.

A close up of all the texture that you can get using this technique.

These are the three background that I ended up with using this technique. Each a little different. Sometimes I added a little water to the gesso so that it was a little thinner to get a different look.


CARD 1
For the first card I used one of the 3 x 4 cut a parts from the Echo park 'under the sea' collection which is in the September kit.
I also used one of the Santoro Gorjuss girls stamps from the kit and coloured it with my prismacolor pencils

I also used the Little B washi tape to cover some cardstock and then diecut a seahorse. I used the liquid pearls to add his eye

The beautiful ocean blue liquid pearls was perfect to colour an air dry clay star fish.

I added some matte gel medium to adhere some German glass glitter shards to the star fish. I used some inka gold to colour some other air dry clay shells.

Some of the hessian ribbon was perfect to layer under the 3 x 4 cut apart.

I also layered the background onto another piece of the echo park paper which I distressed before putting this on a white card base.

Here is the finished card.
CARD 2
The next card I made is a shaker card.
I die cut a frame and coloured it with the ocean blue liquid pearls and added an acetate piece for the windows

I cut several layers to make it thick enough to form a shaker.

I used a piece of paper from the Under the sea collection to be the background as it already had some fish and bubbles on it. Don't adhere it to the back yet. Just place it where it needs to be to be able to place some more elements.

I then used some of the little Doodlebug shape sprinkles inside the frame to create an underwater scene.

Some German Glass Glitter shards, blue glitter and some blue micro beads were used for the shaker.


Place the shaker bits into the window area before adding the background paper

More of the hessian ribbon was used as a layer underneath the sentiment which came from one of the 4 x 6 cut a parts.

CARD 3
This last card is my favourite because I have used my favourite thing from the September kit. The Gorjuss girl is just so lovely and for this card I used my watercolour pencils to colour her.

I used one of the sentiment from one of the 4 x 6 cut a parts from the under the sea collection from Echo Park and layered this sentiment on a piece of watercoloured paper that matched the Gorjuss girl's outfit.

I also made some little flower to add to the top left hand corner of the card and to the bottom of the sentiment.


Thanks for taking a look at my cards. I hope you like them.
You can see a video showing how I made the backgrounds HERE.
You can see a video showing my three cards HERE.
You can get the September kit HERE.
Thank you for joining me today
xx Suzanne xx

WOW!!
ReplyDeleteI love all 3! So different and all so wonderful xxA