I love Suzanne's project today - especially so because I am the proud owner of one of Suzanne's 2018 desk calendars...... it sits on my desk and I love it SO MUCH!!
So bonus! Today we get a sneak peek of some of Suzanne's 2019 (EEK!!) calendars AND also get a tutorial. What a great rainy afternoon project!
Happy Springtime everyone. I love this time of year. The birds are singing and the flowers are growing and Aunty Vera is sending out some beautiful paper in the September kit. Oh my goodness, I just love this kit and if you watched my unboxing video, you will know just how much.
For this project I decided to make a start on one of my yearly traditions. Every year I make quite a few desk top calendars which I sell at work and also give as gifts to people. They are super easy and if you get all your papers cut and ready to go, they take no time at all to put together.
I chose cardstock that matched the beautiful colours of the Echo Park 'hello Spring" paper pack from the kit.
I cut one 12 x 12 inch piece of cardstock into three 4 x 12 strips and scored them at 3 inches and 6 inches
I cut another sheet of cardstock the same colour into six 4 x 6 inch pieces
Then a co-ordinating colour cardstock into six 3 7/8 x 5 7/8 inch pieces
Then a piece of the beautiful patterned paper in six 3 6/8 x 5 6/8 inch pieces
I also cut 3 pieces of the mint cardstock into 2 7/8 x 3 7/8 inch pieces
and three pieces of patterned paper into 2 6/8 x 3 6/8 inch pieces
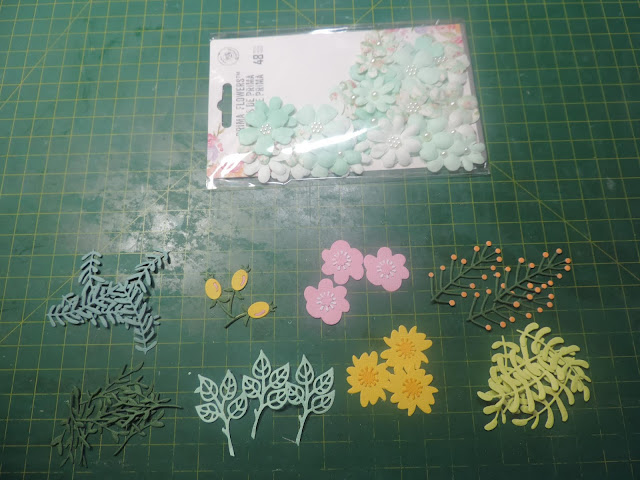
I used the lovely Prima flowers and some others that I had die cut to decorate my calendars.
Glue the layers together with the largest layer on the bottom and then the green layer and the patterned paper on top. There should be a small margin around each layer.
This is what the scored and folded base looks like
Glue one of the layered pieces to the bottom
The other layered piece is glued onto the front 3 inch section
The smaller layered piece is glued onto the back to give it strength
I die cut a piece to go under the sticky note pad and glued it onto the bottom layer of the calendar
and glued a small calendar onto a co-ordinating piece of cardstock
This is glued onto the top layer of the calendar
I used some die cut greenery to decorate the top of the calendar
Then added some flowers and a bee
Here are the three calendars that were made from the cut pieces
I hope that you enjoyed having a look at my little calendars.
They are so much fun to make and are a great stocking stuffer.
Don't forget to stop and smell the flowers.
Bye for now.
xox Suzanne
You can watch my process video HERE.
You can get the kit from Aunty Vera HERE.


You are the queen of paper flowers. Such a perfect touch. Great project!
ReplyDeleteThank you so much for this tutorial. Saving it now for a future project 😍😍
ReplyDeleteBeautiful work as always Suzanne xxx
ReplyDelete