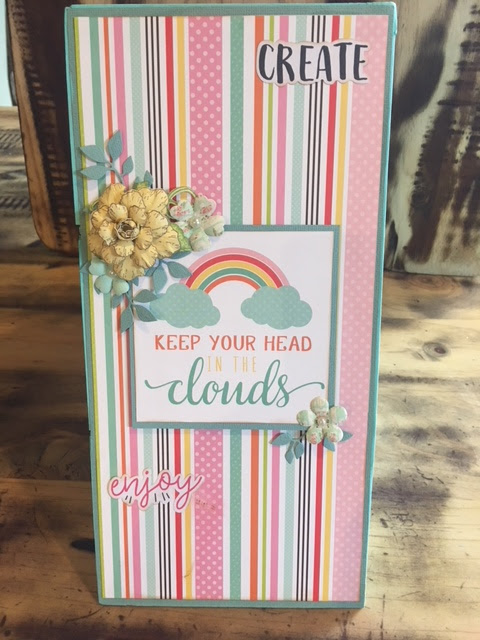
Tina is back today with another craft room organisation project - and this one is genius! Love love LOvE her marker tower!! I NEED this!!!
Welcome back everyone. This month I am all about the craft room and today, I have a really simple but great storage solution for my markers. I currently keep my markers in metal tins, so I wanted to create something that would fit nicely on my desk shelves. I also wanted something that would easily display the colours without having to dig into my tins for them.
First cut the base from chipboard at 12'' x 6'', the second base piece at 8'' x 6'', and the third which will be the top piece at 4'' x 6''.
I painted these on both sides in Little Birdie Chalk paint Sailing Sky and then added some kaisercraft cardstock - Duck Egg, on one side of the pieces ( you don't need to add the cardstock, I just prefer to add it).
Next I cut out what will be the shelves. Cut six pieces of chipboard at 8'' x 6'' and score with a craft knife at 4'' down the middle, but only slightly cutting into the chipboard.
I used the same method that I used for my tag organiser to join all the pieces together by cutting 1'' strips in white cardstock, scoring down the middle and burnishing well.
Once the painted pieces are dry, I glued them down on to the large 12'' x 6'' base. I started on the outer edge first, then 4'' in and glued that down.
Afterwards, I took the second base piece 8'' x 6'' and added two shelving pieces in the same way, but only two of them, again starting from the outer edge in at 4''.Then add the second piece in the same way. The top piece is just one triangle piece from edge to edge on the 4'' x 6'' piece. I added the paper strips to the top raw edges and then painted them.
Taking the two shelf piece, I added strips to the bottom sides and painted them also.
I glued this section onto the bottom section with the strips and then I did the same to the single top piece.
I traced the whole piece on chipboard, then cut it out, painted, and adhered to the back.
Now its ready to decorate. I cut out two pieces of the same Kaisercraft cardstock that I used earlier, at just under 6'' x 12'' and two pieces of the patterned paper from the kit (which I cut slightly smaller). I layered them and glued to the two sides.
I used some of the papers from the kit and some of the flowers to decorate the sides. The other flowers are from the lovely Suzanne Johnston (and they are stunning). The leaves are cut using the Tim Holtz - Garden Greens die. I also used some papers and stickers that came out of the May kit, which I thought worked well with this project.
And now my Organiser is ready for the markers.
The organiser has since moved to my daughters room (she kept telling me how she would love one for her markers :)).
I hope you enjoyed this project .
Thank you and Happy Crafting
Tina xxx
The September kit can be purchased HERE


This is fabulous, love it Tina. This kit is so beautiful.
ReplyDeleteGreat organisational project Tina. Looks pretty easy too 😍😍
ReplyDeleteSo pretty 💜 love that idea
ReplyDeleteThank you Ladies, this kit is so pretty. xxx
ReplyDeleteGorgeous and practical Tina. A wonderful idea indeed.. THinking I might have to do four rows, would be so handy.. thank you for this wonderful tutorial xx
ReplyDeleteThank you Donna. I have so many markers, when I have time I would like to make one two rows but maybe ten long to fit into my desk shelf. xxx
ReplyDelete