
Are you ready for Tina's second bird house? These are so pretty - totally on my To Do List!!

Hi everyone, today I have my second bird house project to share. This one I designed a little differently to the first one, but the basic construction is similar.

Start by measuring and cutting the structure in chipboard. ( I have shown measurements on white paper bellow).

Next cut the sides from A to B and B to C.

Here are the pieces cut out in chipboard, with the bird hole cut into the front.

I cut 1'' long strips of black cardstock, scored at 1/2'' and folded them.

Measure, cut and glue the strips on the inside of the front and back pieces. It is important to do it this way so that the roof fits nicely.


Reinforce the bird house by adding the strips on the outside.

Paint the inside black and do the same to the outside edges.

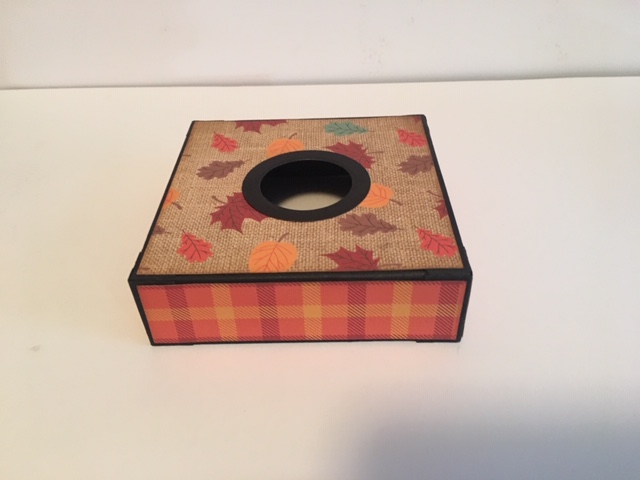
Now measure and cut the patterned paper and glue to the house. I used the one of the beautiful papers from the Echo Park - Celebrate Autumn - Collection which was one of this month's core products. I also added a black ring to the hole.

To make the roof I added a strip of the black cardstock to the inside of the roof pieces.

I painted the all of the inside and the outside edges in black paint and added patterned paper from the same collection.

I don't want the roof to open on this bird house, so I added the black strips to both left, right, front and back inside pieces as shown below.


For the base, measure and cut pieces in chipboard as shown below.

I cut a larger hole in the base piece, but not too big that it would show when the bird house sits on top.

Add the strips to the outside of the base as shown below.

Then add the sides by adding two opposite sides first, and then the other two, which will need to be slightly trimmed to fit properly. All the side pieces must sit on top of the base.

Strengthen the base by adding strips to the inside, then paint it all black.

Add the patterned paper from the collection. I added a black ring on the outside of the base, even though this won't show.
Add strips to the inside bottom of the bird house.

Glue to the base.

I also made a smaller base that slots in to the top base for the battery operated light box to sit in.

Now it's time to decorate. I cut out a fence using my Tim Holtz - Village Bungalow - Die.


Here are both bird houses.

I hope you enjoyed this project.
Thank You and Happy Crafting
Tina xxx
Here are a list of the products I used for my projects this month which are on sale at Aunty Vera Scrap and Craft
Core Products
Echo Park - Celebrate Autumn 12 x 12 Collection Pack.
BoBunny - Double Dot 12 x 12 cardstock in Ocean, Chocolate and Decaf.
Tim Holtz Blueprint Stamp Set - Autumn.
Chosen Products
Carta Bella - Fall Break 12 x 12 Sticker Sheet.
Carta Bella- Fall Break - Chipboard Phrases.
Carta Bella - Fall Break- Decorative Brads.
Prima Flowers - Amber Moon - Willow.
Ranger - Embossing Powder - Copper Tinsel

It just get's better and better Tina.. I am going to case both these houses and thank you for sowing us a wonderful inspirational projects.. xxx
ReplyDeleteThank you so much Donna xxx
ReplyDelete