
I love birdhouses SOOOOOO much!! So I'm really excited about Tina's 2 part birdhouse project.
Today - Birdhouse #1.... swoon swoon swoon!!!

Hello everyone, today's project is part one of a set of two home decor pieces. I have made two cute little birdhouses that light up for a beautiful night light.
Here is the first one.

To start, cut the front, back, two roof and two side pieces in chipboard as shown below ( I have shown this in white cardstock), I used 950 gsm chipboard.

Measure the front and back pieces as shown below in red pen.

Cut both pieces from A to B and B to C.

Here are my pieces all cut in chipboard.

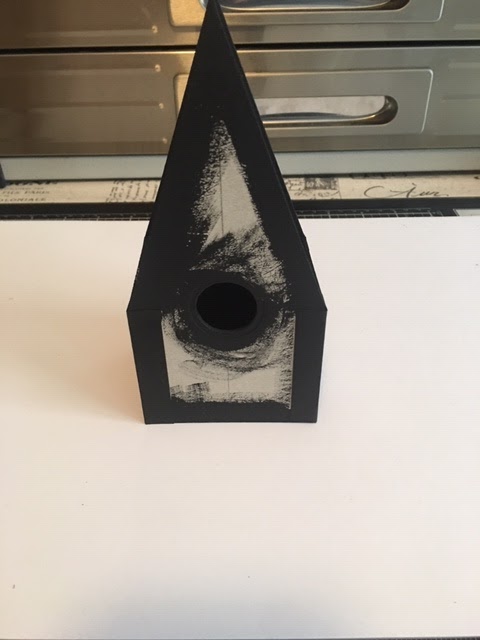
Cut a hole on the front piece, I used a thin circle die which did not cut through the chipboard completely, I cut through with my craft knife.

Next cut the patterned paper, I used BoBunny Double Dot 12 x 12 Cardstock - Decaf. I did this before assembling the birdhouse so I could easily check that the pieces fit well. I also inked the edges with Distress Ink - Vintage Photo.

To attach the pieces together I used strips of black cardstock cut into strips 1'' wide and folded at 1/2''.

Measure the strips as needed and attach to the side pieces on the 2 1/2'' side. Attaching them to the side pieces instead of the front and back first ensures that the sides are on the inside of the front and back. This is important so that the roof pieces fit properly.


Reinforce the birdhouse by adding the strips to the outside also.

Paint all of the inside and the edges of the outside in black paint.

Now cover with the patterned paper. I also added the black cardstock strips on the left side of the birdhouse. Only add them to the left side as this side will be glued in place and the right side will be able to open ( to access the tea light). I covered the hole with the circle die and a larger one taped together and cut it in black cardstock to make a ring.

For the roof paint the two chipboard pieces in black paint. I painted one side completely and the other on the edges.

Cut the patterned paper pieces from the Echo Park - Celebrate Autumn - Collection Pack and attach them to the chipboard roof, on the sides with the edges only painted.

On the inside add a strip of the black cardstock to only the top edge,

Now attach the left side of the roof to the left side of the birdhouse by adding glue to the strips we added earlier.


The left side is glued down but the right side will open.

For the base, cut four pieces of each size as shown below.

Glue the four pieces on top of each other. Cover with black cardstock and then with the patterned paper on the smaller piece.

Glue the smaller piece on to the larger piece and add some little feet.

I added more of the strips to the inside bottom of the birdhouse and glued the birdhouse to the base.

I decorated the little birdhouse with some tree moss, a flourish ( I coloured with Tattered Angels - Glimmer Mist - English Ivy) and berries from the Prima Flower Pack I had chosen this month, some little pine cones and two butterflies I fussy cut from paper in my stash.


Here is the right side opening.

The opening is for me to add battery operated tea lights, I used colour changing ones.

I hope you enjoyed this project.
Thank you and Happy Crafting
Tina xxx
Here are the products used for my projects this month which are on sale at Aunty Vera Scrap And Craft
Core Products
Echo Park - Celebrate Autumn 12 x 12 Collection Pack.
BoBunny - Double Dot 12 x 12 cardstock in Ocean, Chocolate and Decaf.
Tim Holtz Blueprint Stamp Set - Autumn.
Chosen Products
Carta Bella - Fall Break 12 x 12 Sticker Sheet.
Carta Bella- Fall Break - Chipboard Phrases.
Carta Bella - Fall Break- Decorative Brads.
Prima Flowers - Amber Moon - Willow.
Ranger - Embossing Powder - Copper Tinsel

WOW Gorgeous as. Love this Tina xx
ReplyDeleteThank you Donna xxx
DeleteVery special. I think it's a bit above my level, but its wonderful to see others hard work.
ReplyDeleteThank you Jan xxx
Delete