
Here's a special Easter Sunday project for you........ Tina joins us today with her tutorial for a three-in-one explosion box. Great for any occasion but how gorgeous is it in the BoBunny 'Cottontail' papers?


Hi everyone. What a wonderful month of projects the Team have created, and we are not even half way through the month. I have joined the lovely girls for one project this month, and I thought I would share a project that was requested by my Secret Santa recipient from 2018 (through Admin) on Crafty Vera and Friends Facebook page. I had purchased the BoBunny papers months ago, that are featured in this month's theme and thought this would be a good opportunity to share my tutorial. Thank you Donna, who was my Secret Santa recipient (you would have known after this) for requesting this tutorial.
The box I designed has three layers and each layer is a pocket. My original design had a lid for each layer but in this and Donna's box I only made the outside lid.


To start, I cut the three base pieces in white cardstock.

Then score as shown in blue marker.

Cut away the corner pieces at an angle.

Next I cut the side pockets as shown below.

Again score as shown with the blue marker below.

Snip away the 1/2'' corners and fold on the score lines.

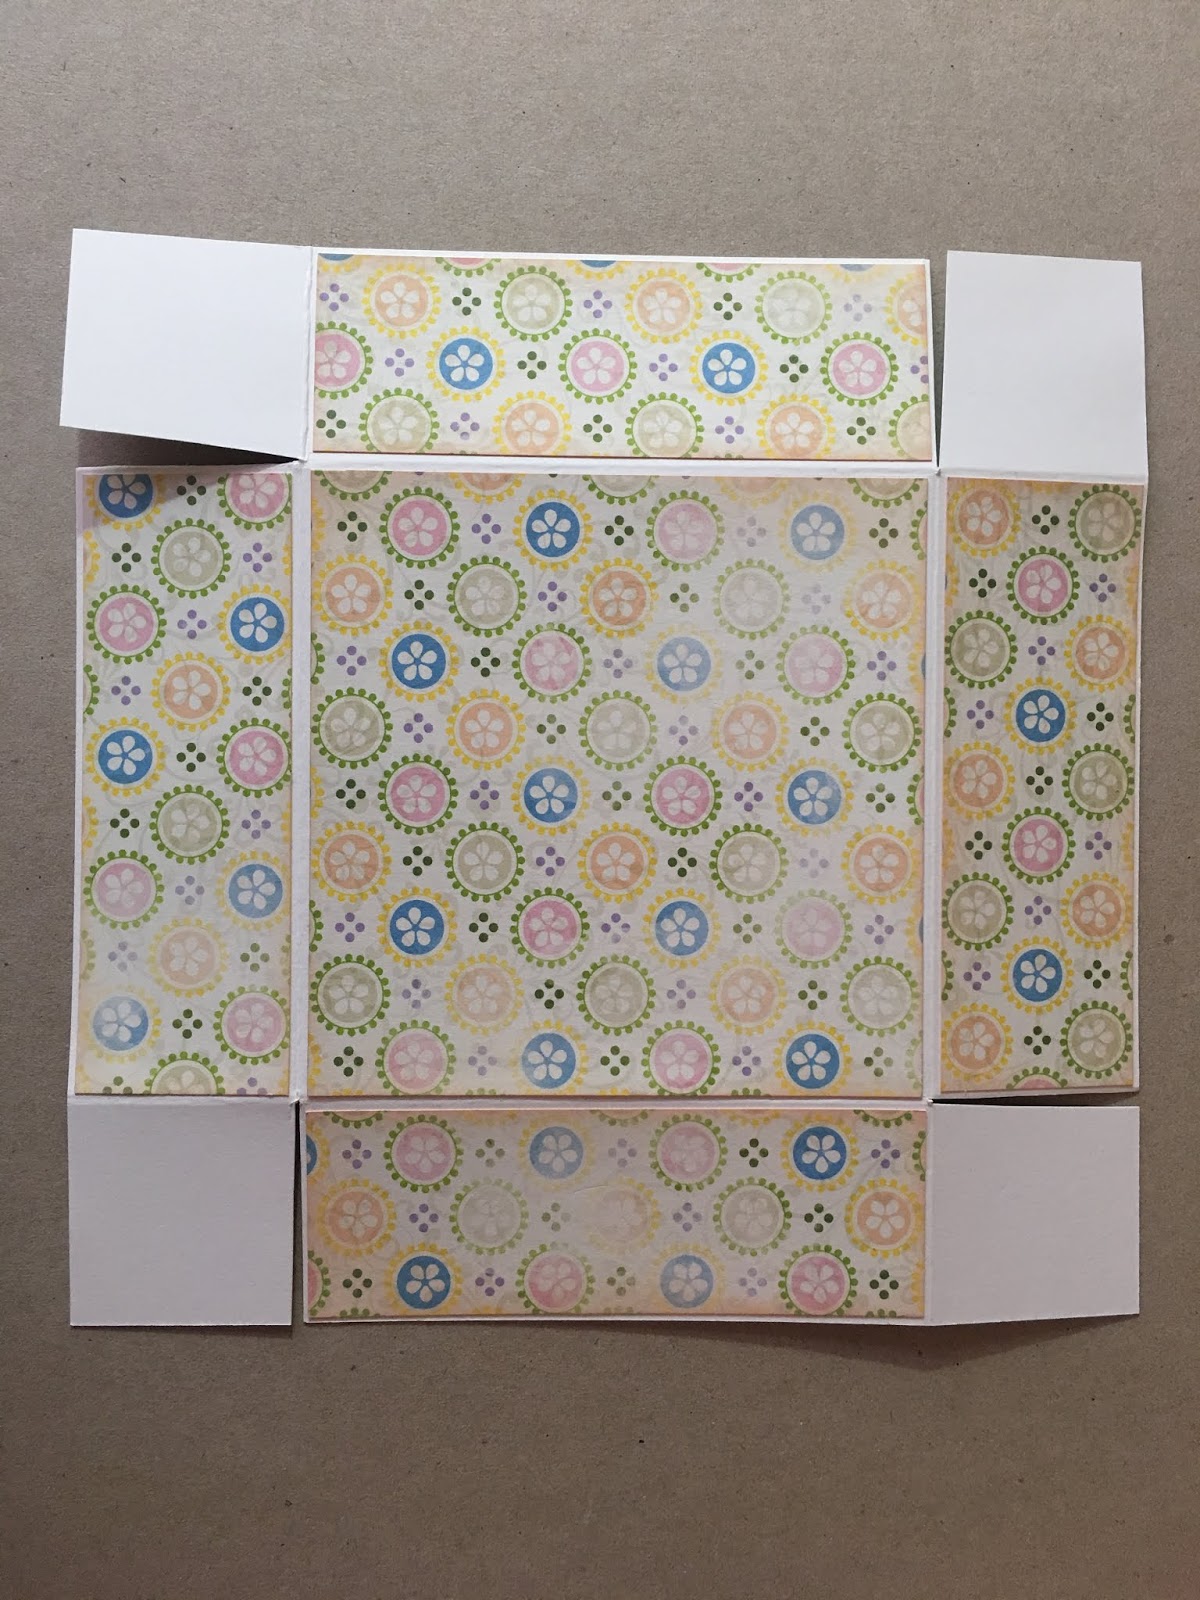
I cut all my patterned pieces from the BoBunny - Cottontail Collection, slightly smaller than than the pockets.

Glue the patterned paper on the front of the outer pocket as shown below.

Line up the inner patterned paper with the top of the pocket and tape in place with washi. I used the Sizzix Thinlits Die - Stacked Baroque to cut the decorative opening. Line this die as shown in the image below and hold in place with washi tape.

I marked the center with pencil on my paper and die to make sure it lined up properly and used the curves on the die to line up on the edges.

Remove and repeat on the other three outer pockets. I inked all my edges with .Distress Oxide - Tattered Rose
Glue onto pocket.

Add glue to the 1/2'' flap and glue the pocket together.

Now add glue to the base A flap, front and back and slide the pocket into place. Repeat on all the pockets. The inside will look like the image below.

The outside.

Make the pockets for bases B and C and and glue them onto each other.. I did not cut a decorative opening on those, but they can be done with smaller dies for each one. I added a piece of the dots cardstock to the center.

To make the lid cut white cardstock 7 1/8'' x 7 1/8''. Score at 1 1/5'' all around and snip the corners as shown below.

Decorate with the patterned paper, then glue the sides to the flaps.
At this stage I decorated the lid with a cutout from the collection and a beautiful hand made flower that was sent to me from my lovely friend Suzanne Johnston.

As this will be a gift for a very dear friend I won't be showing what I will fill each pocket and the inside of the box with, I want to keep that a surprise. I hope you enjoyed this tutorial. If you would like to have a look at the inside of Donna's box, click HERE
Thank you and Happy Crafting
Tina xxx
Everything I have used for this project can be purchased at Aunty Vera Scrap And Craft, and the papers which are the core products for this months theme are on sale.

Love this explosion box 😍😍
ReplyDelete