

Hi everyone, hope you are safe and well 😊It's that time again that kids get all excited about! And maybe some adults too! I have always loved chocolate and Easter was a great excuse to over-indulge. Now that I am an adult - I don't need an excuse anymore 😉
I love the gorgeous Bo Bunny Layered Chipboard Pieces in this months kit and decided to make some cards and a lovely tag using these.
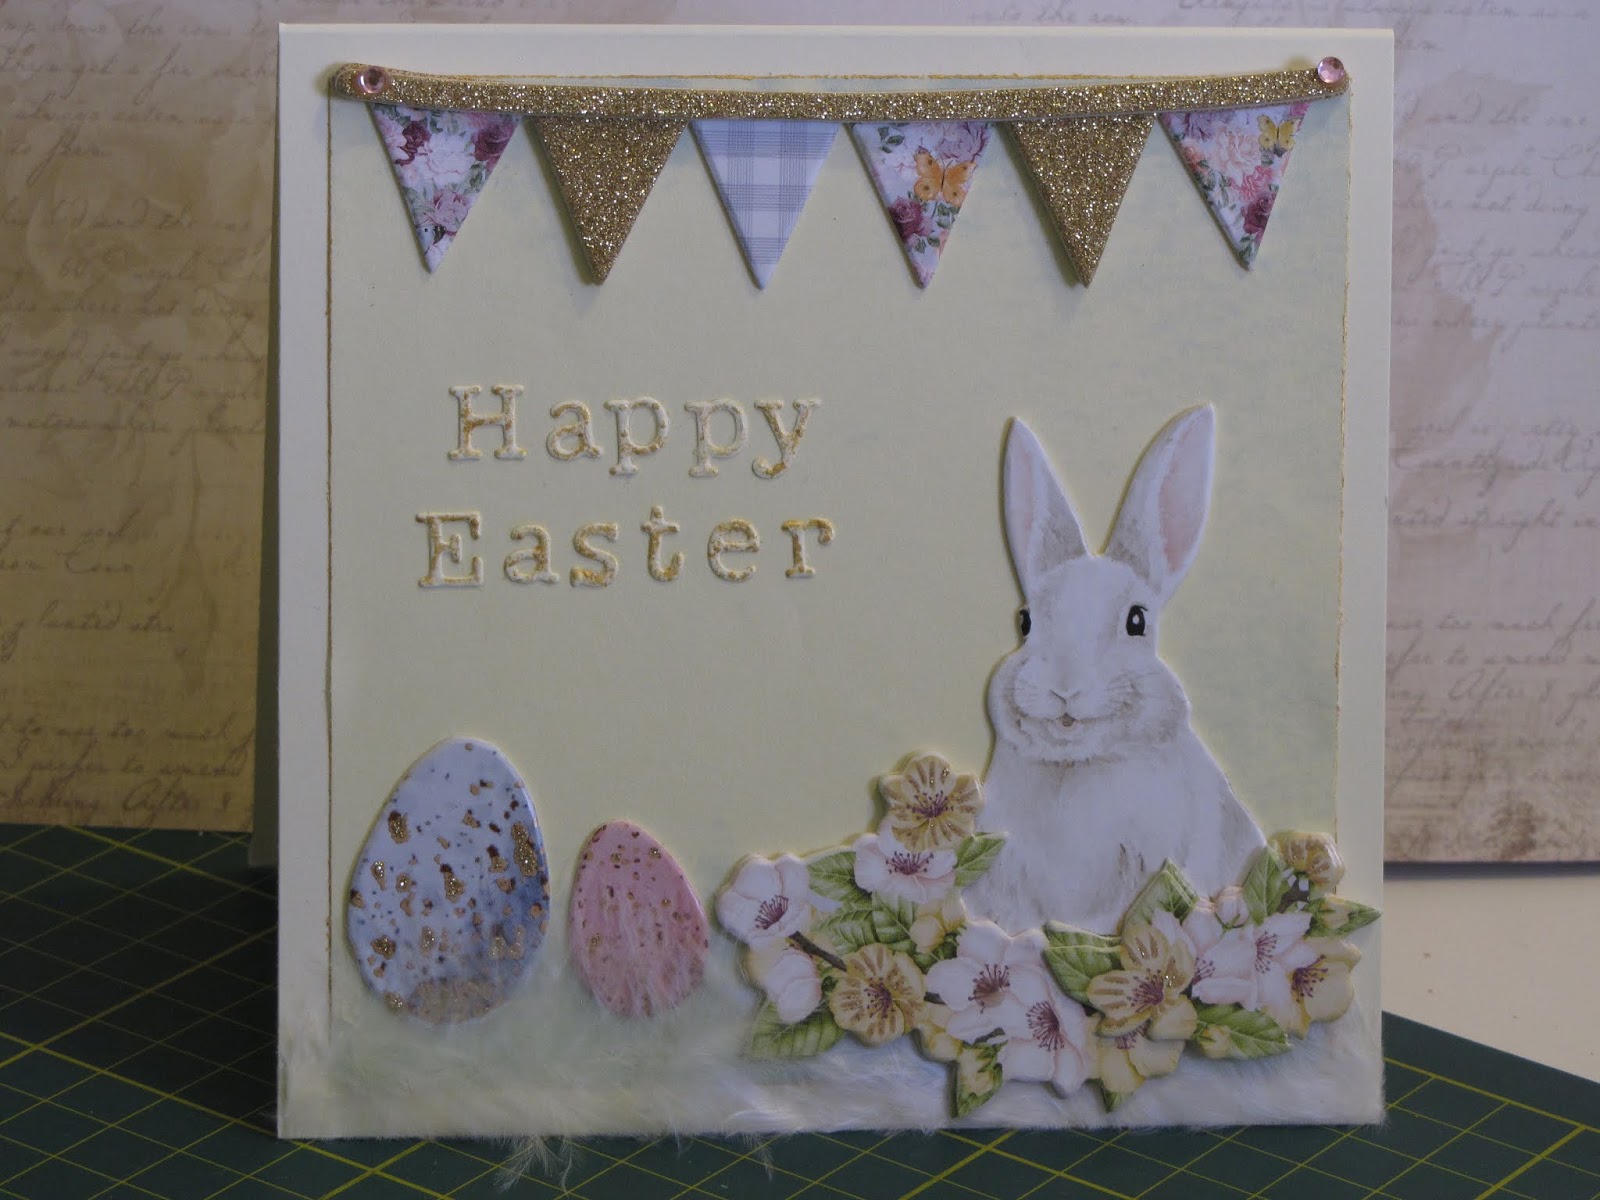
For my first card I also used my Inka Gold (any excuse as it is one of my favourite items from Aunty Vera at the moment!) and found some cream cardstock, a sheet of decorative paper and some feather trim from my stash.

Firstly I set about cutting my cardstock 10" across and 5" tall, then scored this at the 5" mark and folded it to make a card base. I cut the decorative paper 4 and 1/2" by 4 and 1/2" so it fit nicely on the card front leaving a thin border. The Inka Gold was applied to the edges of the decorative paper using the tip of my finger to add a little definition and glitz.

I also rubbed a little Inka Gold onto some letters spelling "Happy Easter" that I had previously die cut from the cream cardstock off-cuts.

The feather trim I first chose was a little too bulky, so I found a packet of yellow and white downy feathers which I cut to size. Double sided tape was applied along the bottom of the card and the base of the feathers on one side of the quill were adhered to this. I stuck the sweet Bo Bunny chipboard rabbit over the white feathers and the Easter eggs chipboard pieces underneath the yellow ones. The sparkly banner fit perfectly atop the decorative paper.

I trimmed the feathers to take the thick quill off, leaving nice downy fluff at the base of the card which softened the edges of the chipboard pieces. Now it's time to apply the letters using a fine tip glue applicator bottle.

The Bo Bunny Layered Chipboard pieces made it a breeze for a novice card-maker like me to make a gorgeous Easter card and I love how the colours of the pieces marry so well with the decorative paper and plain cream cardstock I found.
Next I grabbed the "Tranquility" paper from the Garden Grove collection as I had been itching to fussy cut from this!

I cut the flowers and butterfly from both bottom corners and rubbed Inka
Gold on to highlight the straight edges and applied Distress Ink "Seedless Preserve"
to the rough cut edges

I
grabbed more of the die cut alphabet letters cut from the cream
cardstock and used my blending tool to colour these with the "Seedless
Preserve" Distress Ink. The colour matches the roses perfectly.

I cut another card base (10" by 5"
and folded in half) using the cream cardstock and glued the roses to the
top and bottom of the card front. The little tags from the Bo Bunny
Layered Chipboard pieces fit snuggly in the bottom left corner and the
inked letters topped it off nicely. I added a touch of Inka Gold to the
edges of the card front to match the edges of the fussy cut roses to
finish it all off.


I
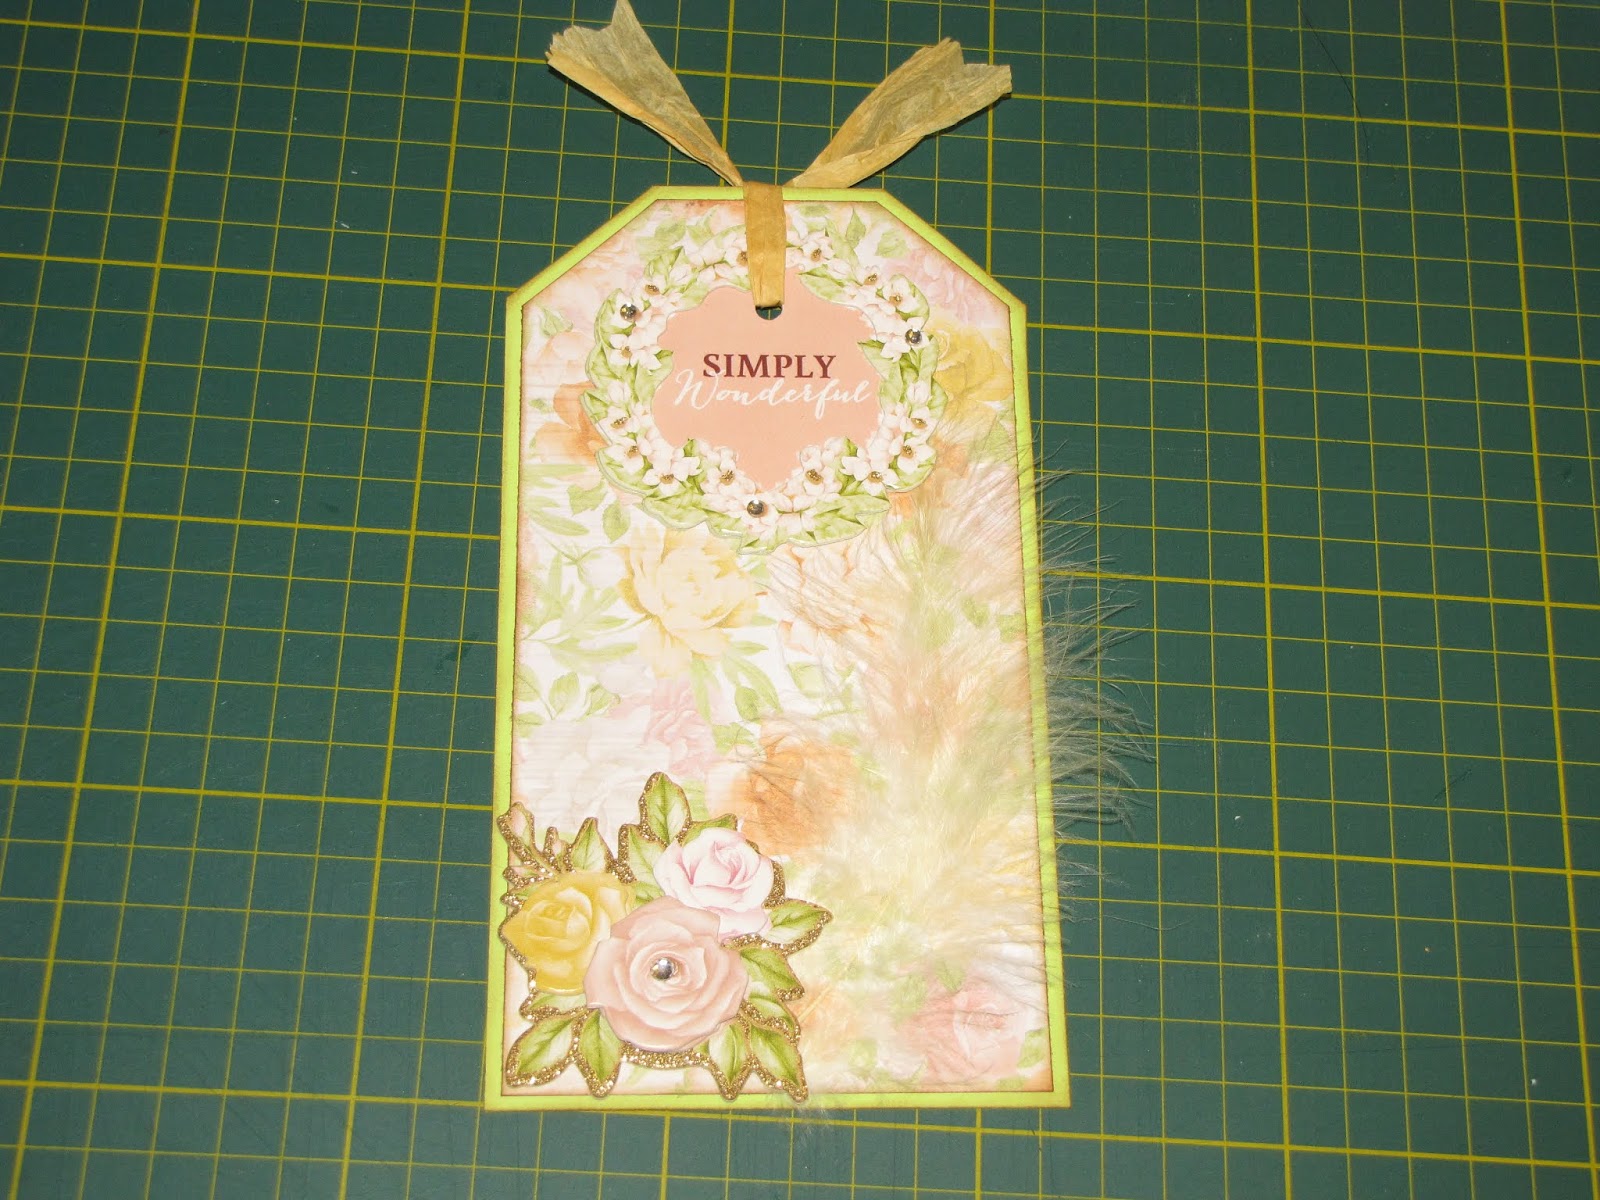
found some green cardstock that I felt complimented the Bo Bunny
"Spring" paper nicely and cut large tags out of both. The "Spring" paper
tag measured 6.5" by 3.5", and the green one 6.75" by 3.75". I cut
the corners on the Bo Bunny paper first then lay this on the green tag
and used it as a guide to cut the corners, leaving even margins on the
green tag. I inked the edges of both tags with "Vintage Photo" Distress
Ink.

I
glued the tags together and added one of the beautiful downy yellow
feathers from my stash, my daughter left a pile of these here when she
moved out and I have been desperately trying to use them up! I punched a
hole for a ribbon to go through the top of the tag.

The
two remaining pieces of the chipboard pieces were stuck on the tag, the
beautiful roses down on the bottom left corner and the "Simply
wonderful" tag was adhered at the top so that the hole in it lined up
perfectly with the one I punched in the tag behind. I found some
secondhand yellow raffia ribbon which was the perfect accompaniment to
finish it all off.
I
love how pretty, bright and cheerful my Easter cards and tag turned out
and hope you are all enjoying some crafting time yourselves.

Take care and have fun crafting!
Nat xxxThe Aunty Vera Scrap and Craft products used to create these projects are:
- Bo Bunny Layered Chipboard pieces
- Garden Grove "Tranquility" Paper
- Garden Grove "Spring" Paper

These are lovely Nat xox
ReplyDeletelovely cards and tag Nat. x
ReplyDeleteBeautiful Nat xx
ReplyDelete