Saturday, June 29, 2019

C is for Cookie - Tina's Tag Mini Album

Hello Crafty Friends!
What a wonderful way to finish off our June projects - a tag mini album from Tina. I love everything that Tina creates with tags and this mini recipe album is just SO up my alley!! All the heart eyes!!!


Hi everyone. Today I have a tag mini album to share. I love making tags and projects made from tags.


I used the Graphic 45 Square Tag Die and cut out all my tags in the black Bazzill 12 x 12 Cardstock - Licorice Twist. I cut four each for the front and back cover and two for each of the pages.


Cut away the round top part of the tag on the pages only.


To make the spine and page flaps (hinges) I cut 4 pieces of the black cardstock as shown below.


Score all pieces 1/2'' on both sides.


 Glue two of the complete tags together for the front and back pieces so that you have four double pieces. Glue one of those tags to the larger spine piece.


Do the same to the back and then add the other double tag pieces over the top.


Next layer and glue the rest of the spine flaps on to each other.


Carefully line up and glue the pages on either side of the spine hinge so that it will be neatly hidden between each page. Do this for all six pages.
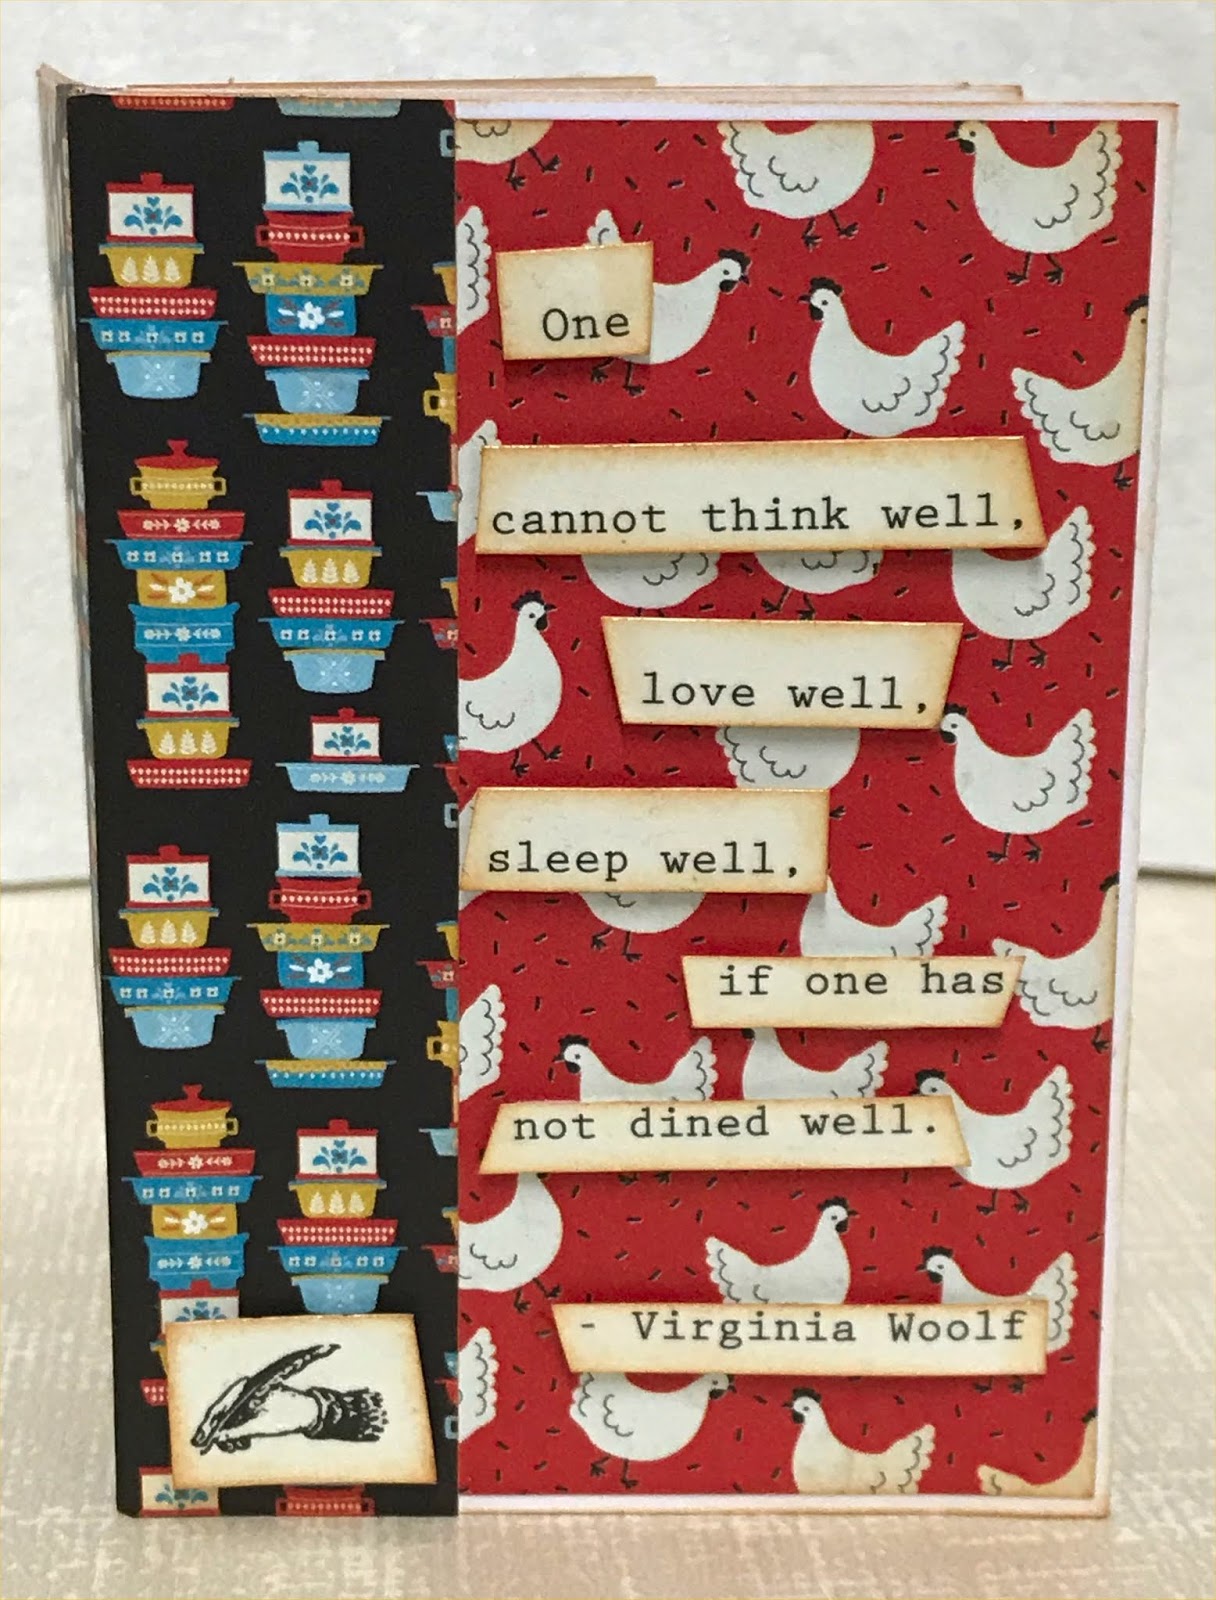
I covered the front, spine and back in the papers from the collection and inked all the edges with Distress Ink - Black Soot. I did the same for the pages, but I cut these slightly smaller to show the black border on each page.


Cut two of the hinges from the KaiserCraft - Decorative Dies - Hinge and Plate. 


Glue these to the spine and then work them carefully towards the front cover.


Here are the finished pages. I used the Tim Holtz - Framelits Die - Stitched Squares throughout the album


Tags and booklet from the pages.


I used a swivel clasp with some charms to keep the album closed.


Finally I finished the cover with a sticker from the sticker sheet which I mounted on chipboard.


I hope you enjoyed my tag mini album.

Core Products
Authentique 12 x 12 papers - Ingredient
Authentique 12 x 12 Sticker Sheet Ingredient
Bazzill 12 x 12 Cardstock - Licorice Twist - Candy Necklace - Wax Lips

Chosen Products
Authentique 8 x 8 paper pad - Ingredient
KaiserCraft - Decorative Dies - Hinge and Plate
Tim Holtz - Framelits Die - Stitched Squares
Dovecraft - Back to Basics - Pretty in Pink ribbon..

All the products listed can be purchased HERE at a discounted price.

Thank You and Happy Crafting
Tina xxx

Friday, June 28, 2019

C is for Cookie - Gina's Altered Wafer Tin

Hello Crafty Friends!
I always love upcycle projects... who doesn't have a stash of tins and boxes waiting to be crafted into something awesome? Today Gina takes an ordinary wafer tin and cooks up a thing of beauty!


Hey everyone, my last project for this month is another upcycled project. My children and I love spiral wafers and I hate throwing tins out so we have a few of these tins waiting for me to do something with them. I started with 2 pages from the Authentique Ingredient 8x8 paper pad which I cut down to the height of the tin (about 6.5 inches) and stuck onto the tin.


I then cut two strips from my off-cuts to about 1 inch width and punched both edges with my border punch. I stuck these strips on the tin where the 2 papers meet. I used one of the Santoro ribbons to line the top and bottom.


I stuck one of the Santoro bows on the top ribbon where it overlaps and used another Santoro ribbon which I stuck around the cover.


I cut a circle from one of my off-cuts with my circle die. This one is about 3.5 inches diameter and I used one of my doily dies on the Bazzill Wax Lips paper. I then stuck them on the top of the cover with the doily die cut slightly off-centre.


I cut some leaves out with one of my dies and inked the edges with my Kaisercraft Forest ink pad. I then layered the Prima Scribbles flowers and the leaves over the doily die cut and used a strip of bling from my stash on the edge of the circle.


On the front of the tin I used one of the 3x4 cards which I stuck in  the centre and then layered those beautiful Tim Holtz funky floral die cuts on the side. On the top left corner of the card I stuck one of the Christmas Cookie buttons. I also decided to add another Santoro bow on the top of the other strip.


Here's a look at my tin from another angle.


See you again soon on the other side of winter and till then stay awesome.

Gina xx

Wednesday, June 26, 2019

C is for Cookie - Donna's One Sheet Booklet

Hello Crafty Friends!
I'm going to be a bit sad when this month is over - I've had such fun going all heart eyed at our Creative Team's baking themed projects! Today Donna shares a great little recipe book - made from one sheet of paper! I love this so much!!


Hi all,
How can we not love the paper for this month from Aunty Vera Scrap and Craft
and my favourite things to create..
 Recipes and stuff..

I created a one page book that I have made before.. I think I got the original pattern from Amira Romanowski ages ago. You can find lots of ideas from Amira Here

Fold a piece of A4 paper in half lengthways, turn and score 3 inches, 5 7/8 inches, 8 3/4 inches.
Cut a slit from the first score line to the last score line along the centre fold as shown..


Fold as shown.. This is why you need crisp scored lines..
Open up and place double side tape all on one side on the back of the page. ( I use double sided tape because I can pull of a section at a time so I don't muck up lol).


Once adhered it should look like this..Just fold over the pages to make a book.. It's easy once you do this (trust me).. 


I decorated the pages with mats of the gorgeous paper for this month.. 
2 7/8 inches x 4 inches.. 


I used the name of the creator of the paper as a heading.. Don't you just love these books on the shelf.. The stamp is from Darkroom Door - Borderstamp - Bookshelf.. (totally love it).. I fussy cut the books to give more dimension.. 


I adore these dies from Tim Holtz - Laboratory..


Close up of the fussy cut books..


More books.. ps. I hope you try the recipes ...


Love Love these bottles..


My favourite page of the book..


I created a pocket with the books to tuck some more recipes and tags behind..


I used a piece of scrap paper for the spine..


I stamped the border bookshelf in different colours to fussy cut them..


I then created a belly band to go around this little gem..


On top of the pages this month was a quote I thought was very appropriate, so I cut it out and placed 3D foam tape behind  to give a little interest..  


Products are:

Ingredient Paper Collection and Sticker Sheet - Authentique  
 Candy Necklace, Licorice Twist, Wax lips - Bazzill Cardstock
Bookshelf Border Stamp - Darkroom Door
Tim Holtz Laboratory Thinlits Dies - Sizzix 
Chit Chat, So Much Pun Die Cuts- Doodlebug Designs
Dazzling Diamonds Glimmer Mist - Tattered Angels
Ornate Metal Corners - Graphic 45
Mosaic Designer Template - KaiserCraft  

You get a great discount on all products used by the Creative team this month..


You can purchase the items HERE
and check out the Crafty Vera & Friends facebook group to see everything the Creative Team will be creating throughout June.

I hope I have inspired you
to create glorious things.
Hugs
Donna xx

My FaceBook page Donna's Fun Stuff HERE 
My Pinterest page Donmaree HERE
My Youtube Channel HERE
My Blog HERE
And don't to forget to say hi on Instagram donna.triffitt

Monday, June 24, 2019

C is for Cookie - Tina's Home Baked Treat Gift 3 - Mini Cookie Parcel

Hello Crafty Friends
Today Tina shares her final baked treat parceling idea. This series has been such great inspiration - for both getting into the kitchen and baking up some home made treats, and for packaging them in such beautiful ways to give as gifts. We hope you've been inspired to make at least one of them :)


Hi everyone. Today I have the third project from the set of home made cookie gifts.
There are so many of these projects on the internet, and I had chosen these three designs because they can easily be adjusted to any size.


Mini cookie parcel.


Start by cutting a 6'' x 6'' sheet of patterned paper.


 I used my We R Memory Keepers 1 2 3 Punch Board to shape the parcel. Line the paper on the  punch board as shown below on the 2'' mark. Score and punch.


Move the paper to the 4'' mark, then score and punch.


Turn the paper anti clockwise and do the same,  keep turning the paper until all four sides are punched and scored. fold all the score lines and burnish well.


Round the four corners with a corner punch.


Cut along the score lines marked in red.


Then glue the pieces marked 1 to 2 and 3 to 4.


Then glue the two remaining pieces up to form the parcel. Punch holes on the four top pieces.


I used some ribbon and twine to tie the top closed and decorated with some of the cut outs from the paper collection.


I hope you have enjoyed these three projects.

Here is a list of the products for this month

Core Products
Authentique 12 x 12 papers - Ingredient
Authentique 12 x 12 Sticker Sheet Ingredient
Bazzill 12 x 12 Cardstock - Licorice Twist - Candy Necklace - Wax Lips

Chosen Products
Authentique 8 x 8 paper pad - Ingredient
KaiserCraft - Decorative Dies - Hinge and Plate
Tim Holtz - Framelits Die - Stitched Squares
Dovecraft - Back to Basics - Pretty in Pink ribbon.

All the products listed can be purchased HERE at a discounted price.

Thank You and Happy Crafting
Tina xxx
Related Posts Plugin for WordPress, Blogger...