Monday, April 30, 2018

All the Leaves Are Brown Too - Giveaway Winners!

Thank you to everyone who joined us during April and commented on our Creative Team posts..
Your comments mean a lot to us.... it means that we're bringing you joy and it lets our Team know that their hard work is appreciated :)

Congratulations to our winners.....


Wednesday, April 25, 2018

All The Leaves Are Brown Too - Tina's Autumn Lantern

Hello Crafty Friends!
It's here at last! Autumn! Officially!! The weather has cooled down and last night every house in my street with a fireplace (there are a lot of them) had fires burning. I'm picturing all the inhabitants cuddled up inside.... maybe even crafting by the fire!
I'm not lucky enough to have a fireplace so maybe I need to make Tina's lantern to keep the place cosy. Isn't it just adorable? And so SO Autumn!!


Hello Crafty Friends.
I just love Autumn. I love all the colours and the cooler weather, with the wood fire burning and lots of baking that leads to Winter (a season that I also love.).
The April kit from AVSC is just perfect for Autumn projects, which I used to make a little Autumn Lantern.


To made the Lantern I used this Sizzix Alterations, Luminary 3D Die.


Firstly I cut out the four panels in a copper metallic cardstock from my stash. I cut out four small panels of Tim Holtz idea-ology Frosted Sheets, and adhered them to the inside of the cut out panels.
I used the fox rub-on from the kit on the front panel and one of the rub-on leaves on another.


 The base and top of the Lantern I cut in a darker metallic cardstock.


Next I assembled the Lantern


Decorating this little Lantern was so much fun. I adore the Lawn Fawn, Stitched Leaves Die from the kit. I will be using this die so much. I cut out the leaves using Little Birdie handmade papers in Autumn colours. The flowers used are from the kit. I also added some of the raffia that also came in the kit, added a little moss and some contrasting leaves I cut out from the Sizzix Thinlits, Garden Greens Die. The sentiment is from the ephemera pack in the kit.


Cute little Owl I fussy cut from the papers in the kit.


How adorable is the little owl button from the kit? I also fussy cut a squirrel from the papers.


Here is the finished Lantern I placed on a colour changing light base.


I hope you enjoyed this project.
The beautiful April kit can be purchased HERE along with many more wonderful products.
Thank you and Happy Crafting
Tina xxx
Please leave a comment below for your chance to win one of my April projects. 


Monday, April 23, 2018

All the Leaves Are Brown Too - Suzanne's 8x8 inch Canvas

Hello Crafty Friends!
I'm so happy that the weather down here is FINALLY starting to cool down! It must be all our wonderful Autumn projects encouraging the cool days to come out of hiding :)
Today Suzanne creates a beautiful Autumn Canvas... the background is just TOTALLY Autumn! And that bear instaframe.... completely stolen my heart!


Hi everyone.  The April "All the leaves are brown too" kit  has been a lot of fun to play with all month and for this project I wanted to do something with those wonderful leaf dies again.  I can't get enough of those little beauties.

I decided to make a cute little 8 x 8 inch canvas featuring some of those wonderful leaf die cuts and some of the ephemera pack and rub on, with a few flowers from the kit thrown in and a few of my own handmade ones too.  I also used the beautiful Lindy's spray along with a few of my own distress sprays in Autumn colours.  It was a bunch of fun to do.

I started with a white 8 x 8 canvas which I covered with gesso.
I then used Matte Gel medium to lay down two layers of  crumpled up white tissue paper before covering that all with some clear gesso.  I made sure to let these layers dry before adding the next layer.


This is the kind of texture that you can get on the canvas.  I was looking for the 'veins in a leaf' kind of effect and I think it looks pretty close especially when you apply some colour.


These are the colours that I applied to my canvas when it was dry.  The Lindy's spray is from the April kit and is a beautiful colour


This is what I ended up with on the canvas after I had sprayed the colours on and inked around the edges with some orange and then brown archival ink to give a distinct border.


My close up photography leaves a lot to be desired but you can still see the texture that I achieved using the tissue paper.


I added some of the beautiful Prima flowers and some of my own leaf die cuts to the canvas


 Here I have used a sentiment from the 3 x 4 cut-aparts that I have trimmed and added some burlap behind for more texture.


I used the cute little insta frame from the ephemera pack and added the bear, 'grateful heart' sentiment and the flower at the bottom from the rub on pack from the kit.  (those rub ons are the bomb)


I also added some of my own handmade flowers to the canvas. I have added orange micro beads to the centre of the flowers


Here is the completed canvas


Here I have added some plaited raffia to the back as a way to hang the canvas.  The raffia is part of the April kit.


I hope that you have enjoyed having a look at my project. Don't forget that if you would like a chance to win the cards and tags bundle from two of my other projects this month, you will need to comment on all of my projects from this month. I really appreciate your feedback.
 Thank you and bye for now.
Suzanne.

You can see a process video of the canvas HERE.
You can get the kit from Aunty Vera HERE.
You can see how I made the Gel print leaves HERE.

Friday, April 20, 2018

Aussie Youtube Hop April 2018 with Suzanne - Autumn Tussie Mussie

Hello Crafty Friends!
Something a little different for you today...... Suzanne and Amira are taking part in the April 2018 Aussie Youtube Hop which has an autumn theme.
Suzanne has created a beautiful Tussie Mussie ... you can find it below. Then make sure to click on the link to watch Suzanne's video and to hop along through all the other fabulous autumn youtube projects.
Yes... there will be a prize ;)


What a busy month it is turning out to be.  I've had a wonderful two weeks with my daughter who has been home from University and now its back to school for both of us.  All good things must come to an end I guess.  Anyway, April is the month for another Aussie YouTube hop and this time I have made a Autumn Tussie Mussie. (No, I didn't make up this term, its a real thing, I promise)

To make this Tussie Mussie, I used two 12 x 12 sheets of the dots and stripes paper that were in the April kit.  I glued the sheets together and then made them into a cone then trimmed off the top so that it looked like a giant ice-cream cone. I used my crop-a-dile to make two holes on either side of the top of the cone so that I could put on a handle.  I then covered the entire cone with burlap and then with two large wedding appliques that I coffee stained because they were stark white and didn't fit in with the Autumn colours that I had used. 


I made three butterflies with some dies that I have and also used a metal flower and some material that I had gelli printed on for decorations for the front of the tussie mussie.


I also made a bunch of paper flowers in warm Autumn colours and placed them inside the tussie mussie.


For the bottom of the tussie mussie I used some of the gel printed leaves that I had made earlier in the month with the gorgeous lawn fawn dies from the kit and covered them with ultra thick embossing enamel to give them some strength and shine.  I threaded them each with gold thread and attached them to the bottom of the tussie mussie.


Here is my finished tussie mussie.


Thank you for having a look at my tussie mussie. 

You can see a full process video HERE.

For a chance to win this April Kit during the Aussie YouTube April 2018 Hop, go to the link above and comment on my video, then hop over to the other members videos (their details will be in my description box) and make sure you leave a comment on each of their videos.  Once you have done that you will be in the draw for a chance to win the beautiful 'All the Leaves are Brown too (2018)' kit from Aunty Vera Scrap and Craft)

Check out the kit in the link below
You can get the April kit from Aunty Vera here.
You can watch my unboxing video here.


Wednesday, April 18, 2018

All the Leaves Are Brown Too - Tina's Mini Album with Tags.

Hello Crafty Friends!
If you love mini albums you will just adore Tina's mini album with tags... the autumn colours of our April Kit are just perfect  for this! (though maybe I'm biased lol)


Hello Crafty Friends.
Today I have made a mini album, using the wonderful April kit from AVSC, All The Leaves Are Brown Too 2018.


This little album has four pages, each page is a pocket page which holds four tags for journaling and photos.


 Pages.

To make the pages I used two sheets of black cardstock. Cut 4 pieces 4/8'' x 4 6/8 ''. 
On the 6 4/8'' side score down at 3 2/8 '' turn and score at   4/8''. 
For the purpose of this tutorial I used white paper to show it clearly.


Fold along score lines. On the 3/ score line, cut away one side as shown in the picture below.
This will be the bottom of the pocket page.


Fold the small flap up and add adhesive, then fold page together, sealing the bottom of the page. I used the cut-aparts from the kit and some of the Dots & Stripes papers on each page, making sure that the opening is at the top and the sealed part is at the bottom.


I am always trying different ways to bind my mini albums and I came up with this idea that I think worked really well for the size of my album.( but of course in the world of crafting someone else may have done this already).
You will have leftover strips from the black cardstock, cut four pieces 2'' x 4 1/8 '', which is slightly smaller than the page. Score at 1'', fold along score line (do not glue them close).
Measure and add eyelets on the folded side, making sure to line them up precisely.
(Check to see how they fit and if needed trim them down , Do this before measuring and adding the eyelets).


Insert and glue the flaps in to the side opening of the pages, I used the edge of my eyelets to line them up.


Cover
To make the cover cut two pieces of chipboard  4 5/8'' x 4 7/8''.
Cut black cardstock 1'' larger on all four sides than the chipboard cover.
Glue the pieces of chipboard onto the cardstock leaving the 1'' border all around.
snip the corners and fold and glue onto the chipboard.
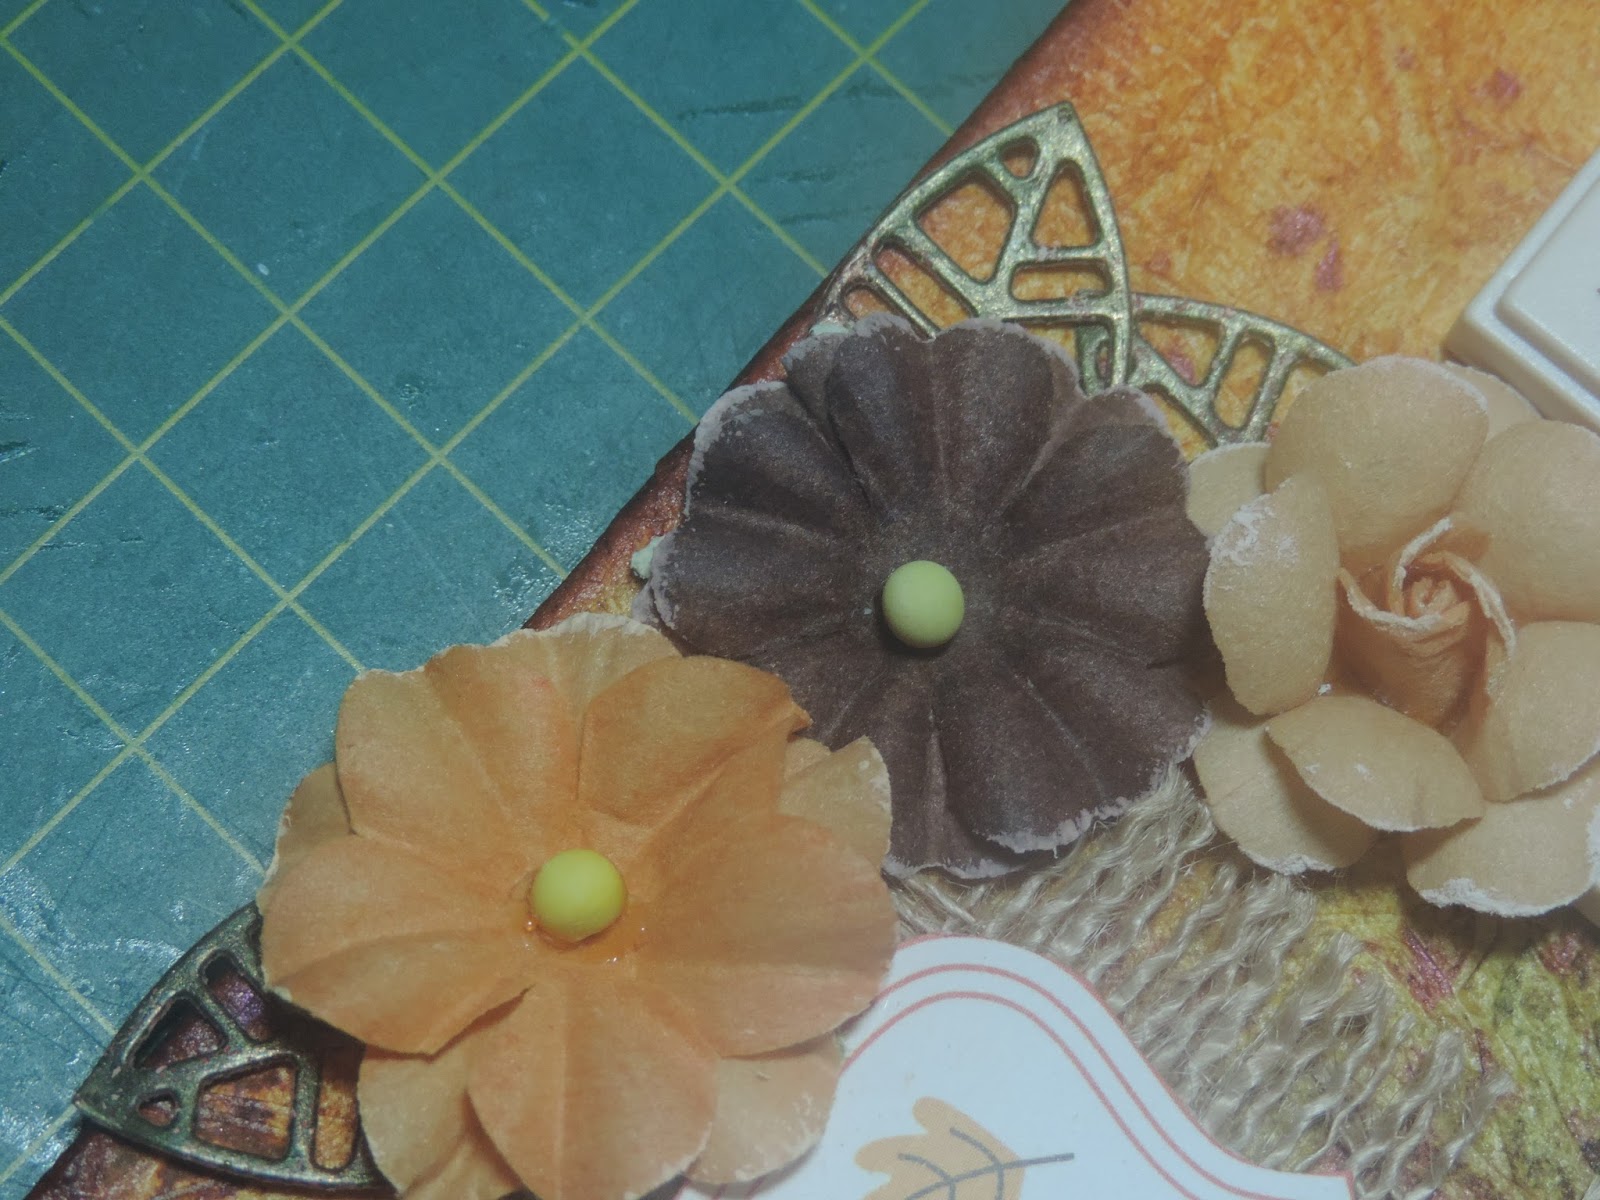
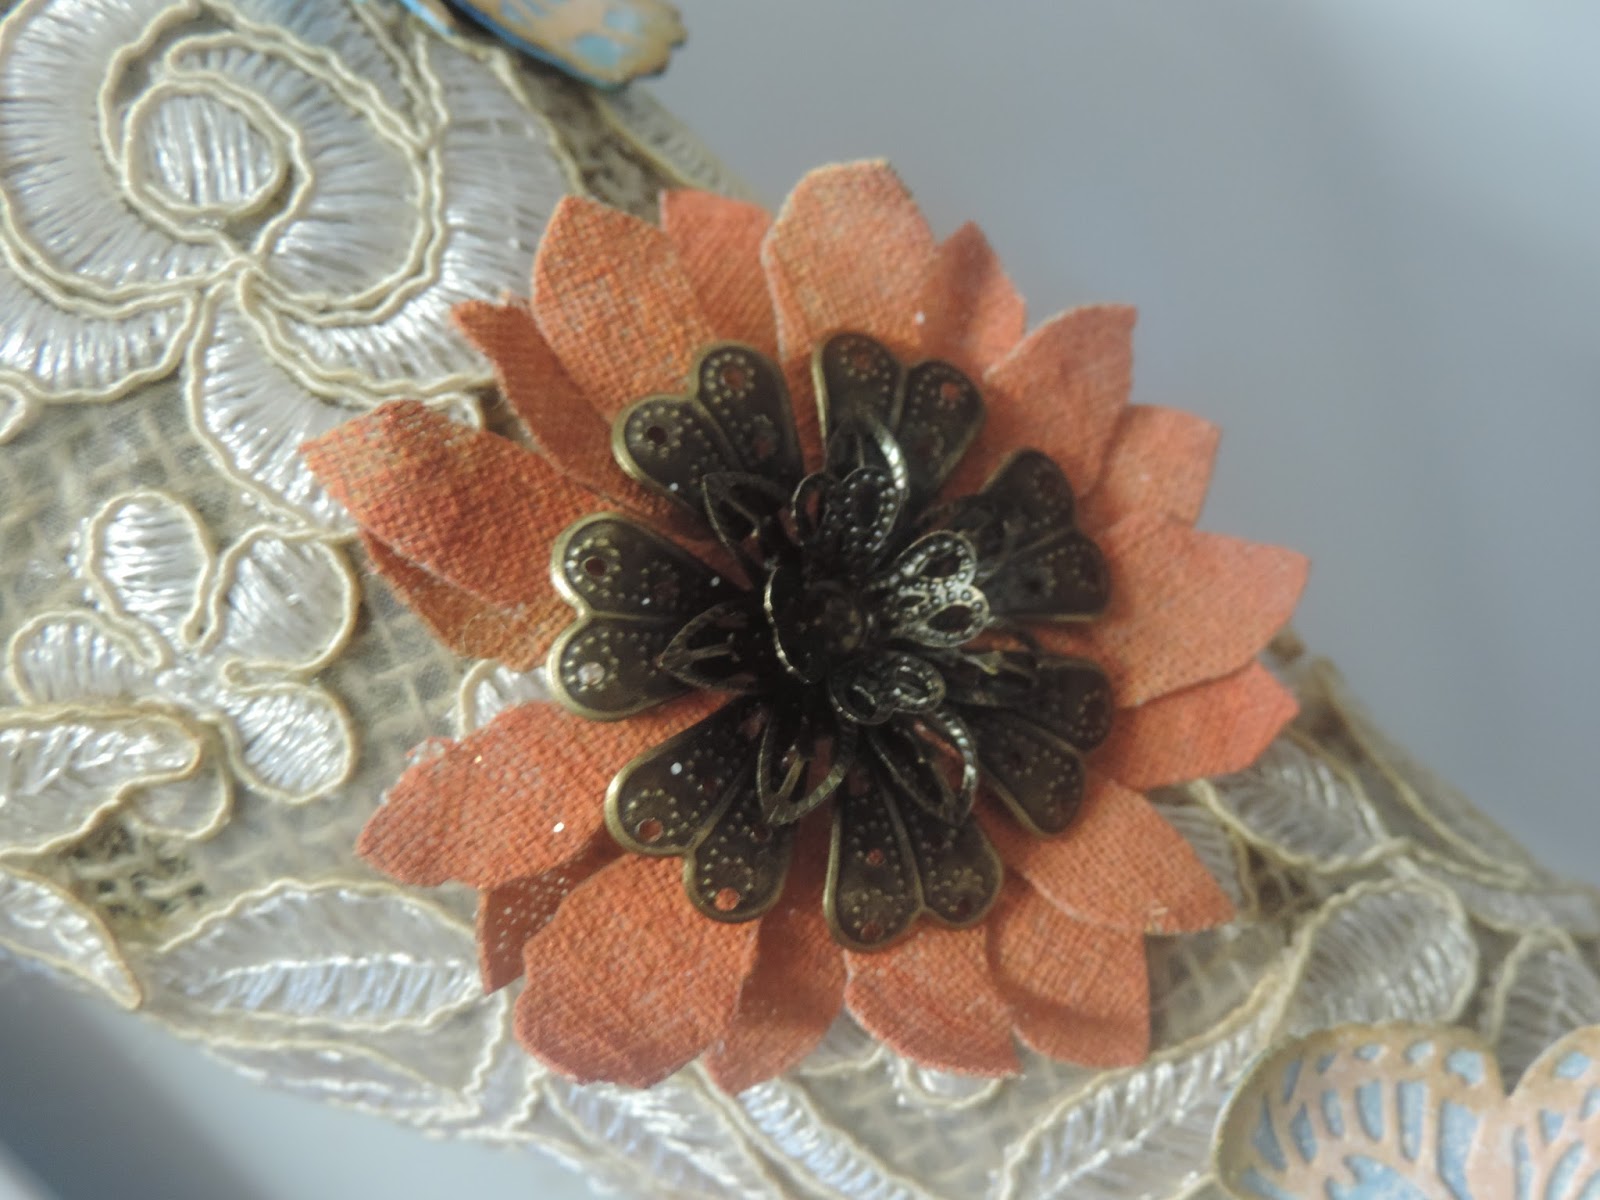
I used papers from the kit to decorate the covers and some papers from my own collection.
Use one of the pages to measure where the eyelets will be placed on the cover and attach them.          
I used twine to bind my album.
Now the fun part. I love this fox cut-apart from the kit. I mounted him on black cardstock and then on to chipboard to lift him off the page a little.
The leaves I cut out using the dies that came with the kit and the acorn button is also from the kit.

On the inside cover I made a pocket to hold the little tags.


On these pages I used the ephemera frame and the cute little squirrel rub on.
The tree is actually the branch from my Tim Holtz Holly Branch die. I also cut tiny little leaves from handmade paper in beautiful Autumn colours.

Here I used the Tim Holtz, Snow Globe die to make these tiny houses.
The pumpkin is from of the ephemera pack in the kit.
Again I made a pocket on the inside back cover to hold the tags.
Each page also holds larger tags, these are left plain for journaling and photos.
Thank you for joining me on another project.
This wonderful kit can be purchased HERE
Thank you and happy crafting.
Tina xxx
Please leave a comment below for your chance to win one of my April projects.
Good Luck.
Related Posts Plugin for WordPress, Blogger...