Sunday, May 28, 2017

Weekend Catch Up - Donna's Big Trip

Hello Crafty Friends!

Who misses Donna? I know we all do here in Aunty Vera Land.... that's why she was given strict instructions to check in with us and keep us updated about her travels around Australia.
So for the Weekend Catch Up...... Donna is here to share some news about her first week on the road. And can you believe it... she's managed to get some crafting done! BRILLIANT!!


 Hi all, how are we on this lovely day??
Well it is our first week away from Tasmania and we have landed in Numurkah..
Friends, Debbie and Rodney, own a motel here and wanted us to visit.
Wow, talk about busy.. Debbie has dragged me to Shepparton, yes you guessed it,
to Lincraft, Spotlight and many other craft shops.. Have only brought a little as my hubby threatened to leave me here if I brought too much lol.. We won't tell him about the bag under the bed in the caravan will we, HAHA HEHE (maniacal evil laughter)..

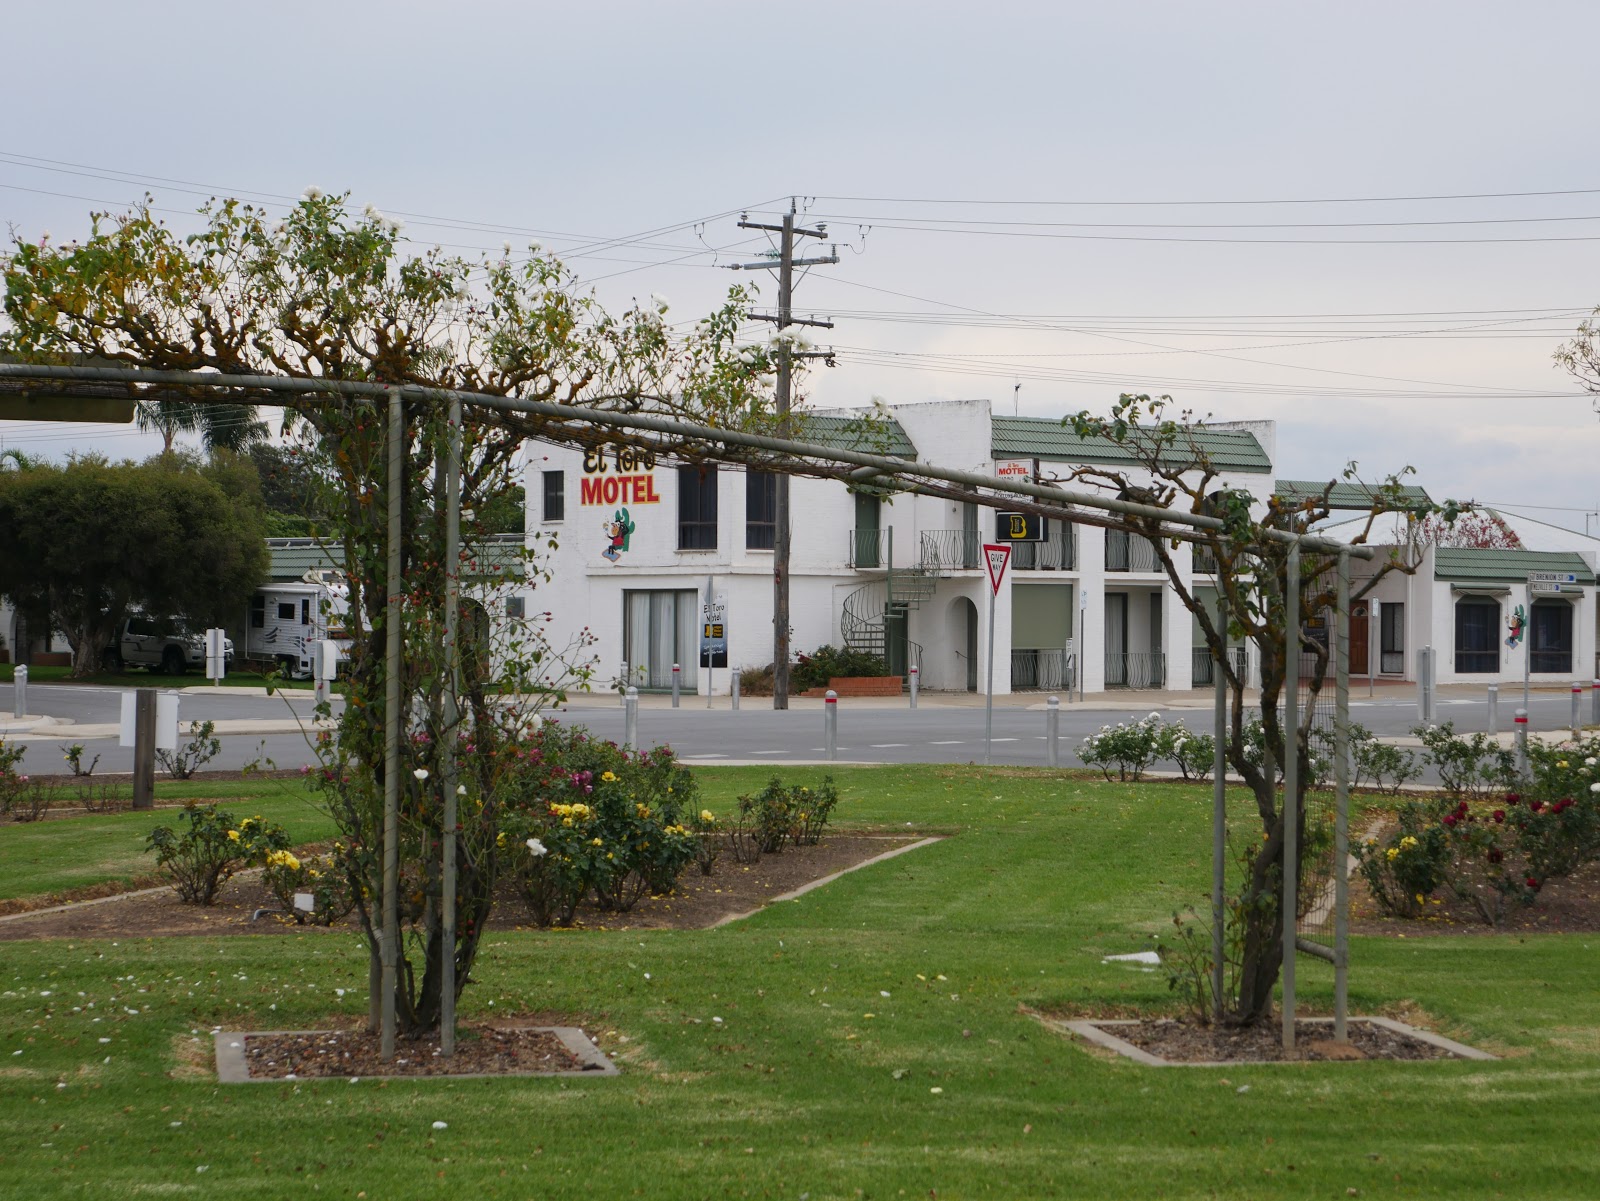
Here is a picture of the El Toro Motel where we have a very lovely room with showers, ensuite, television and a queen bed. Can you see our van parked outside the room!!


Debbie is a fantastic seamstress, so she showed me how to cover books with material.
Here are my attempts.. As yet to be embellished..


These are plain notebooks that I intend to write things in on the road.. (you notice I say intend lol).
One will be a recipe book as Debbie is showing me how to make interesting curry pastes. Did I mention she is a great cook as well!! So much talent sigh!!! lol.

The book with the cover (Happy is the House), was a brilliant find at the op shop for one whole dollar.. I cut the gorgeous cover off the book and sewed it on the front of the material using a blanket stitch and created a false cover for the book with heavy cardstock..


My five books..


I ask you to not look too close because there are tons of mistakes lol..
Oh by the way I picked up all the ribbon for $1.00 at spotlight (bargain).. 


I just could not help myself, so my hubby said, not even one week in to the trip and I have started crafting already, HeHe.

Its never too late to learn and create new things..
Be safe and wonderful crafting
Hugs
Donna xx 
Ps.. Miss Aunty Vera and the Creative Team already..

Saturday, May 27, 2017

Weekend Catch Up - Meet Guest Designer Deb Speijers

Hello Crafty Friends!

Our fun weekend catching up with some of our lovely CT ladies continues.
Today I would like to introduce you to Deb who will be sitting in (crafting in? lol) for Amira during the month of June.
Please make her feel welcome.......


Hello Crafty Friends,

I have been invited as a Guest Designer to create some projects for the June Kit which I have to say is quite an honour! But firstly I am going to tell you how my journey of stamping began.

One day 8  years ago a friend of mine invited me to a Stampin’ Up! Workshop, I had never heard of them and didn’t really want to go , but I did to support my friend. Well I was gobsmacked! Not so much by the card we made that day but by the catalogue! I had never seen so many beautiful stamps and products, I became a Demonstrator and have loved stamping ever since. I mainly make cards and 3D projects.  I get so much enjoyment out of making a beautiful card or gift box for someone special in my life. I have also come to love Tim Holtz, Darkroom Door, Graphic 45 to name a few! So my stash over the past 8 years has grown quite considerable and will probably take me the rest of my lifetime to use!

Another part of this amazing journey is the wonderful and talented crafters’ I have come to know. I now have so many friends that love what I love, people from all walks of life that I would never have gotten to know if it wasn’t for online media and stores such as Aunty Vera Scrap &Craft.


Here are few projects I have made recently,  enjoy!

First one is a 'card in a box'


Secondly a fun birthday card to suit the men in our lives!


Next one up is a shaker card!


Inside of card


This next one is a lovely pretty one using a punch for the flowers and leaves, and a die for the lovely intricate lacey part.


This next one is a really fun card to make, it is called a Twist Pop up Panel card, you can find tutorials on You Tube on how to make one.


Hope you enjoyed my projects,  and that it has got you into the crafting mood to make some of your own.

Happy Crafting!
Deb xx


Thursday, May 25, 2017

Let Them Eat Cake: Suzanne's Altered Gift Bags

Hello Crafty Friends

Our Let Them Eat Cake theme continues but.......... I think we need something to put all our cakes and biscuits in.
Queue Suzanne and her gorgeous altered gift bags!


Hi everyone.  Today I'm going to be showing you my third design team project using the May kit from Aunty Vera Scrap and Craft and I have to say what an absolute pleasure it was to use this kit.  The beautiful Kaisercraft High Tea collection was definitely enhanced by Vera's choices of embellishments and die.

Do you ever get left with a stack of different sized pieces of paper from a collection and are not sure what to do with them.  You can't just toss them out,  (if you're like me and can't throw out pretty paper no matter how tiny) and you can't just keep filling up the scrap drawer.  Today I'm going to share with you what I like to do. 

My Altered Gift Bags

I purchased a 4 pack of small, white gift bags from a local discount store.  They measure about 12 x 14cm.  Follow along as I show you how I alter these gift bags.

small gift bags 12 x 14cm
I first gathered up all the bits and pieces of the papers and the embellishments that were left over after finalising the first two projects.

The leftover paper and embellishments

some of the embellishments that I had left over

I then chose the paper that I wanted to use to cover the front of the bags.  I decided to use two layers of paper for each bag because I had quite a few offcuts to choose from.

For this bag I decided I would add some lace
I layered the green paper on top of the white paper before adding some lace from my stash.  I also used a corner die cut to embellish the corner of this bag.  I inked all the edges of the papers before adding them to the bag.

For this bag a used part of a doily die cut
For the next bag, again I layered the green paper on top of the white paper before adding part of a doily die cut to embellish this bag.  I didn't want to hide any of that beautiful paper.

For this bag I used the doodlebug pop (coffee cup) and some washi tape from the kit
For this bag I decided to use some washi tape to frame the coffee cup

Framing the paper with the washi tape
I used the washi tape to frame the paper before adding the coffee cup which I popped up on foam tape to give it more dimension. I did the same with the coffee beans.
Coffee cup popped up on foam tape
I added a 'Bliss' stamp up the top of the page before placing the coffee cup and beans.
I also made little tags for each bag from some of the smaller pieces of paper and some small embellishments.


The small tags I made for each bag
Here are the finished bags.  I hope you like them.


The finished bags

Thanks for taking a look. 

You can find a video showing how I altered these bags HERE.

You can purchase the kit HERE.

Suzanne xx

Wednesday, May 24, 2017

Let Them Eat Cake: Lolly's Embellishments and Cupcake Box

Hello Crafty Friends!

Our theme this month is Let Them Eat Cake...... which means cake and tea and ... coffee!! And I think Lolly has been drinking a fair bit of coffee as she has been creating embellishments galore!! And that cupcake box!! Oh my!!!
Enjoy! ........ 


I have been assembling various embellishments using the kit.  Are you ready?

First is a set of three embellishments.   On the left is a crepe paper flower with one of the kit's Prima flowers in the center.   On the right is an embellishment made from a paper cut apart, and the center of the three embellishments is made from paper banner dies and a large Prima flower from the kit.  The stamped sentiment is also from the kit.


This next one is one of my old time favorites:  a tea bag paper clip!  I used the papers from the kit and a small tea cup hole punch I had in my stash.


I'm not too familiar with using feathers in paper crafts, but this feather from the kit is a stunning accent to this tag made with a foam sheet tag base.


Speaking of feathers, I thought we needed a fancy lady's hat to wear to our tea time, so I designed a digital image of a hat and lipstick and then made two small hats and a card, using feathers in the hat band.


Then I found a tiny charm from the craft store.  It allows me to slide a piece of paper down into the center, so I used a square of white and used the adorable tiny Doodlebug macaron sticker on it.
Now, that's a "charming" charm!


Since our theme is Let Them Eat Cake, I thought I'd make a couple of cupcake picks!   I attached a skewer to the back using the macaron washi tape.  Then, when the cupcake is gone (because someone just might EAT that cupcake), I can remove the washi and use the embellishment on another craft.


And of course I had to make a Memory Dex card with the Doodlebug coffee cup sticker!


Last, but not least (drum roll, please) is this adorable oven cupcake box!  I had purchased this file from Lori Whitlock, and with this month's theme, I knew I had to make one.  Plus, Amira begged me to make it, and I don't want to let Amira down!  :)     The door opens, and the cupcake tray slides out.  I have used kit papers on the cupcake tray and the back of the oven.  I even found a tiny rolling pin in my stash!


For the full view of the oven and closeup of all these embellishments, watch the video HERE.

Make sure you check out Aunty Vera's store HERE to grab some of these fabulous supplies or, better yet, the KIT!  

Thank you for stopping by.  I hope you are hungry for cake AND crafts!
Lolly 


http://www.LollyPalooza.net


Related Posts Plugin for WordPress, Blogger...