Wednesday, January 31, 2018

The Big Aussie Craft Challenge - Sarah's Simple Aussie Journal Page

Hello Crafty Friends!
How are you all going with the Big Aussie Craft Challenge? We've received some lovely entries so far and can't wait to see more!
Today Sarah shares her journal memory layout celebrating Australia Day with our January Kit.
I have to say - I'm loving the sound of this new challenge - keep it simple, get it done!!


Hi everyone! With our Big Aussie Craft Challenge in mind, I thought one final project using the Explore 2018 Kit was in need! For this challenge I decided to make a simple journal layout documenting my Australia Day for 2018. This year, I had a BBQ with friends in a very special location... my friend's new yurt! Isn't this the coolest house?!


I started my page in this gorgeous travelers notebook. This year I decided I wanted to do more memory keeping, but in a way that was easy to actually keep up with. So I set myself a few rules: 
1. Black ink only - no fancy pens! 
2. Colour can be added using watercolour, colouring drawings or simple stamps
3. The only embellishments allowed are black and white washi or ephemera from outings

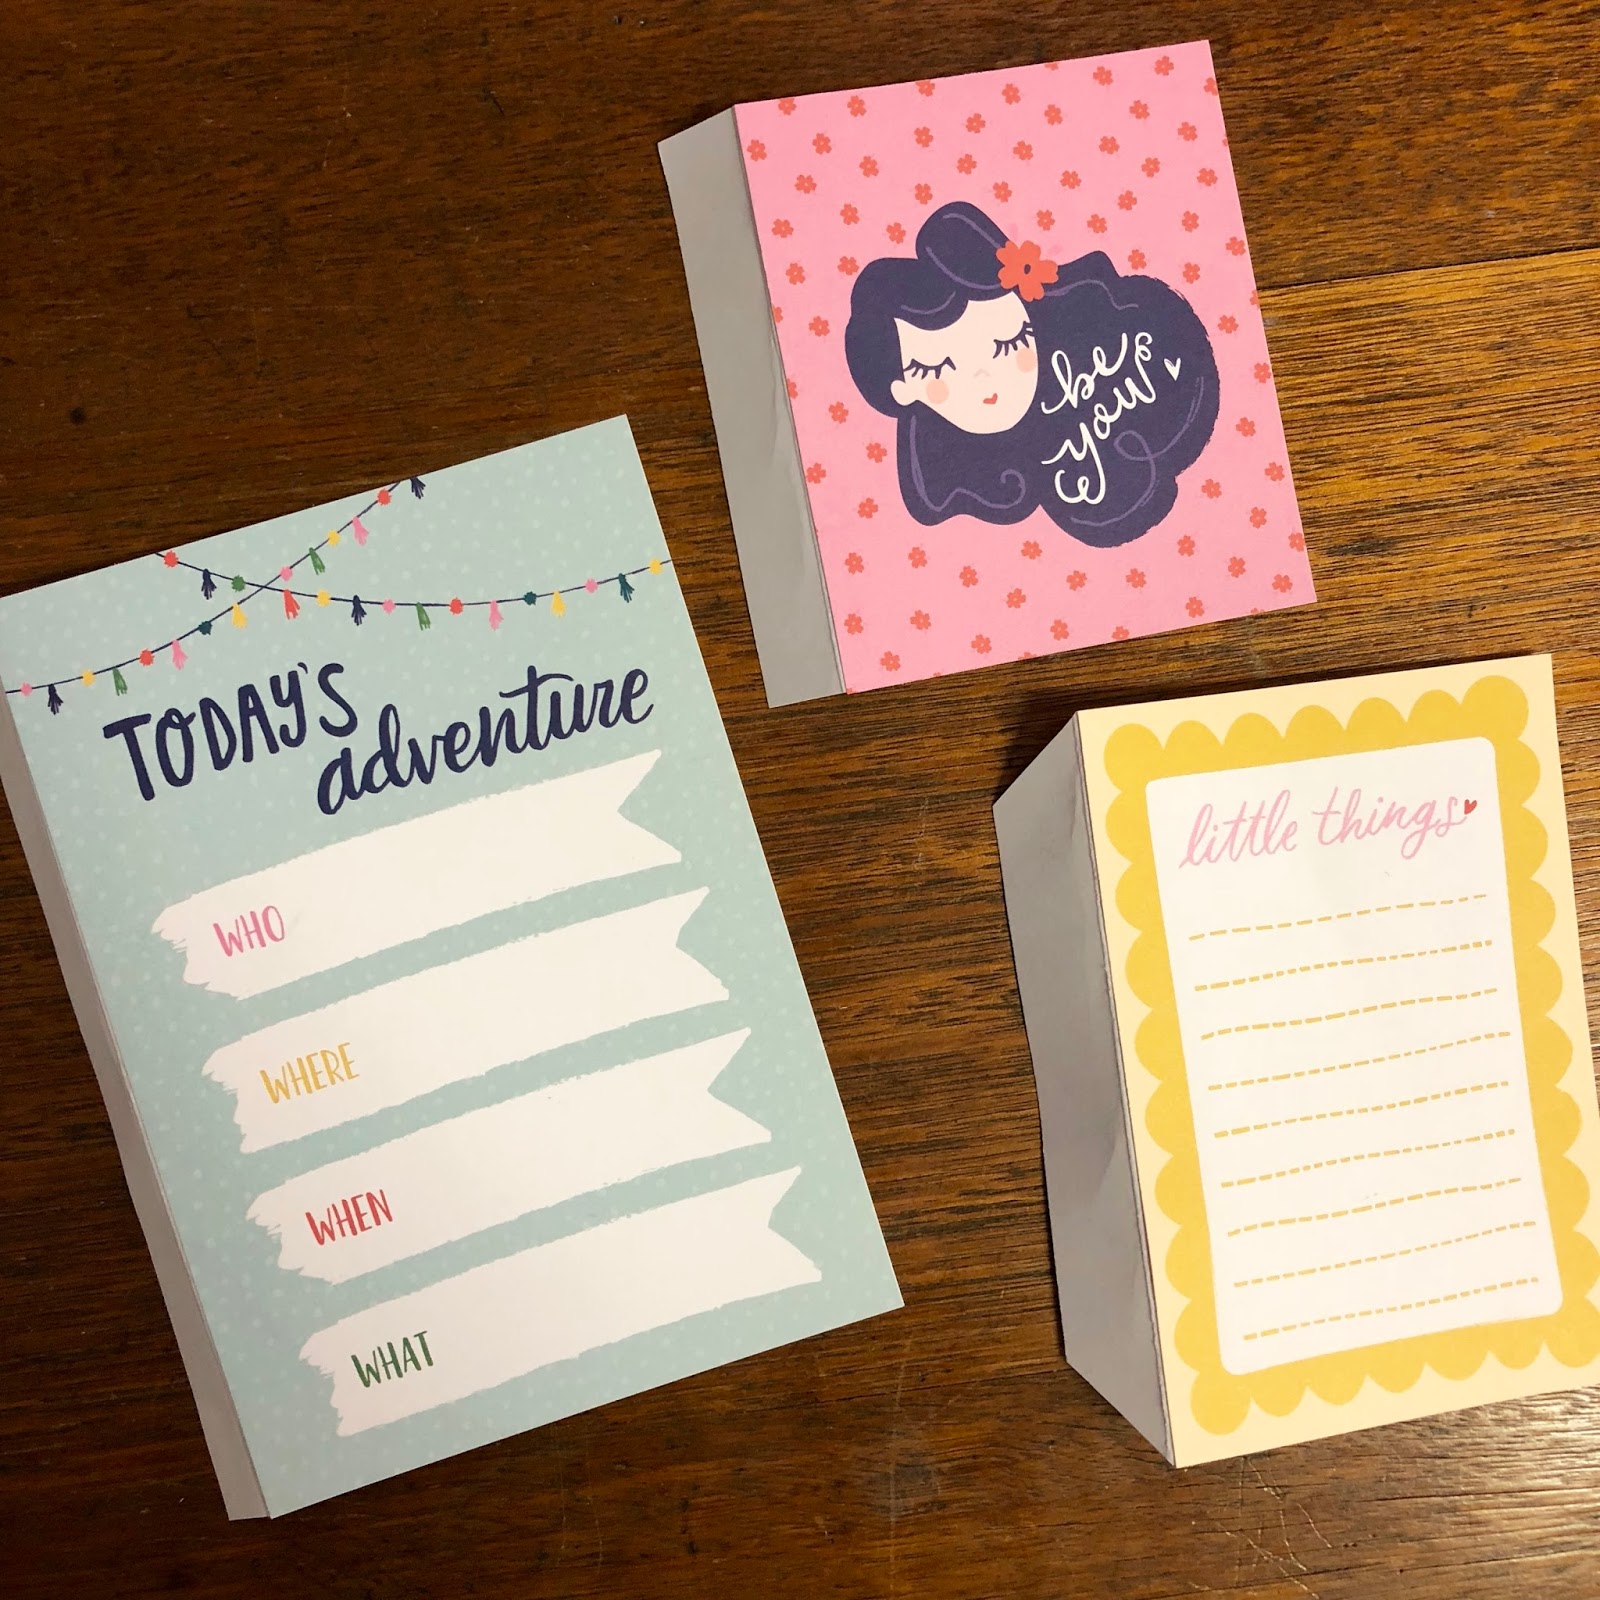
Let's see what a simple memory keeping page looks like!


To start my page I stamped some flowers on the edge of the page using the Kaisercraft Open Road stamp set. I figured an Aussie journal page wouldn't be complete without some Aussie flora. Aren't these plants just gorgeous?


Next, I used my Prima Watercolours to colour the stamps. I love how vibrant the colours are. 


With the base of my page done, I added the photo of the yurt. I love how the picture looks printed on instant-camera style paper.


To finish the page off, I did some journalling about my day. Here is the finished page:


I know that this layout is super simple, but I hope that keeping it simple means I might actually get some memory keeping done! And I love that my first page celebrates Australia Day.

It's not too late to enter the Big Aussie Craft Challenge. Post your entry pic either in the dedicated Challenge Album in our Crafty Facebook group, on our Aunty Vera Scrap and Craft facebook page or send us an email with pic attached to info@auntyverascrapandcraft.com.au.

............

BUY Aunty Vera's Monthly Kits HERE

January Monthly kit is available for $46.20 which is a saving of 20% on buying the items separately.

Postage is $9.00 anywhere in Aus. 
For internationals, please email for accurate prices.

C O N T A C T:

............

Happy Crafting!
Sarah

SaveSave

Tuesday, January 30, 2018

Flashback to November - My Crafty Friend - Donna's Upcycled Frame

Hello Crafty Friends

It's time for a Flash Back.... to November. Remember our gorgeous My Crafty Friend kit? Today Donna pulls out what's left of her kit and upcycles a boring frame.... into a total work of art!!


Hi all, Well I loved the paper so much from the 2017 November kit that I decided to revisit and thought I would create something 'different'..

Again it is a recycled project but I fell in love with this frame and though I have to use it on this project..

A few items to assist me in changing this frame into a work of art.


 I chose a background paper then a quote for the bottom half.. I adhered two pieces of cotton lace to the top of the frame and a paper doily. Then a strip of washi tape just finsihed it nicely. I then sanded a little around the frame and rubbed with my finger some Inka Gold - Cobalt Blue in places.


I added the banners from the sticker sheet in the kit then a strip of ribbon on the top. A flower in the bottom corner and a chipboard dress form to finish (or so I thought).


 I covered the dress form chipboard with distress ink, rubbed some liquid pearls on top, a splash of Inka- Gold and some fine seed beads to finish it off. A sewing machine embellishment and nearly done.


I stood back and looked at it and thought nope, needs something else so I rummaged around in a earlier kit and found a couple of feathers and thought yep that will do nicely in the flowers..


Using the pearl drops from the kit I coloured in the washi tape Loved how this turned out.
 

Some glitter of course (how can we craft without it).


 Finished project !!


Three projects together...  How elegant is this kit..


BUY Aunty Vera's November Kit HERE

November Monthly kit is sold out but the paper pack and most of the add ons are still available.

Postage is $9.00 anywhere in Aus.
For internationals, please email for accurate prices.

C O N T A C T:
info@auntyverascrapandcraft.com.au

 ................................

Please visit me on my blog  HERE and dont for get to say hi!!
or
on my FB page  HERE

I hope I have inspired you to create Glorious things..
Thank you for stopping by..
Hugs
DONNA xx

Friday, January 26, 2018

Explore 2018 and the Big Aussie Craft Challenge! - Donna's Australia Recipe Book

Hello Crafty Friends!
Need some inspiration for our Big Aussie Craft Challenge?
Check out Donna's True Blue Strayan recipe book.... lol. It's perfect for the Challenge and also uses goodies from our January Kit!

We'd love to see your Australia in our Big Aussie Craft Challenge so pop over HERE for details to get you started.


Hi all, so what ar ya yall doin on Australia Day!!
I thought I would combine the wonderful January kit with
Australia Day and this is what happened..
A recipe book filled with Australian recipes..And to all the Kiwi's out there I am claiming the pav as Australian as I love it so much hehe..
The cover measures 7 inches x 5 1/4 inches.
Score at 3 5/8 inch x 3 7/8 inch
punch two holes
one 7/8 inch down from the top
one 3 7/8 inch up from the bottom  
of the spine you just created.
Cut 4 pages at 6 1/2 inches x 4 3/4 inches
Score 3 1/4 inches
Cut 16 mats @ 3 inches x 4 1/2 inches
Round the corners of one side, (don't forget that you have a left and right side on the pages). Ink around the edges with blue ink..
Adhere the mats on to the pages as shown.
Using the Open Road stamp set from the kit, I stamped all the stamps
on assorted pages to give some interest points.

So far looking good..
Line up the pages on the cover and pierce the holes to match.. 


The Cover of the recipe book..
All the fussy cut images came off the net from Pinterest
(tried to find the original contributor but was unable to do so) 
Don't you love Aunty Vera's washi tape?


 True Blue story here, no Bull!!
(front)

 Hoo-Roo, love me veggiemite !!
We do em big ova ere mate!!

We live in Straya mate, wot bout ya self?


 How cute is this bow with our Aussie Damper..

Mum's sponge is a beauty for sure...
(love that washi tape here)


Now who doesn't love MILO
WHAT!!! What's wrong with ya!!


And of course our "Pav' ...


Cover of the book, love the fly spray, think its aiming for the witchetty grub though! 


The Finished book

I have lots more pages to show you, so go over to my blog HERE
and have a look to see them all..
I hope I have inspired you to create Glorious things..
Thank you for stopping by..
Hugs
DONNA xx
BUY Aunty Vera's Monthly Kits HERE

January Monthly kit is available for $46.20 which is a saving of 20% on buying the items separately.

Postage is $9.00 anywhere in Aus.
For internationals, please email for accurate prices.

C O N T A C T:
info@auntyverascrapandcraft.com.au

 ................................

Please visit me on my blog  HERE and dont for get to say hi!!
or
on my FB page  HERE


The Big Aussie Craft Challenge 2018


Hello Crafty Peeps!
Welcome to the Big Aussie Craft Challenge!
Create a project showing your Aussie-ness and go in the draw to win a $25 voucher to spend at Aunty Vera Scrap and Craft!
Challenge will remain open until Thursday night February 1st (Aussie Time) so you have plenty of time to get your entries in.
Post your entry pic either in the dedicated Challenge Album in our Crafty Facebook group, on our Aunty Vera Scrap and Craft facebook page or send us an email with pic attached to info@auntyverascrapandcraft.com.au. As we receive entries we will post them to this blog post.

The Theme....


The Prize.....


The Rules...


  • Your project can be any form of art / craft..... scrapbooking, cardmaking, mixed media, fabric craft... as long as it fits the theme.
  • Project must be a new creation, not something made in the past.
  • Up to 3 entries allowed per person.
  • By entering you give us permission to post your project pic on this blog
  • Feel free to post your project on social media channels... just use the hashtag #BigAussieCraftChallenge
  • Winner will be by random draw
  • Tag us on instagram @aunty_vera_scrap_and_craft and get an extra entry in the draw!
  • All entries must be in by midnight Thursday 1st February (Sydney Australia time)
  • Winner will be announced Friday 2nd February
  • Most importantly..... HAVE FUN!!
The Entries.....

Donna's Australia Recipe Book...


Amira's Aussie Memory Layout...


Ann's 'My Sister' layout...


Leanne's mixed media journal...


Leanne's # 2 entry - Aussie Card


Sarah's Simple Aussie Journal Page...


Gio Nun's Aussie collage...


Tina (Elizabeth Rose) & Daughter - 12 Apostles Tag...


Kim's Memory Folio....


Tuesday, January 23, 2018

Explore 2018! - Sarah's Memory Folio

Hello Crafty Friends!
I just adore Sarah's Memory Folio! Little pockets to hold special memories, notes and trinkets and special flaps and icons on all the pages.......why not make one and use it to hold treasured moments throughout the year!


Hello everyone. Well, after two projects that were very art-focused, it's time to get back to basics with the paper goods! I was so excited to use the gorgeous Dear Lizzy - Star Gazer collection and decided to make a simple memory folio. First, I cut some white card stock to 10" x 7" and folded in half. This gives me a folio that is 5"x7". I cut 4 of these and stuck them together by gluing 2 sides together and leaving the top open to create a pocket. This step is a little tricky to explain, but you can see it in the video tutorial at the bottom of this post.


Next, I cut the papers to 4.5" x 6.5" so that they could be attached to the pages. This gives a 1/4" border around each page that I think looks really polished and nice. 


To add some dimension, I use the cut aparts from the collection and attached some scrap white card stock to them. Folding this little extra piece over creates a flap that you can attach the cut parts to the page with, to create little tab pages throughout.


You can see where I've stuck one of these down here, hiding the flap under the paper before sticking it down to the page.


The back looks like this - it's like a little mini page.


I didn't like the white part showing on the back, so I used some of the Scalloped Floral Washi Tape to hide the flap.


Next, I cut some white card stock to use as photo mats/journaling spots inside the pockets. I cut some more of the paper collection slightly smaller to matt onto the card stock, and punched some 1" circles to use as tabs.


When stuck together they look like this. I glued the circles down about half way and then stuck the paper down on top.


I ended up moving the tabs over slightly so that they staggered when put in the pockets. 


To add a little bit more dimension to the pages, I used some of the extra cut aparts to create some little pockets. This one is top loading with some tags tucked in.


And this one is open on the bottom and side with some of the smaller cut outs slid in.


With the pages assembled, I made a closure for the booklet out of twine. Using this pink twine from my stash, I cut enough to wrap around the folio, added two of the Ken Oliver Embellishments and tied the end off. I then glued this to the spine of the folio and covered it with some card stock to create a finished look on the edge of the cover.


Finally, I made a title on the cover by using one of the cut aparts and stencilling the word 'adventure' with the Tim Holtz Traveler Stencil and Dina Wakely Acrylic Paint. I created some shadows using a uniball white gen pell and called it done!


Here is the finished folio. I had so much fun creating this memory folio and I love all the little fold outs and pockets. I hope you've been inspired to create your own project with this month's kit.


Watch the video tutorial and flip through of this project HERE

You can also follow me on instagram HERE

.............

BUY Aunty Vera's Monthly Kits HERE

January Monthly kit is available for $46.20 which is a saving of 20% on buying the items separately.

Postage is $9.00 anywhere in Aus. 
For internationals, please email for accurate prices.

C O N T A C T:

............


Until next time,

Sarah xx

............


Related Posts Plugin for WordPress, Blogger...