Tuesday, March 28, 2017

All The Leaves Are Brown: Donna's Little Bag of Notes

 Hello Crafty Friends!

Are we ready for more March Marvellousness? 
Join Donna today as she shares a little bag full of happy notes.....


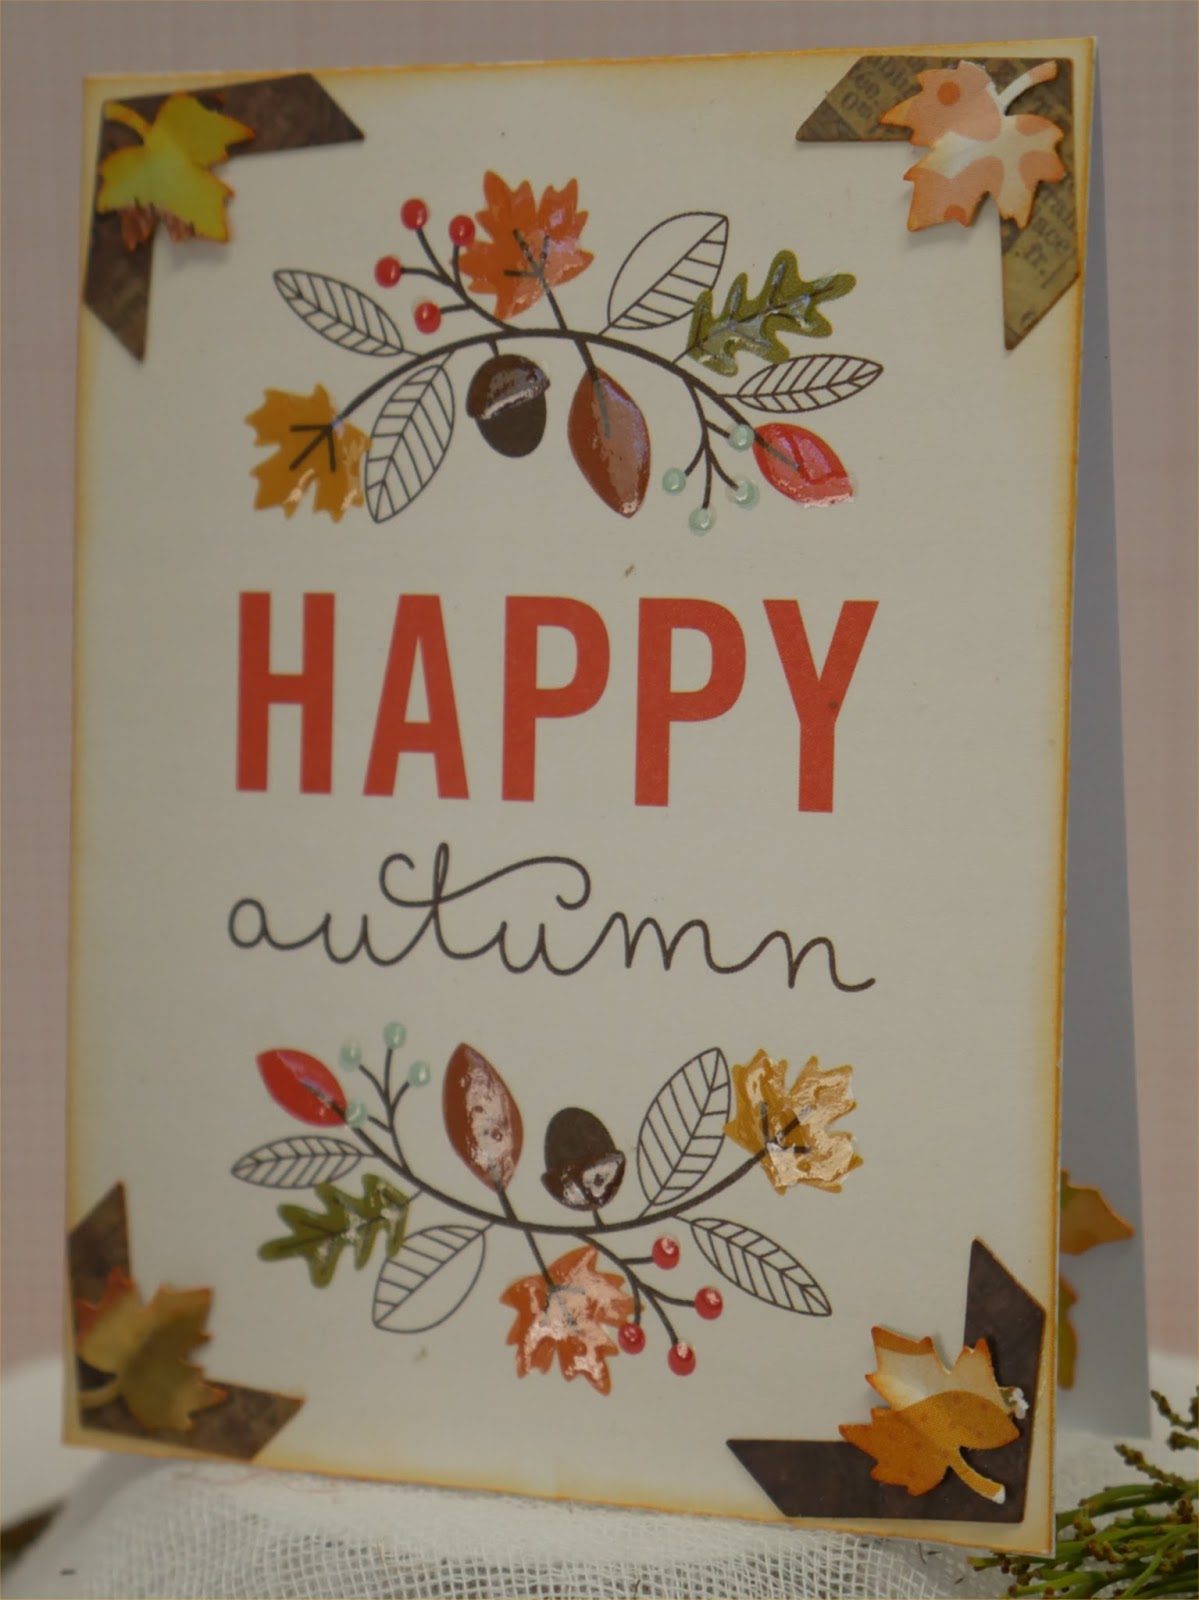
Well I think this is the last of my projects for the month of March with
Aunty Vera Scrap and Craft... What a wonderful kit this has been
and some of my favourite colours so I am happy lol..

I have created this little bag of note cards that measure 4 inches x 3 inches...
I had so much fun doing this and it was my favourite project of the month..

I punched holes in the bag and used the Jute String from the kit to close it.. 
You have to love this note card front ..


Side view of the bag.. I inked around the edges
to make it stand out better.


The bag opened and as you can see where the holes were
punched out.. This little bag held 9 cards quite easily..


 I inked around all of the note cards and attached them to a
card base measuring 3 inches by 8 inches folded in half..
All the notecards have bling, Kindy Glitz and Glossy Accents somewhere..

1... For this notecard I fussy cut the fox and raccoon and
adhered it using 3D foam tape..


2... A border on the side and a punched leaf stop this little guy
being boring..


3... I like this one because it is different.  The corners were scraps
leftover from The Cottage roof..


4... A metal leaf embellishment and Jute String was perfect
for this note card..


5... This is different, I made a hinged shaker for the front
of this note card..


It wasn't until I made it that I realised the apples were sideways lol..


6... I had little bits left over from a door so I adhered them to the top
of the gnome hats.. I then punched out tiny leaves and fussy cut
a butterfly..


7... For this note card I die cut a door and added
different paper for the door panels..


8... Feeling Blessed is a lovely notecard and was simply
created by placing some Washi Tape
on both sides..


9... How cute is this note card!! A fussy cut butterfly
and a border on the side and it was done..


I love owls and I knew this had to be the front of my bag...


All 4 projects together...

Like I said I love this colour range and it was so easy to create
something.. I hope you like what I did and browse through the blog to see what the other Creative Team members created as well...


FIND ME:


..............................

CURIOUS TO KNOW WHAT IS IN AUNTY VERA'S MARCH  BOX?
- Watch my Aunty Vera's March Unboxing HERE
BUY Aunty Vera's Monthly Kits HERE

March Monthly kit is available for $75 which is a saving of 20% on buying the items separately.

Postage is $8.50 anywhere in Aus.
For internationals, please email for accurate prices.

C O N T A C T:

 ................................


I hope I have inspired you to create Glorious things..
Thank you for stopping by...
Hugs
Donna xx

Saturday, March 25, 2017

Lolly's March Challenge: Zip It Up - Entries & Winner

Hello Crafty Readers and Happy Weekend!

Our March Challenge: Zip it Up, hosted by Lolly, officially ended last night. The challenge was to use a zipper or part of a zipper in a paper project this month.

A big hooray to everyone who joined in!
This was Lolly's challenge inspiration:


You can find the how-to videos HERE and HERE.

Now to our entries.....

Vanessa's had a hoot creating her zippered Owl Pouch.......


Ann took the zipper theme further to create a sewing inspired project.....


Suzanne went vintage... complete with vintage photograph.....


Michelle incorporated air clay in her project......


Amira showed how much she appreciates her Random Act of Kindness goodies and created 2 traveler's notebook made made from RAK'd items....


Jenni used the Sizzix Owl Die to give us Cutie, Foxie and Flirt.....


And Aunty Vera made a divider for her project life cards box.....


Thank you all for your contributions!
We have an awesome prize to give away to one of our entries.... by random draw.
This gorgeous Selfie Die from BoBunny.....


So we have fired up the Random Number Generator and........

Congratulations to......

ANN!! You have won our Challenge Prize!
Congratulationa.
And thank you again everyone who played along. We hope you had lots of fun and maybe tried something a little different!

With love from Aunty Vera and Team xx


Thursday, March 23, 2017

All the Leaves Are Brown: Lolly's March Project #3: Charms and Tags

Hello Crafty Readers!
Today Lolly is sharing charms, tags and hanging things. 
Oh my goodness! They are all SO cute!!
Enjoy!!.....


My first March project was a set of fall cards I had made.  You can see them HERE.
My second project was an altered cigar box, which can be seen HERE.

Those two projects were designed to go together, and so is this project -- the final complement to the set.   I wanted to make some dangles:  charms, tags, anything that could HANG.  I knew I wanted to make a set of them and then choose a couple to actually put into my cigar box.

For the first charm, I used the two inch cut apart cards in the paper collection, and let me tell you -- these cards are so SWEET!  I'm using them up, and I'm so sad to see them go.  I hope to see more paper collections come up with these!


I cut a strip of the images off, scored along the image borders, and folded in an accordion fashion, starting with a valley fold.  I also cut a strip of card stock in 2 1/8 x 4 1/4" size.  I scored that half way on the long side, making two squares each 2 1/8".  This is a cover for a little book.  I glued the accordion strip into pages, and glued those into the cover, along with a jute loop for hanging.  Here is the video on that whole process:   https://youtu.be/Sct1t0O58Uc   These are so adorable.  I'm loving them!


I also made a tag -- simple but stunning. I used two layers of card stock sandwiched  between two layers of patterned paper from the collection (for sturdiness).  Then I used a hole punch to  create an indentation on both sides of the tag so that the jute would not slide up and down on the tag.  I wrapped the jute several times around the card and hung the Fairy Wish Door on the jute before tying it off.  This door is such a cute addition to any project!  I had originally put it on the cigar box, but I felt that the magnetic closure on the two were in opposition, so I switched the door to this tag.  I wrote out the words on the tag and glued them on -- I'm loving this!  I found a nice antique brass hook in my stash that I want to use as a hanger for it.  I will need to scope out some antique brass split rings now, to attach it.   I like the antique brass look, because it complements the fairy door.


My next charm was a project using a plastic jelly jar lid.  It was very shallow, and I thought I'd like to see that as a hanging charm.  I cut out a circle from the paper collection (aren't those animals so cute?!) To see the whole process, I have a tutorial here:  https://youtu.be/Oqm7XKVyXR8


Lastly, I found some of those old plastic snap-apart key chains at the craft store, and they were on sale, so I picked some up.   The one on the left shows how they look when purchased.  One side pops open easily so that decorative paper (or a photo) can be inserted. I used some of the kit paper to put inside the disc, and you can see the front and back here:


I chose two of these charms to my cigar box project.  Look how perfectly they complement the project:


I'm very thankful you took the time to check out my last addition to this project.
Aunty Vera Scrap and Craft's March kit is super special.  The elements worked so well together and just BEG to be crafted!   Be sure to check out that kit HERE.

~Lolly
http://www.LollyPalooza.net

Monday, March 20, 2017

All The Leaves Are Brown: Donna's March Project # 3: A Day in Autumn Cards

Hello Crafty Readers!

Let's start the week off with some crafty fun......... Donna has focussed on that gorgeous Penny Black stamp from our March Kit to bring you some lovely autumn cards.
Enjoy!!.......


I'm on a Roll this month with the gorgeous kit from Aunty Vera Scrap and Craft..
What wonderful colours there is in this kit and as you guessed
it is Autumn... And this stamp from Penny Black 'A Day In Autumn'
is just plain gorgeous so I decided to make
4 cards to showcase it's 'Leafiness' ...

For Card 1... I used water colour paper..
With assorted Distress inks I applied ink directly to stamp using the markers..
I then spritzed with water and stamped on to watercolour paper..


Using the Jute String I wrapped it 3 times around the
panel and tied a metal leaf embellishment ..
I cut out 'thankful heart Feeling Blessed' from a border and adhered
it straight on the card front..


Card 2... I stamped the image with  Distress inks onto the Ranger Stamping Paper
 and I did not like it at all. The colours paled and it took ages to dry and actually
looks smudged in places.. I cut the tree out and added a mat from
the wonderful paper in the kit and then fussy cut the Tim Holtz Birch Trees from his embossing folder to add as a background..


I then fussy cut the gnomes and mushrooms and adhered them all under
a border..  Glossy Accents and Kindy Glitz finished the card..  


Card 3... Again using watercolour paper and Distress ink markers
I spritzed the stamp and simply stamped the image. I matted the
front of the card to a piece of scrap cardstock and added 'Falling  leaves'
from a border using 3D foam tape.


Look how gorgeous this turned out..


Card 4... I used the Spotlight Technique.. I stamped the tree on to plain
white cardstock using Memento Brown  then using the direct
 to stamp Distress markers technique, I stamped the image on to
watercolour paper and die cut a circle.


I then diecut a scalloped circle and added 3D foam tape to adhere it to the
card front at the same place on the background..  'I love Fall and Memories' from the border tucked under the circle makes it stand out..
Another border at the bottom and two punched leaves finishes off
this wonderful card..


FIND ME:


..............................

CURIOUS TO KNOW WHAT IS IN AUNTY VERA'S MARCH  BOX?
- Watch my Aunty Vera's March Unboxing HERE
BUY Aunty Vera's Monthly Kits HERE

March Monthly kit is available for $75 which is a saving of 20% on buying the items separately.

Postage is $8.50 anywhere in Aus.
For internationals, please email for accurate prices.

C O N T A C T:

 ................................


I hope I have inspired you to create Glorious things..
Thank you for stopping by...
Hugs
Donna xx


Saturday, March 18, 2017

All the Leaves Are Brown: Lolly's March Project #2: Altered Cigar Box

Hello and Happy Weekend Crafty Readers!

Do you remember Lolly's gorgeous Autumn inspired cards that we featured last week? Lolly gave us a bit of a teaser and I for one have been wondering all week just what she might be up to.

Well faint, faint and double faint... you're going to love her Cigar Box Project........


Well, I've been looking forward to this for quite awhile!   In February, I was inspired by Corene's project* and found a gorgeous wooden cigar box.   I knew I wanted to create with it, and I had hoped that the March kit would allow me that pleasure.  SCORE!  

For my project #1, I made a selection of autumn-themed cards from the kit.  Here's a quick view of the cards together.


 You can get a better look at the cards HERE.

I measured out a piece of chipboard for the bottom of the inside of my box, and I covered it with two designs from the Pebbles paper collection.   


Then I attached  Tim Holtz binder rings to the chip board and glued the chipboard into place.   Now I have a beautiful binder without having to drill holes into the wood of the box.  


I organized all my autumn cards on the rings with the longest on the bottom and shortest on top, to allow a waterfall look.   I am so thrilled with the outcome!


There was a tiny area on the inside of the lid, where the edging was ruined, so I covered it with a narrow strip from the paper collection.

Then I made a magnetic pull for the lid, edged the lid in lace trim, and added that Fairy Wish Door to the center with some of the jute.  If you don't have a Fairy Wish Door, you are missing out!  I am sure that fairies are going to be visiting my cigar box soon!


You can view the video HERE.
*Corene's video is linked in the description box under my video.

Keep an eye out for cigar boxes from now on!  You won't want to miss the opportunity to make one of these!

Be sure to check out this month's kit HERE


Crafty hugs,
Lolly
http://www.lollypalooza.net

Related Posts Plugin for WordPress, Blogger...