Showing posts with label notebook. Show all posts

Thursday, August 13, 2020

Song about Rainbows - Wendy's Skinny Notebooks


Skinny Notebooks

This is a project that had been sitting in my To-Do List for quite sometime and I thought now was the time to bring it together after seeing these gorgeous Magical Forest Papers from Crate Paper. This project was inspired by The Posh Paper Lady on Youtube and I thank her for giving easy to follow instructions on how to make them. You can pop them in your handbag and carry them with you, very practical.


I started with some A4 size notepads, that I had purchased from our local Kmart. you can get a pack of three for around five dollars. pretty cheap! With one of the pads, I used a metal ruler and a cutting blade and cut through the pad at 7 1/2cm width and 18cm in length. This gave me two smaller notepads the same and another a little thinner.


After I had cut the notepads to size, I cut the cover for them. I used some chipboard (which can also be purchased from Aunty Vera Scrap and Craft) and cut two pieces at 8cm in width and 18cm in length. Then a smaller strip for the spine at 1cm width and 18cm length. For the patterned paper on the outside I used the Magical Forest Discover paper.


I placed double-sided tape on each panel of chipboard and then placed them on the reverse of the 'Discover' patterned paper. When placing them on your paper, make sure you leave about 2mm space between each piece. This makes it easier to fold at the sides of the spine.


Leave about 2cms around the edges of the chipboard because you use this to fold over on all sides. I used double-sided tape to adhere the folded edges over. I also mitred the corners and left about 2mm space, not cutting the triangle right at the corner.


When you have glued the side flaps down, I grab my bone folder and gentle mark a line on either side of the spine top and bottom, which will make it easier to fold.
I then cut a piece of patterned paper for the inside of the cover from the reverse side of  the 'Imaginary" paper. To do this, I just place my paper over the inside cover and use a pencil to mark where it needs to be cut. Then cut it using the pencil marks.
 

When I put the inside pattered paper on, I used a metal ruler to gentle fold each side of the spine. You do this as slowly as possible holding firmly down on the ruler with one hand and gently pushing up the front and then back panel.

I wanted a simple closure on the notebook so I punched a hole on the back, threaded some black elastic through the hole and then placed an eyelet in the hole and used my cropodile to secure the eyelet. I measured the elastic before hand so I knew how much to use by slipping it over the top of the notebook.
It made a wonderful simple closure.


When the cover was finished, it was time to adhere the note pad to the inside of the cover.


I used double-sided tape on the back of the notepad to adhere it to the inside back cover and when placing it down, made sure to cover the hole of the eyelet. So close to the outside edge as possible.
I wanted to add some sort of small pocket to the front inside of  the notebook and the Mini Envelope Die from Kaisercraft was a perfect fit. So I cut two out using my Big Shot.


I folded the envelopes up using the premarked fold lines from the die and I then cut the top flap of each envelope off because I wanted the envelopes left open.


I used double-side tape and a splash of wet glue to adhere the envelopes to the front inside cover. They look so cute and will be useful if I want to place a receipt in them after I've done my shopping.


Below shows the envelopes inside the smaller of the three skinny notebooks.The paper used for this one was 'Wildflower' from The Magical Forest Collection on the outside and the inside paper used was the reverse side of the 'Meadow' paper. This one was also decorated with a strip of the 'Wildflower' paper folded over the notepad itself and then I placed a label sticker on it from the 'Magical Forest Sticker Sheet'.


To finish decorating this Skinny Notebook, I used a cut out from the 'Willow" 12x12 paper sheet with the mushroom images on it. Love how it looks!


Back view of the Skinny Notebook.

Showing the three Skinny Notebooks I made from one width of the large notepad.


Inside view of the third notebook decorated with some of the BoBunny clear stickers, so cute.


I hope you enjoyed this project and make some for yourself. Don't forget Christmas is just around the corner and these would make a perfect Christmas Gift for a special someone.

You can view a process video below:


Don't forget to pop over to Aunty Vera Scrap and Craft and check out all the discounted items for the month of August and also have a squizzy at all the new and restocked items she has instore.
You all have a great day! 
Wendy xox

Tuesday, March 17, 2020

Like a Cat - Gina's 4x3 notebooks


Hey everyone today I have another project using the lovely Echo Park I Love My Cat 3x4 journaling card sheet. These are what's left of my sheet and I will be using them to make 4 notebooks. I got the idea for this from The Posh Paper Lady on youtube.


The 2 cards at the bottom will be scored in the centre vertically as shown in the picture.


The other notebooks open upwards so I have scored one in the centre and stuck the other two cards together with the Dyan Reavely Dylusions dyary tape.


Here they are all together. I have also rounded the corners on the edges.


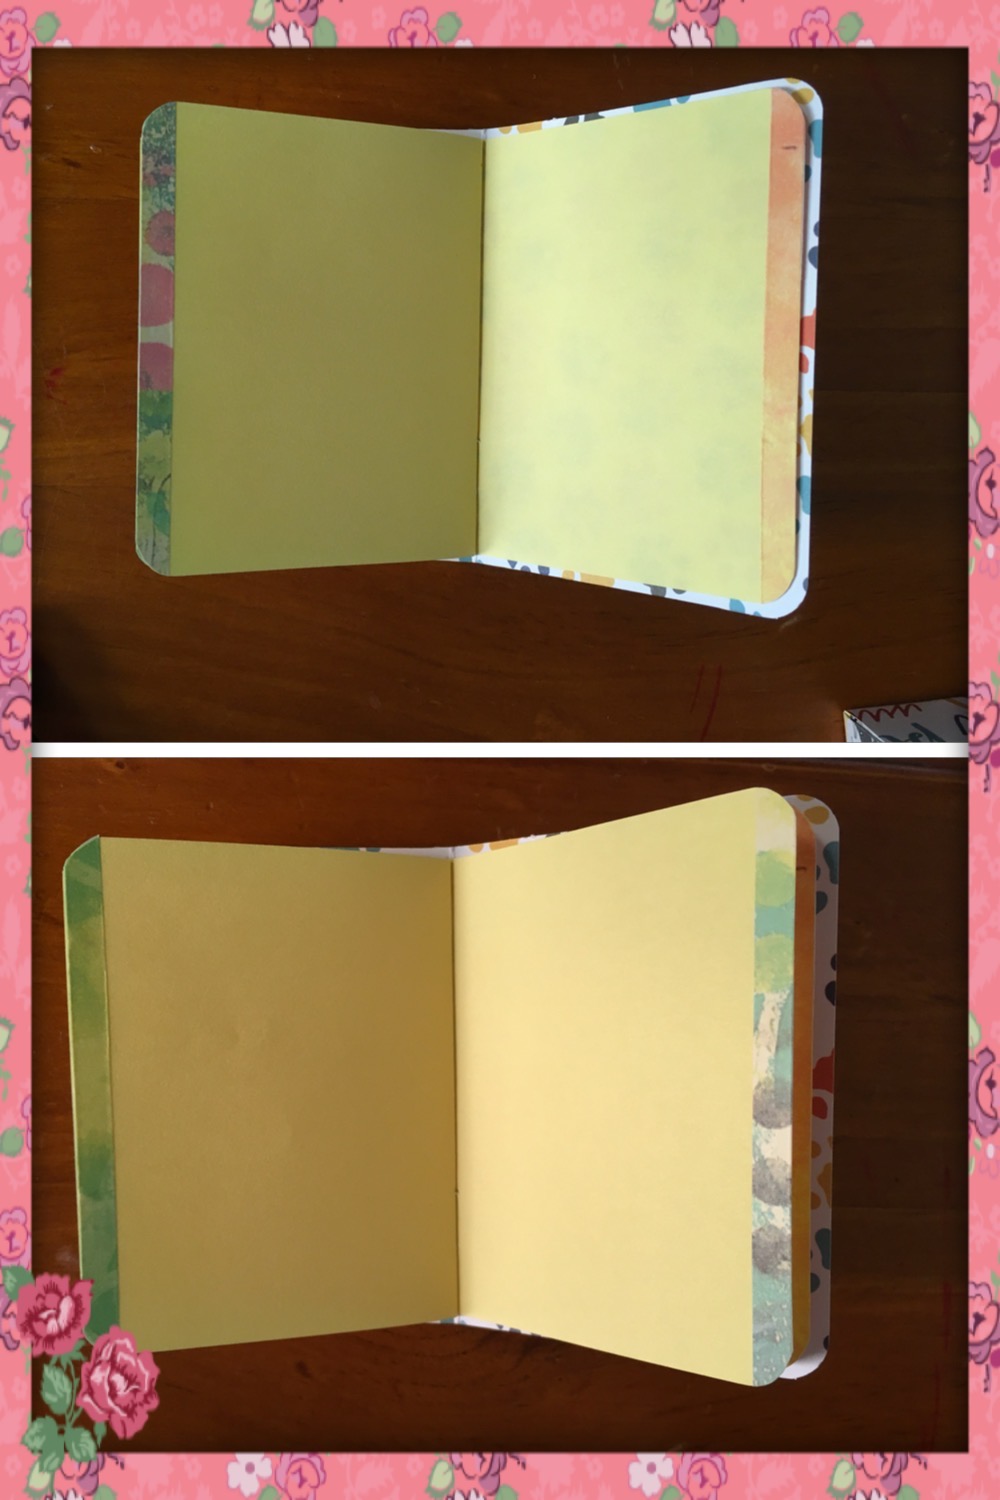
Next I took some yellow copy paper from my stash and cut them about a quarter inch shorter than each notebook when opened up. I also rounded the corners on the copy paper. I am using 5 pieces for each book.


I stapled the papers into each book and decorated the covers. 2 of them have a strip of Dyan Reaveley dyary tape. One has a doily, I die cut from one of my off-cuts and the other has one of the cards from the Echo Park I Love my Cat 6x6 paper pad. I have inked the edges and cut some strips using my border punch and stuck them below it.


I have decorated the pages on two of the books and left the other two blank. The first one I have decorated like a journal using the Echo Park I Love My Cat Kitty Love stamp set and the Echo Park I Love My Cat Frames and Tags Die Cuts. Here's a look at some of the pages.


On the other notebbok I used the Dyan Revealey dyary tape on the borders of each page.


I wanted to make a case for the books so I took a bandaid box that was the perfect size to fit them in and covered it with the Echo Park I Love My Cat Kittens paper.


I stuck one of the Eau de Nil Docrafts Papermania ribbons on the inside and one of the frames on the front of the box raised on chipboard. Here is the final picture with the books inside.


See you again next week with my final project for this month and till then stay safe and let us enjoy our creativity with confidence!

Gina xx

Monday, January 27, 2020

Beautiful Day - Sue's Loaded Pocket


Hi Everyone, I hope today finds everyone safe and happy.

Today’s project is a loaded pocket made from two small paper bags.  The types you can buy from party stores of cheap stores.

Materials Used:
-          Decades
-          Postmarked
-          Generations
-          Daughter
-          Handwritten
Santoro Lace               
Buttermilk Nuvo Drops                   
Darkroom Door Gazette Texture Stamp
Two different sized small paperbags                      
Various paper scraps (old music & book pages)


Using the smaller bag I folded up the bottom to make a small pocket and then glued it onto the bigger bag. Make sure you only glue the sides and bottom so you have an extra pocket to use. My bags were tea dyed but that is not necessary.


Next step was to use some paper scraps (anything that co ordinates will do) to make a small collage on the turned up pocket and then on the smaller bag.  The collage on the smaller bag won’t really be seen so on my second one I just stamped to take away the plainness. 


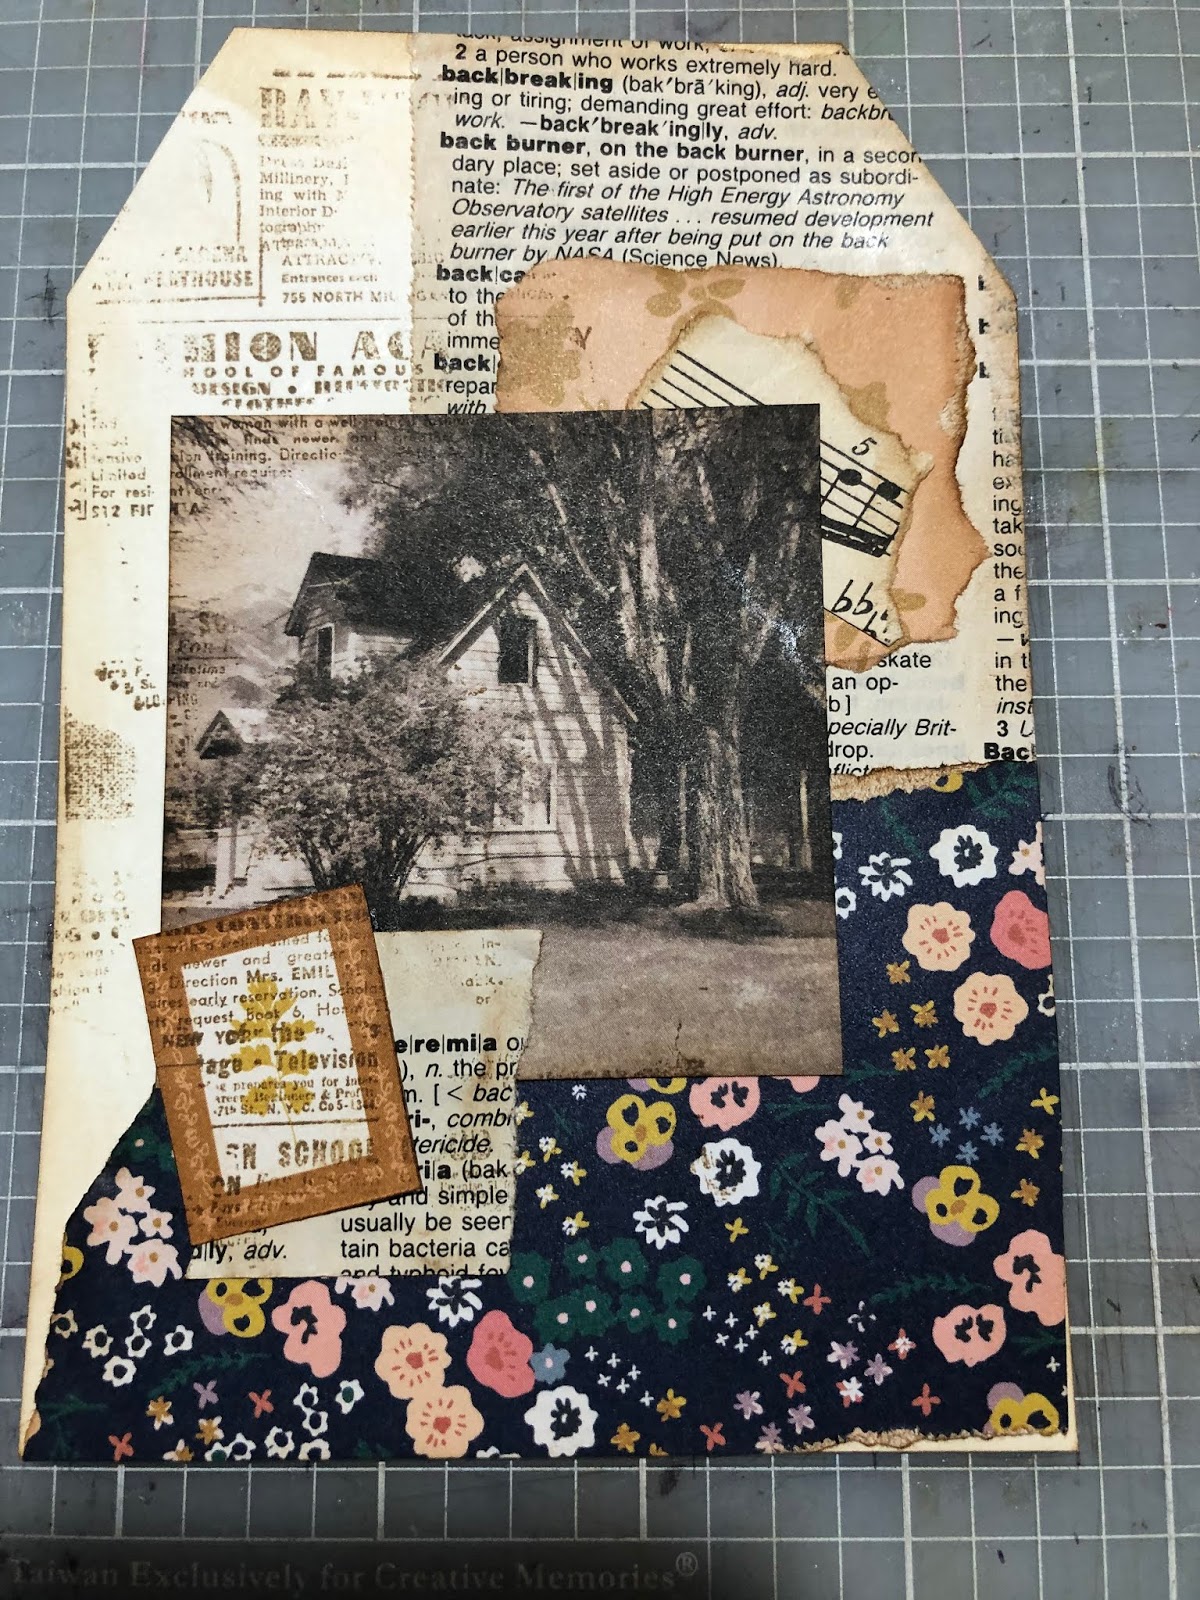
Next I took some ivory card stock and cut out three tags to fit into the pockets.  The measurements depend on how big the bags are. I just estimated how big they were.  I cut the top corners off to make them look like tags.


I also took some patterned paper (Daughter) and cut it to make a cover for a little notebook. Again cut it to fit into the slot between the two bags.  I also cut some coffee dyed paper to fit inside. I used two pages and machine stitched straight down the centre.  You could also hand stitch these pages in or staple them in.  


Then I decorated each of the tags.  I used scrap bits of paper, patterned paper to co ordinate from the Maggie Holmes Heritage range.  I used ‘Daughter’ and the reverse of ‘Handwritten’.  I like to tear the papers and distress the edges, however straight edges work well too.  I also used some cut out stamps from the ‘Postmarked’ paper and some little images from the ‘Decades’ paper. My main images were the fantastic old photos from the ‘Generation’ paper.  Once the collaging was finished I stamped over the blank spaces with the Darkroom door Gazette Texture stamp.  Each tag was also finished with a piece of Santoro lace, which was folded over the top and stapled on.


I collaged the front of the little book using the same method.


Finally I placed each of the tags into the pocket and added some Buttermilk Nuvo Drops in clusters of 3 to finish off.   Use in a journal or give out for happy mail.


You can watch my process video HERE.

I hope you enjoy making this loaded pocket and remember you can vary the style to suit your taste.

Related Posts Plugin for WordPress, Blogger...