
Hello Crafty Friends!
Time to make a cup of tea, cut yourself a slice of cake and enjoy our first Project of the Month.
Our May Kit is Let Them Eat Cake and it's SO yummy!! You'll be drooling over all the scrumptious projects our Creative Team have planned for you!
So let'get started today with Suzanne's Explosion Box....

Hi everyone. I'm very excited to be presenting my first creative team project made from the May kit from Aunty Vera Scrap and Craft. 'Let them eat cake' is the theme set for this month's kit and let me just say it was super fun to get into all the wonderful goodies in this kit.
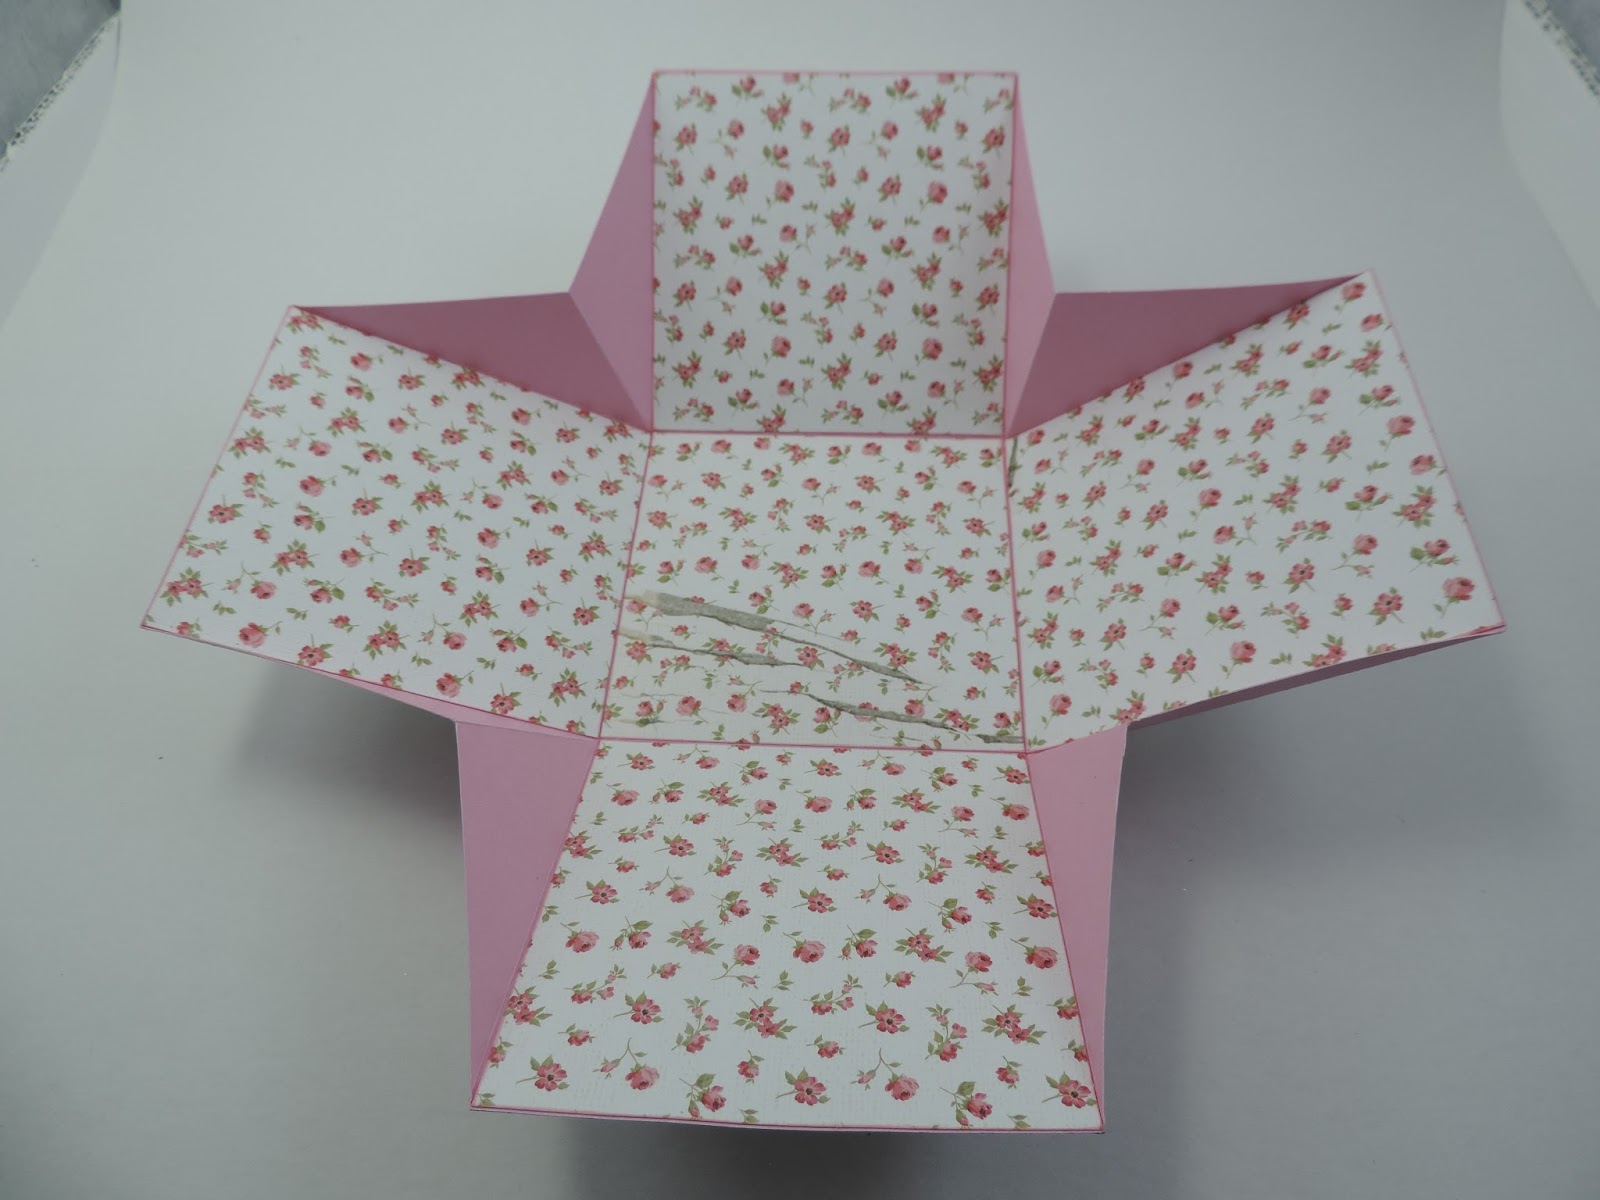
I decided to make a Birthday explosion box as my first project. Explosion boxes have become quite popular lately and I had recently made one which people really seemed to like, so I made another . The explosion box I'm making is really quite simple. All you need are a couple of piece of 12 x 12 cardstock as your base and the Kaisercraft 'High Tea' papers from the May kit and you're good to go.
I chose some pink cardstock that coordinated with the beautiful papers that Aunty Vera chose for the kit from Kaisercraft (High Tea collection). I scored this cardstock at the 4 and 8 inch marks on my scoreboard and then turned it 90degrees and scored at 4 and 8 inch marks again. I scored from each corner of the centre square to the outside corner of the cardstock.so that these form the fold in corners of the box. I then cut across the corner from the 4 inch mark on one side to the 4 inch mark on the other side. (This forms a triangle shape). This is the base of your explosion box
 |
| 12 x 12 cardstock scored at 4 and 8 inch and corners scored and cut off |
 |
| Happy Birthday die cuts |
 |
| cake diecut |
 |
| Glued the patterned paper on the inside |
I then made two envelopes with my envelope punch board (3 1/2 x 3 1/2 inch envelope using 6 x 6 inch piece of paper) and used a die from my stash to make a frame and rose embellishment. I also used a flower diecut from another kaisercraft collection that matched perfectly to finish off the four inside sides of the box.
 |
| Envelope for goodies or gift card |
 |
| Frame and rose |
 |
Die cut |
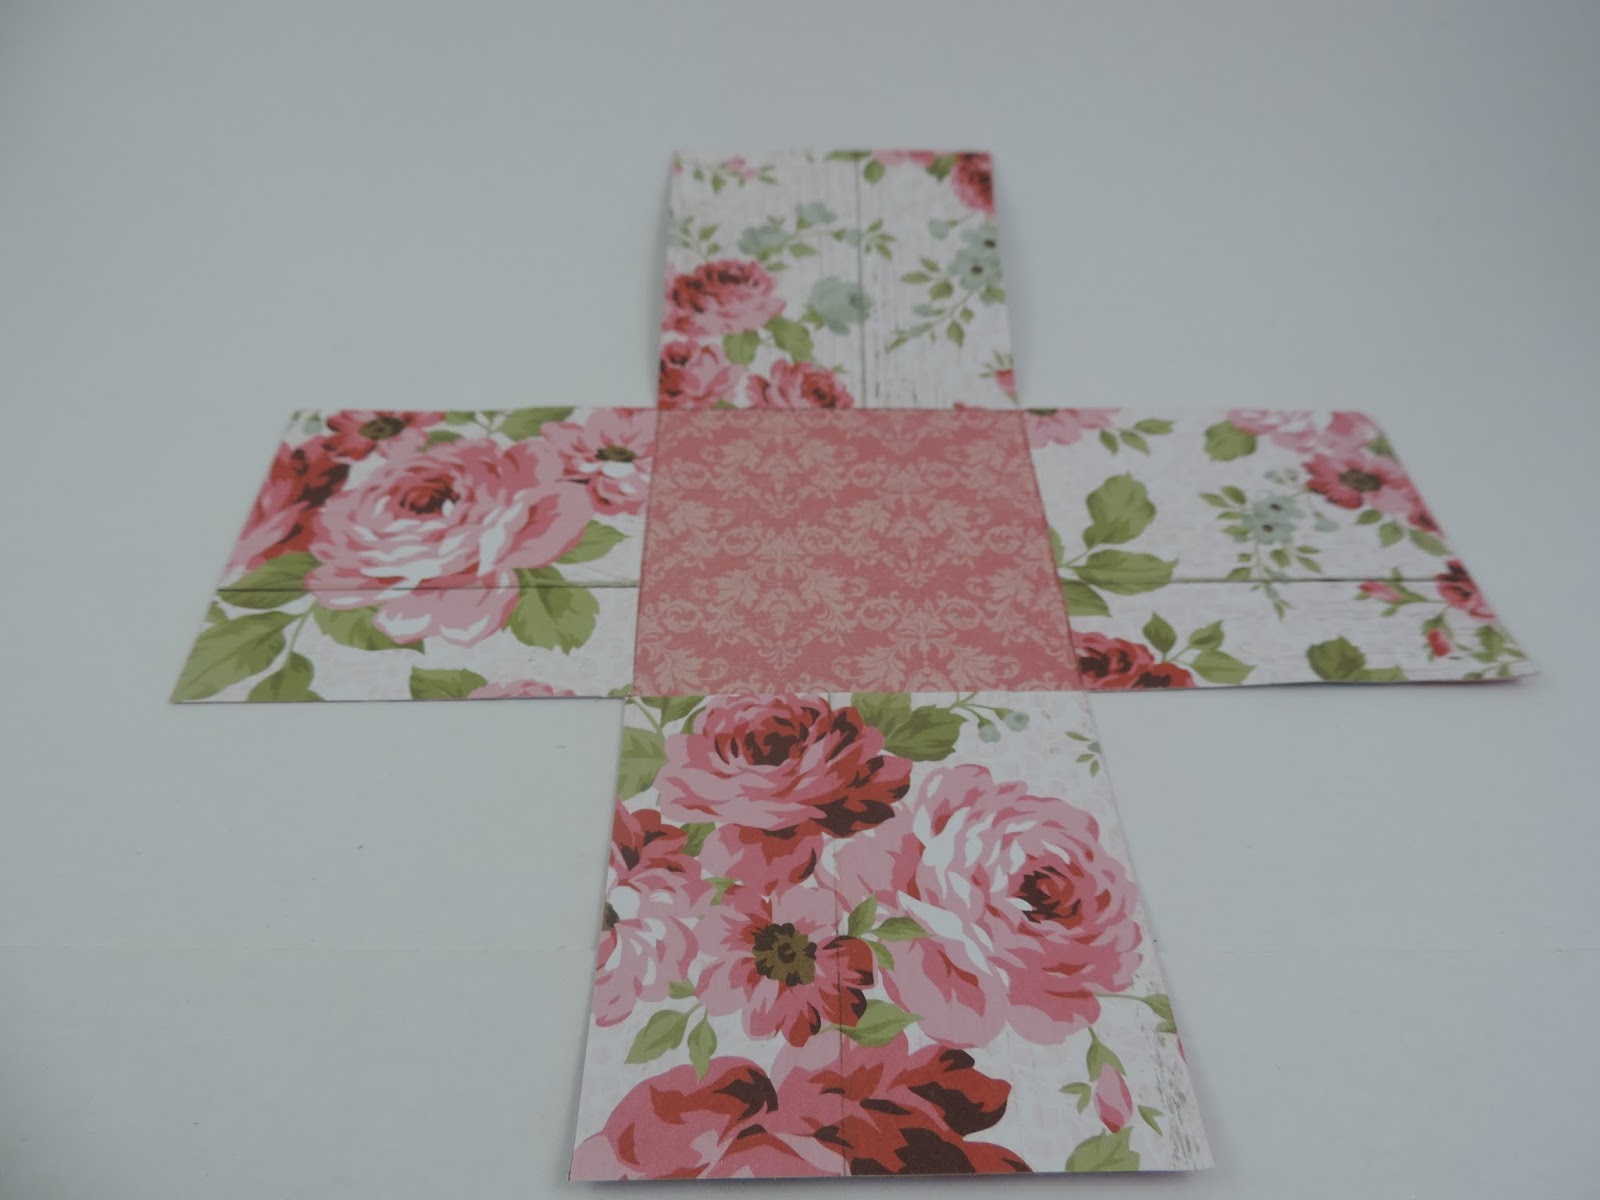 |
| 9 x 9 inch paper with corner squares removed and used inside the box for strength. |
 |
| Cardstock added for strength |
 |
| Stamp from the collection fussy cut and coloured to match the papers |
 |
| 3 small prima flowers |
 |
| cutout from the papers |


 |
| Shaker card |
 |
| a cake for the centre of the box |
For the lid I used a piece of matching cardstock and cut a piece at 6 1/8 inches square. I then scored this piece of cardstock at 1 inch then turned it 90deg and did this to all four sides. I then cut 1 side of the 1 inch squares in the corners to form the tab to glue the lid together. I used some lace from my stash to decorate the sides of the lid and I added a piece of the patterned paper to the top before adding some pink and peach feathers and 3 of the Prima flowers to finish off the lid.
 |
| Lid with lace edge and coordinating paper on top |


 |
| completed project |
You can see my video showing this explosion box HERE.
You can see my video on how to make an explosion box HERE
You can see my video on how to make the shaker and cake HERE.
The May kit is available HERE
This is just stunning, so beautiful and pretty and I just love it!
ReplyDeleteAbsolutely gorgeous. So inspired to make one. XxA
ReplyDelete