
Hello Crafty Friends!
I love all the mini album / book type projects that our facebook group friends have been coming up with this month! Today Sarah creates a coffee themed mini album... with a touch of recycling. I love it!

Hi friends! It's been a lovely month of crafting with a few different album/folio/journal shares. I couldn't resist making my own little album with the June Kit, so I decided to make my first ever toilet paper roll mini album!
Making a memory book using toilet rolls might seem like a strange idea but it's a great way to recycle something that would normally be thrown out. To start with take as many toilet rolls as you would like to use. Make sure you use the same brand so that they're the same size. These books can get a little chunky so I recommend using 3-4 rolls. Flatten them out as much as possible - I've found running them through a die cutting machine helps, or otherwise you can put them under a heavy book or clip them flat with bull dog clips overnight.

Next, it's time to bind your toilet paper pocket pages together. There's a few different ways you can bind your book, but I find a hinge system works well because it looks quite polished and lies flat when opened. To do this you'll need to cut a 1"strip of card stock. You can use whatever length you have on hand as we'll be cutting it down later - I find 12" or A4 card stock works well. Score at 3/8" on both sides, so that you have a 1/4" piece left in the middle with 2 flaps either side. Then use double sided tape on the two flaps, on both sides.

Measure the width of your toilet roll and cut your strip to size so that you have one strip for each roll you're using (mine were about 2 1/2" each). If you don't have enough, just make another 1" strip, scor, and cut extra. Once you have your strips you can then start binding your book. Stick your first flap inside your toilet roll, adhering only one side down. Then, carefully slide in your next strip alongside the first. This will give you one toilet roll wth a strip hanging out either side of one end. Adhere the second tab on your strip to another roll and then continue on until you have the base of your book complete. This can be a bit tricky, so if you'd like a video tutorial please let me know.

Once the base of your mini album is assembled it's time to get decorating. I used the Coffee and Tea collection to decorate my pages, which you can see here.
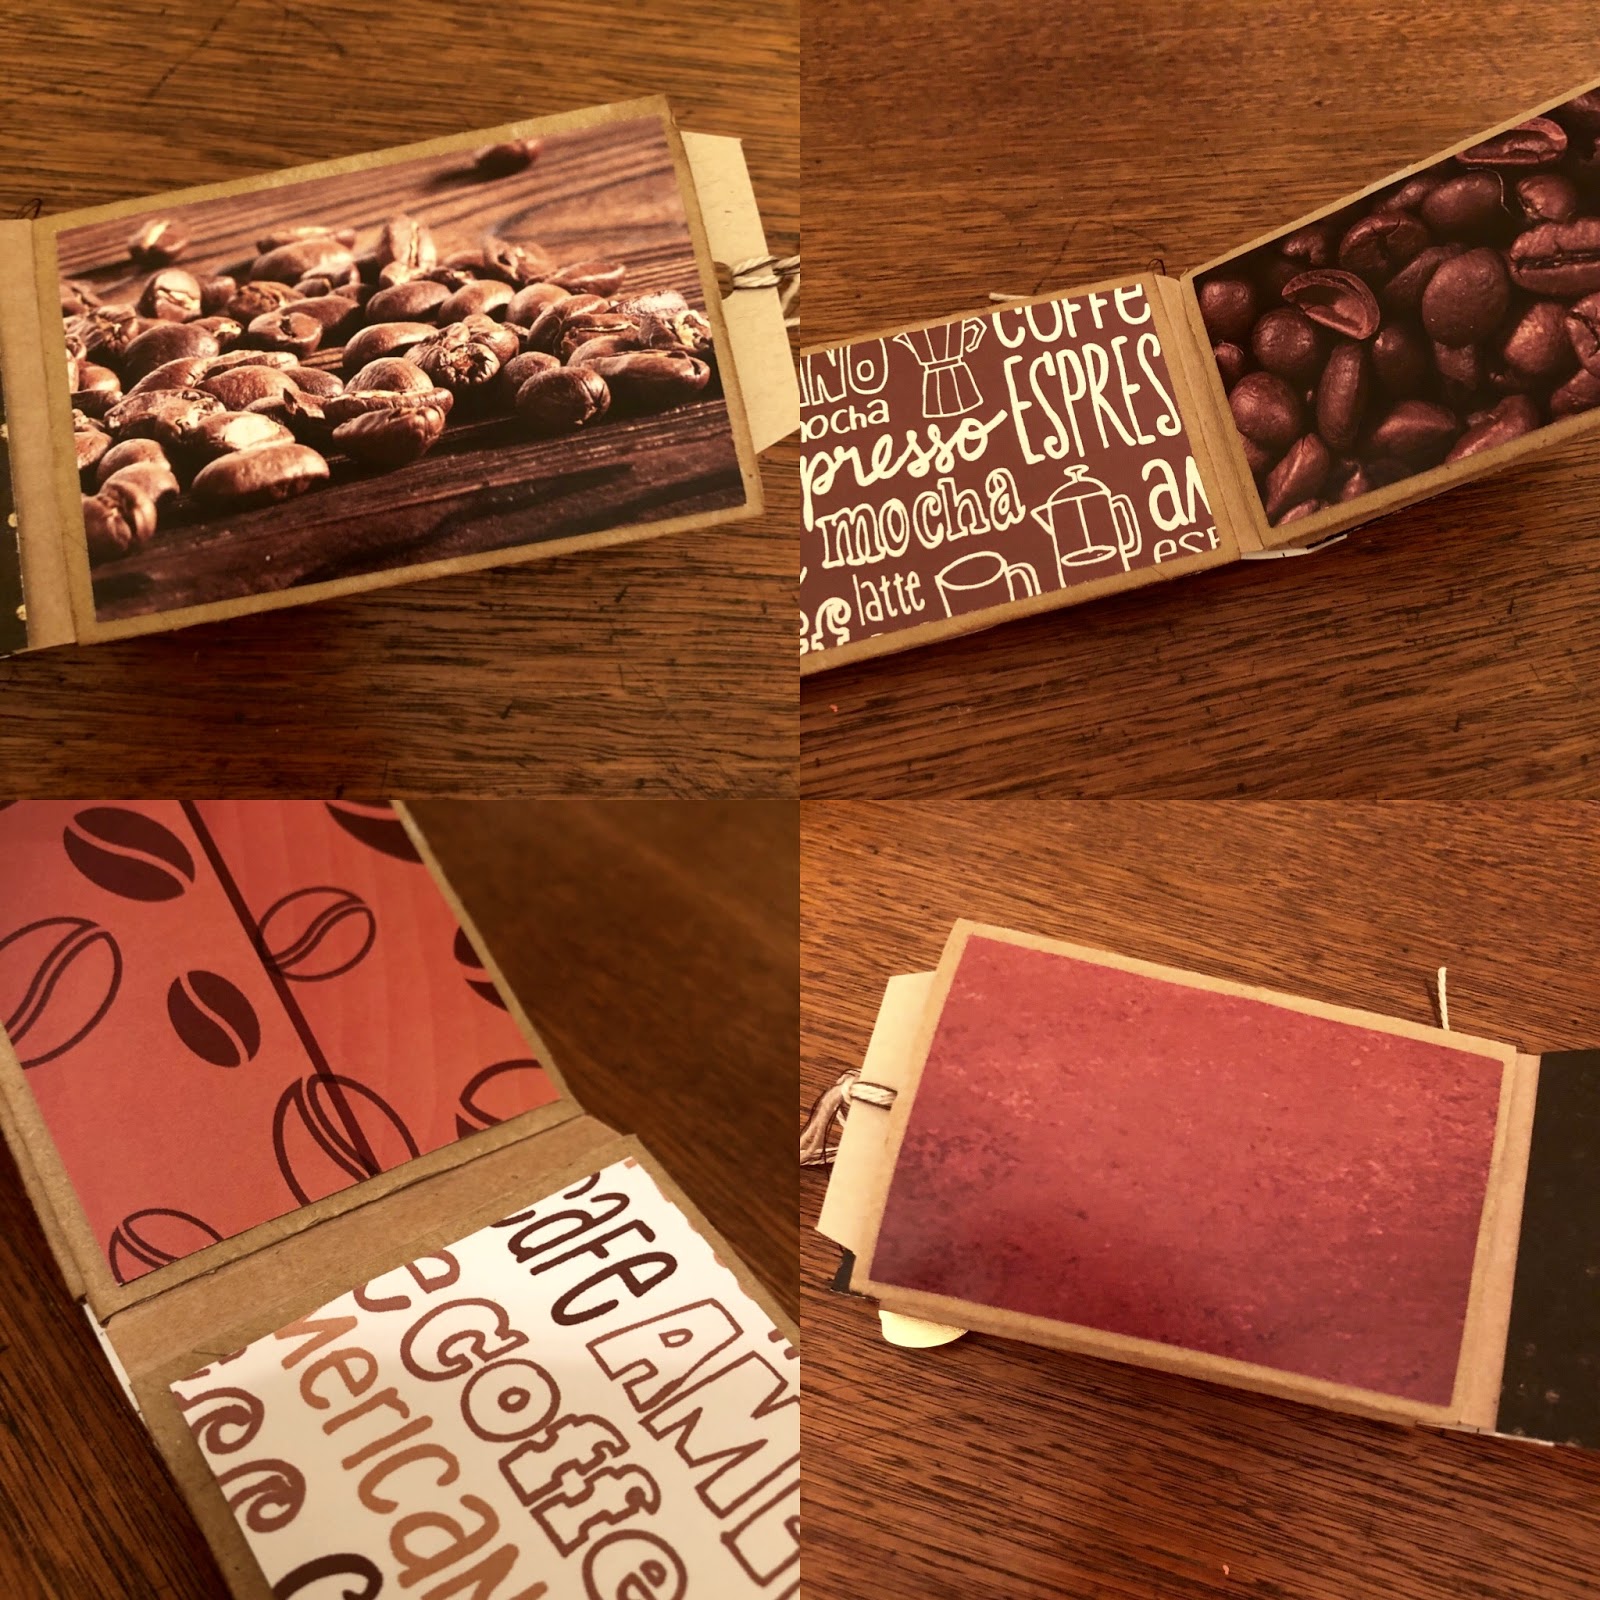
I then cut some tags out of craft card stock to fit inside my toilet roll pockets and added some twine from my stash. I left my tags blank to journal on as the papers on the pages were quite busy, but you could decorate your tags if you wished.

For the album covers, I used two pieces of Bo Bunny Double Dot card stock and glued them together around the left over tabs front and back. I cut them the same width as the toilet rolls, but a little longer so that they covered the tags. I then used a piece of vanilla double dot card stock to cover the spine and added some twine to pretty things up a bit.

I tore the edges of the spine to make it a bit grungy and added some washi from my stash to the front, which matches another embellishment you'll see in a moment.

To create a fun front cover I used a Coffee Cup Shaker with some Neat & Tangled sequins and a sentiment from the Sizzix coffee stamp set to create this lovely mug shaker.

I then added the Echo Park Coffee Cup pin to the corner, which is heavy enough to keep the album sitting flat and also adds another touch of gold to the cover.

And that's the toilet paper mini album finished!

I hope you've enjoyed this project and are inspired to create your own mini album. If you need any tips or tricks, feel free to leave your questions down below.
Until next time,
Sarah xx

*****************
Watch my project share video HERE
Please say hi on instagram - @snapshotscribbles
*****************
Buy Aunty Vera's Monthly Kits HERE
June Monthly kit is available for $77.30 which is a saving of 20% on
buying the items separately.
buying the items separately.
Postage is $9.00 to anywhere in Aus.
For internationals, please email for accurate prices.
C O N T A C T:
*****************
I still have never made one of these! Thank you for the clear directions. Turned out so cute!
ReplyDeleteGreat project Sarah.
ReplyDelete