
Hello Crafty Friends!
Let's get our boy themed month started.... with a wonderful tutorial from Wendy for a set of magnetic photo frames. These are so lovely and could be made to suit any theme or occasion....

Magnetic Photo Frames
Today I have a wonderful project that can be made to give to the male in your life. With Fathers' Day in September here in Australia, I had been wanting to make my lovable son-in-law a very special gift. So, I came up with these adorable handmade photo frames.
The pictures I chose had meaning to my son-in-law and I'm pretty sure he is going to treasure his Fathers' Day gift forever.

What I used:
*Your choice of 3x4 in. photo
*Gentlemans Emporium Paper Collection by Couture Creations
*Cardboard (I recycled some scrap cardboard)
*Ruler and Blade for cutting
*Tim Holtz Paper String
*Mod Podge Dimensional Magic
*Stazon Rusty Brown
*28 Lilac Lane Embellishment Bottle
Let's get started:
Using my photo as a guide for my measurements. I placed it down on my scrap cardboard and cut a rectangle shape out about a quarter of an inch wider than the original photo size. Slightly larger at the bottom, so I could add some embellishments.

Then using my ruler and pencil, I marked the inside frame; where I measured in about 1cm from the edge all around the sides. I then cut the inside rectangle shape out thus giving me my frame. As seen below.

I cut the exact shape from a piece of the Gentlemans' Emporium patterned paper and used a wet glue to stick this to my cardboard template.

I then turned this frame over and placed double-sided tape over the edges and this was then adhered to my picture.

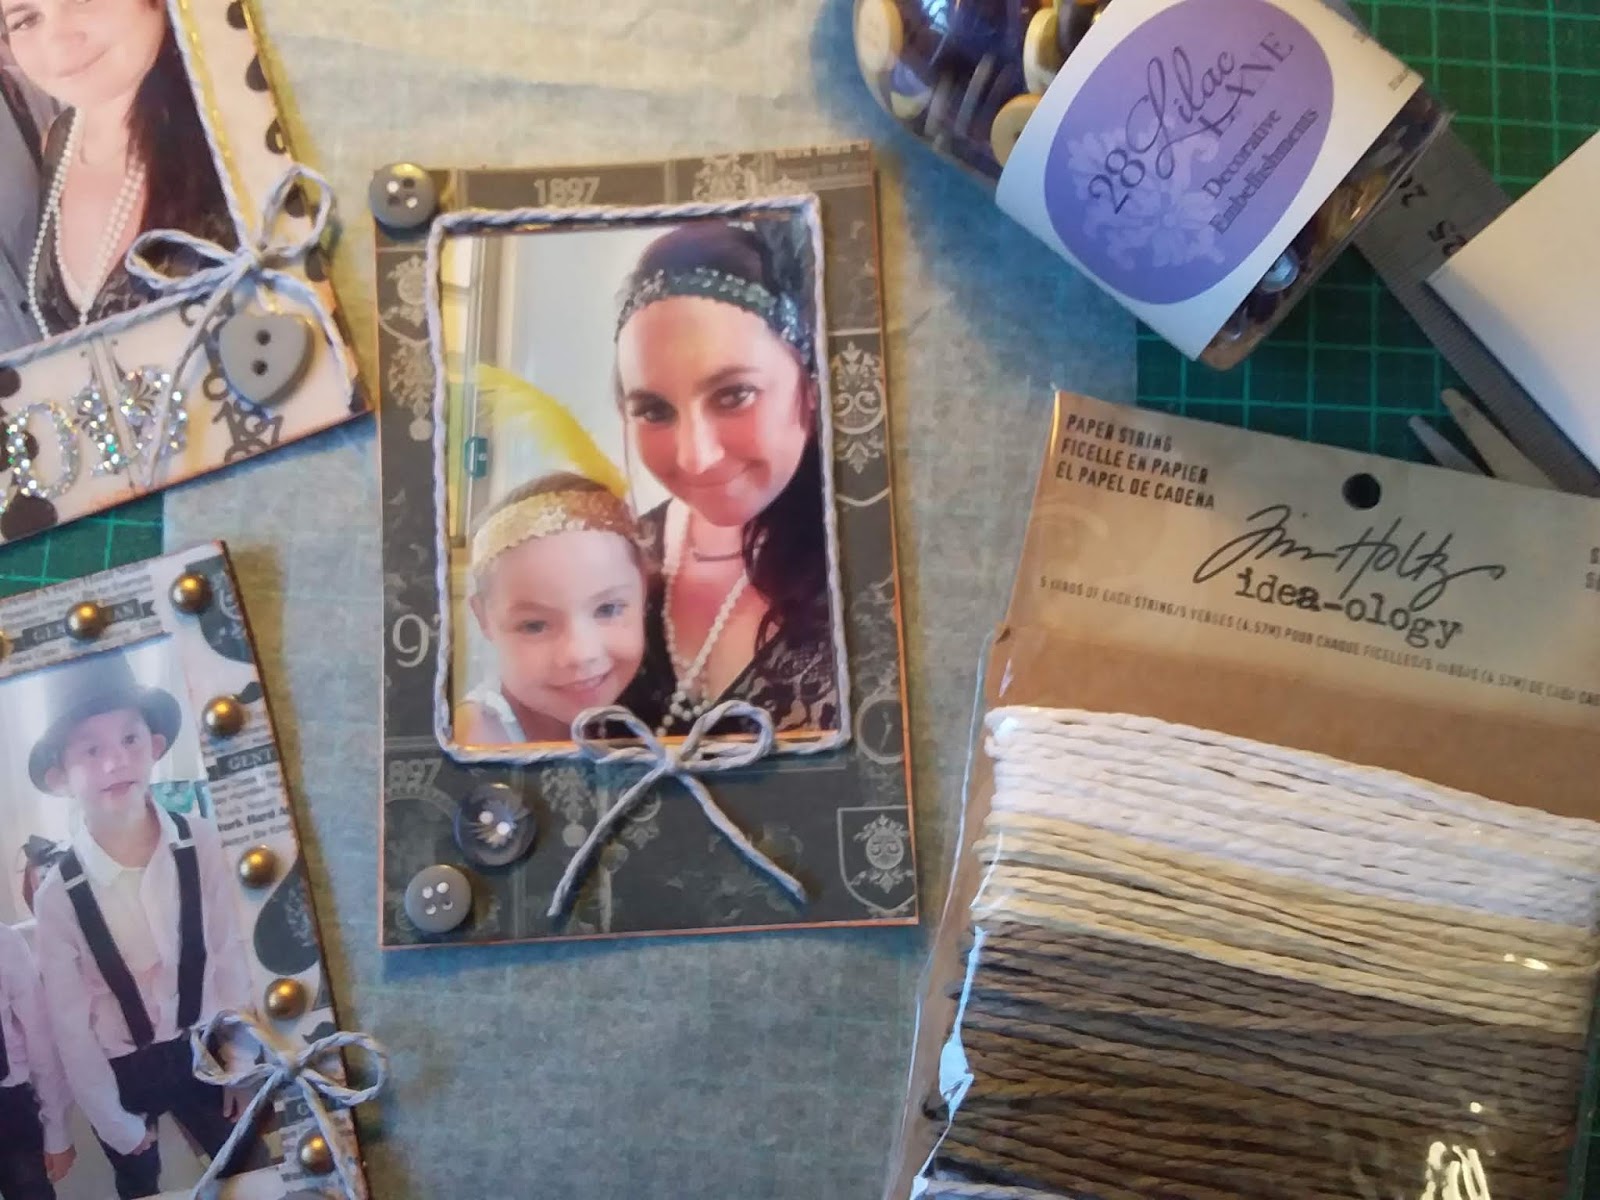
I embellished the front of my frame with a strand of the Tim Holtz paper string. Which I might add, is great to use. I found it very flexible with a soft feel to it. I placed this as a border around the inside edge of my frame. I added a bow and also glued on a few buttons from the 28 Lavender Lane embellishment bottle. I then gave each of my frames a coat of the Mod Podge Dimensional Magic, mainly to protect the paper frame and then left them overnight to dry.

I also used the Rusty Brown Stazon in to edge around the frames and I also hand wrote a few sayings on some labels (from my own supplies).
When the Dimensional Magic was dry, I then placed some wet glue on the back of my framed picture and adhered it to my sheet of magnet...ready to be placed front and center on a fridge.

I absolutely love the way my magnetic photo frames turned out and I thoroughly enjoyed making them for my son-in-law for Fathers' Day. I think I may find it hard parting with them...heehee...but I still have some magnet strip left and that gorgrous Gentlemans' Emporium paper collection, so I know I can make a few more for myself, to put on my fridge.


I hope you enjoyed this fun tutorial.

If you like, you can watch the full tutorial in the video below.
You all have a good day!
Wendy xox
You all have a good day!
Wendy xox
Love these Wendy xox
ReplyDeleteBrilliant, I reckon the kids would love these x
ReplyDelete