Showing posts with label For the LOLs. Show all posts

Thursday, July 27, 2017

Lolly's Book of LOLs

Hello Crafty Friends!

I'm so happy that the postal service finally got Lolly's kit delivered. We couldn't have a month of LOL-ing without LOL-LY!!
Check out Lolly's fabulous Book of LOLs... it's so much fun!!


Well, I tend to make a lot of book-type crafts.  It's an addiction.  I just kept thinking that this paper collection needs to be made into a "Book of LOLs,"  and as I started crafting with it, I became more convinced that this was needed!   :)  

I made a 4" by 6" book with the holes punched on the short side.  I went with two loose rings so that pages (or photos) could be added at a later date.  After all, whenever something else is fun or funny, it needs to go in the Book of LOLs.  Here are a few of the pages in my book, and I hope they bring some happiness and LOL to you, too!

The cover is made from the distress oxide in the kit -- fossilized amber.  This is my first time playing with the oxides, and I loved it.   I didn't do anything too difficult -- I just rubbed the oxide pad across the left side of the watercolor paper, then misted it with water and let the ink drip down to the other side.  Then I stamped on the right side with the Bo Bunny stamps in the kit, and I colored it in with the oxide as well.


I liked the roll of bathroom tissue, so I cut it up and used it in one of the photo frames.  Let's keep going -- I'm on a roll!


I loved the cut aparts in this kit.  Some are 4X6, which is perfect, but some are smaller, so I left one set of three attached and just made a pop-out of them.


Now, we can't have a fun book without a SHAKER!  :)   Shakers make me happy, so here we go!


I really like pockets, and this one needed some stitching and zig zag on it!


I knew that I just had to transform one of the emoji poops, so I trimmed the bottom of the poop and made it look more like it could be frosting on a cupcake.   I hand cut the "sprinkles" and made the cupcake paper -- I show how in the video!


Okay, I KNOW you are laughing at that one, but I solemnly testify that this poop emoji has been transformed into an upstanding citizen now!


I love this double pocket card and the fold-out cards in them.  Having food stickers on the card pocket is a bonus!

T
his washi is the best I've ever used for making fold-outs.  It actually holds it together!


There are more pages in this book, and you can see the whole book and the interactions in the pages HERE. Check it out to see the acetate window and the RAG CURLS on my emoji head!

Thank you for joining me in my FUN journey with this bright and silly (silly is GOOD) kit!  I think you'll like it!

Check out the kit on Vera's website HERE.

Thank you for stopping by!
Lolly
http://www.LollyPalooza.net

Monday, July 24, 2017

For the LOL's - Suzanne's Small Traveler's Notebook / Journal

Hello Crafty Friends!
We have a fun week ahaed with lots of OMG projects from our fabulous Creative Team.
Today Suzanne focuses on that super cute Emoji Love paper collection from Simple Stories to create  a fabulous laminated Traveler's Notebook / Journal.
Enjoy!


Using the July kit from Aunty Vera Scrap and Craft has been lots of fun and for this project I decided to make a small travelers notebook/journal.  I had a small 2017 Diary that I found at a local discount store and decided I would use it as a guide for the size of the notebook/journals. 

small diary from discount store

The small diary measures 3 1/2 inches wide by 6 1/4 inches high.

I chose some of the paper from the Emoji Love collection to make a cover for the traveler's notebook/journal and cut it about 1/2 inch taller and 1 1/4 inches wider than the small diary cover.  I then laminated this piece of paper.

the paper I chose to laminate for the cover

the laminated cover trimmed closely to the edge of the paper
 I then scored the paper at 3 3/4, 4 1/2,  so that the cover has a 3/4 inch spine
the cover of the notebook/journal

I used a small punch to make the holes required in the cover
 I punched the holes 1/4 inch from the top and bottom of the cover and 1/4 inch apart from each other
three holes 1/4 inch apart both top and bottom and one hole in the middle of the spine
 I then threaded the cover with elastic.  To do this I start on the outside and choose one of the top holes to start threading and go through the back first and then go down to the bottom, then across the outside to the next hole, push in to the inside and then up to the top, then across to the next hole and down to the bottom.  Now take the elastic back to the middle hole and push it through to the inside and make sure you have enough elastic to reach the centre of the cover.  The top piece of elastic should also go across to the centre hole and though to the inside of the cover and meet the other end in the centre of the cover.  Make sure the elastic is tight enough to hold your inserts but not that tight that it pulls your cover inwards.  This gives you four strands of elastic on the inside of the journal, so that four inserts can be added.

I also used another piece of elastic for the centre hole to use as the closure.  You just need a piece of elastic long enough to go around the journal to hold it closed.  Push both ends of the elastic to the inside of the cover and check that it can stretch over the journal and form a firm closure.

the outside of the cover should look like this
Next, I  made three little booklets for the inside of the cover.  I cut the papers the same size as the small diary.  Each book consists of one cover from the emoji love decorative paper from the July kit and also 10 pieces of copy paper, to give it 20 pages plus the front and back cover.

one of the covers

ten pieces of copy paper cut to the correct size and folded in half

the cover and pages ready to be sewn together
 Before sewing the pages into the cover I used my  Tim Holtz ruler to find the centre and then 2 inches each side.  I mark these spots with a pencil


marked centre and 2 inches each side

I use a large needle to push through the papers ready to start sewing them together

I use a small needle and some overlocker thread and start in the centre hole

Go through to the back and up to the top of the booklet and back into the inside

Now go down to the bottom hole and through to the back

now back to the centre making sure that the thread is on the other side of the centre string.  Your loose thread should be on one side of the thread and the end your working with should be on the other side so that you can tie a knot on top of the centre thread.

tie a knot several times to secure the booklet

 Here I have added each small booklet to the inside of the cover
diary

insert 1

insert 2

insert 3

the three inserts that I made
 Here is the finished project.  I added some beads and charms  and a bow to the closure.  I have also used some of the cute emoji paper clips on each booklet.  And of course, I also added a flower to the cover with some E6000.


I hope you enjoyed this project.

You can see a tutorial of how I made this cover and booklet HERE.
You can get the July kit from Aunty Vera Scrap and Craft HERE.

Thursday, July 20, 2017

For the LOLs - Lolly Isn't Forgotten!

Hello Crafty Friends!
Have you been missing Lolly? This month has been full of postal debacles.... I can almost hear those awful postal services people LOLing...... but nothing as little as NO KIT was going to stop Lolly's fun! 


Yes, we have had a rare, unheard-of postal dilemma here.  My July Design Team kit got mishandled by the postal service somehow, and even the requisite chocolate bar did not do the trick to ransom this kit.  BUT!  All is not lost!  With a name like LOLLY, I have to participate in LOLs, right?  Am I right?  You betcha!

I saw that one of the fun things in the June kit is a set of emoji dies, so when I found that set in the store, I snatched it up so I could play along, too.  We are not defeated -- we are still Laughing Out Loud in July!

I wanted to make some bottlecap embellishments with my emojis, so I die cut them and assembled several.


I realized that the emoji are slightly smaller than what I need for bottle caps, so I mounted each one on a one inch circle of white card stock:


Then I decided to use Ice Resin, a two part epoxy resin that I haven't had time to play with. I've used another resin in the past, but it yellowed over time, and the Ice Resin is not supposed to yellow. SCORE!

However, I forgot a mistake I've made in the past -- when coating paper with any liquid that has a long drying time, I should seal that paper first!  And since I like to repeat my mistakes before I truly learn my lesson, I poured the Ice Resin over the paper emojis right away.  Sure enough, the Ice Resin soaked through the poor emojis.  They definitely were NOT laughing out loud.

For my next set, I sealed all the emojis with two coats of Mod Podge, let them dry well, and THEN I poured in the Ice Resin.  You can see the difference between the ones on the left and the ones on the right!  These are made with the exact same papers, so you can see the difference in color and clarity between the sets.


My favorite emoji is the one with the sunglasses, and you can see I played with different colors here.  How cool is that?


Since I love the sunglasses so much, I made a SHAKER (yes, I adore shakers!)  with an eyeglass shaker set I found on clearance somewhere, long ago, in a galaxy far, far away . .
.

And that eyeglass shaker is so COOL that I thought I'd share this with you, just for the LOLs:


Can ya top that?  :)
Thanks for stopping by and having fun with me today!  Make sure you stop by Aunty Vera's website and pick up some emoji fun HERE.

UPDATE:  It seems that the postal service was just waiting for me to get crafting before they released my kit!  It arrived once I wrote this blog! HERE is my Box Opening Video (yes, it's JULY kit, not June, in spite of what I state in the video)

~Lolly
http://www.LollyPalooza.net


Friday, July 14, 2017

For the LOLs - Suzanne's Loaded Pocket

Hello Crafty Friends!

TGIF!!!!!
Let's head into the weekend with a fun project from Suzanne using our July Kit - For the LOLs.....


Hi everyone.  The July Kit from Aunty Vera Scrap and Craft is so much fun and I really had a hard time deciding what to make because I had so many ideas pop into my head.  I decided to make a Loaded Pocket in the end because you can add so many fun elements to one of these creations.

 I followed a wonderful tutorial from Bona (LiveLoveScrap) on YouTube (Stand Up Loaded Bag Flip) for this project and she does an amazing job.  Take a look at her tutorial and you will see how easy it is to make one of these fun papercraft items. 
You can see Bonas (LiveLoveScrap) Stand Up Loaded Bag Flip video HERE.

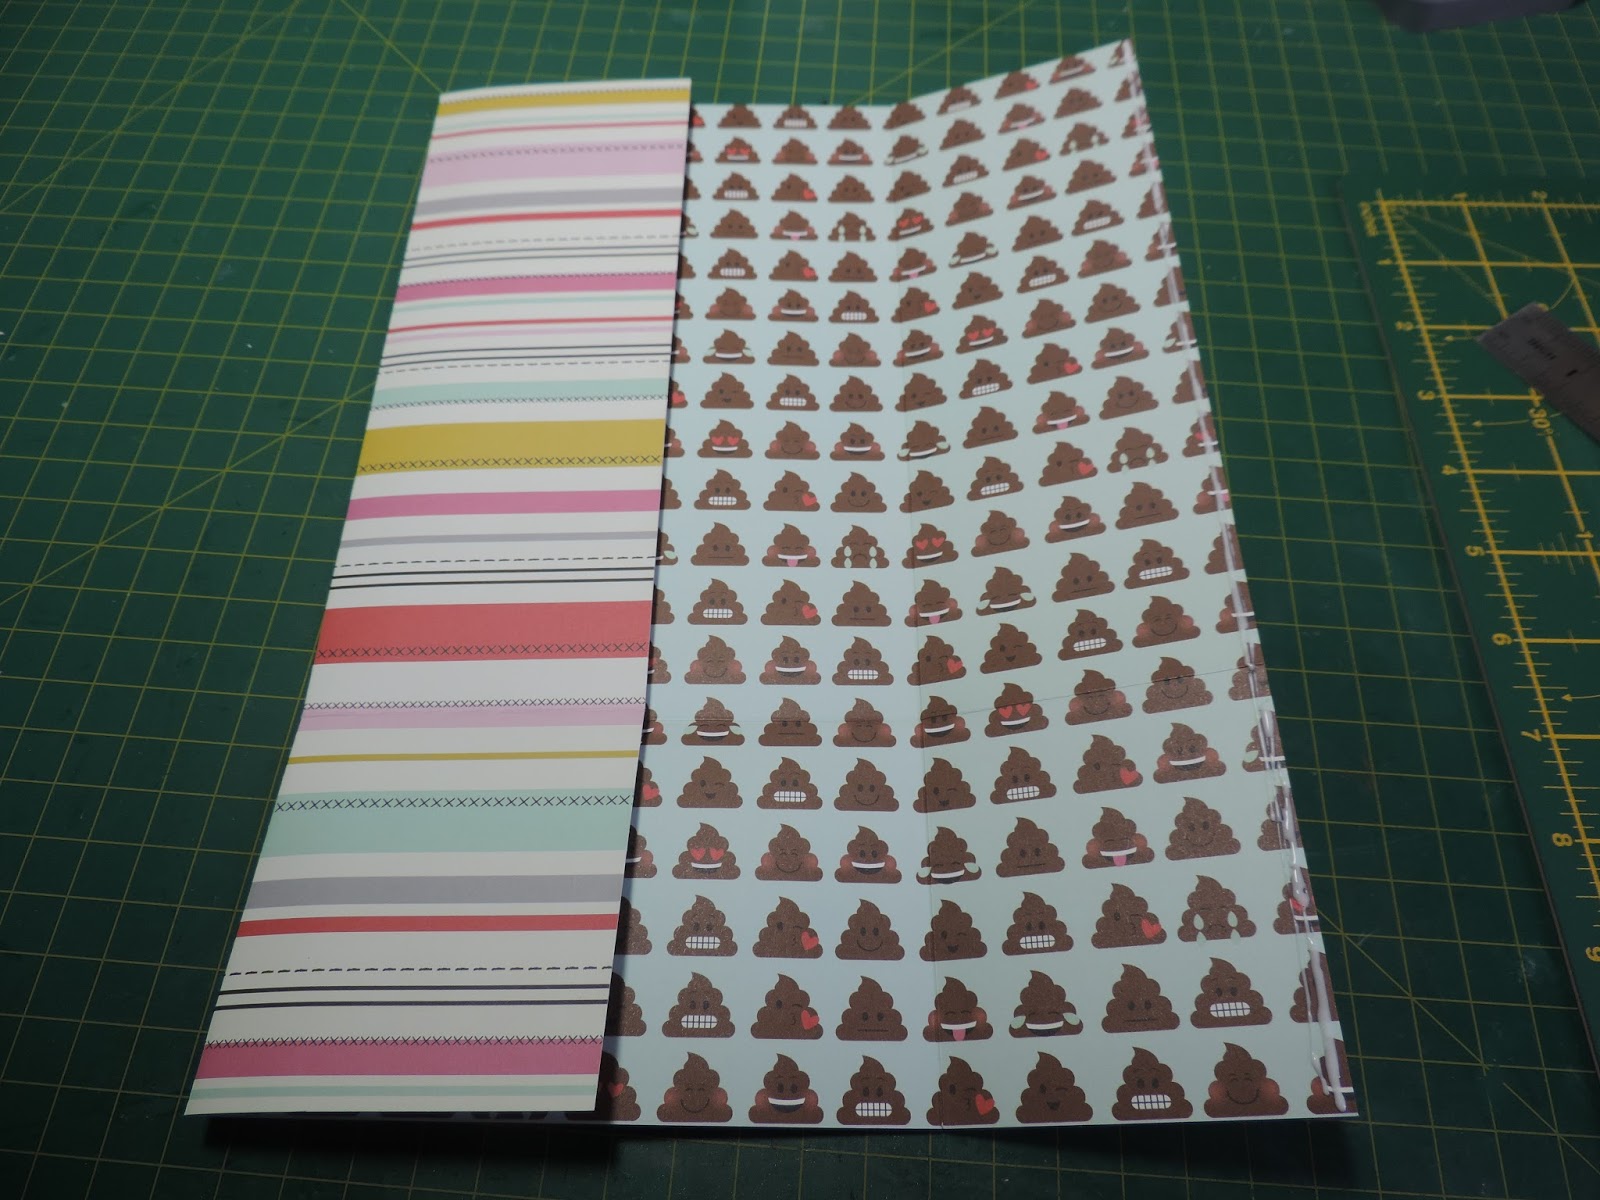
You need a piece of 12 x 12 double sided paper to start the project and I chose the one with the lovely stripes and faux stitching as the base of my loaded pocket.  It is very difficult to describe in words how to make a loaded pocket, but here are a few pictures that will give you an idea of how easy it really is.

Here are the things from the July kit that I used.  The 12 x 12 decorative paper, pebbles tag frames, emoji paper clips, sequin ribbon and the emoji dies. 


I used this die from my stash also.
the 12 x 12 paper I chose as the base of my loaded pocket
score at 3 1/4 and 9 turn left 90deg and score at 8 1/2 inches

After you have scored this piece, you can glue the overlap together.  The 3 1/3 inch piece that is at the bottom of the page is folded upwards to form a pocket on the front of the bag.  To form another pocket you need to added a small concertina piece to this before gluing it to the front of the bag.

use two pieces of  2  x 3 1/2  to made a concertina piece for the front pocket.  Score these pieces every 1/2 inch on the 2 inch side (1/2, 1, 1 1/2 inch)
 Glue these small pieces onto the back of the front pocket part that has been folded upwards.  This makes a second pocket for the front.
you can see here that when you fold this over and glue it to the front of the bag you now have two 3 1/2 inch high pockets on the front of the bag

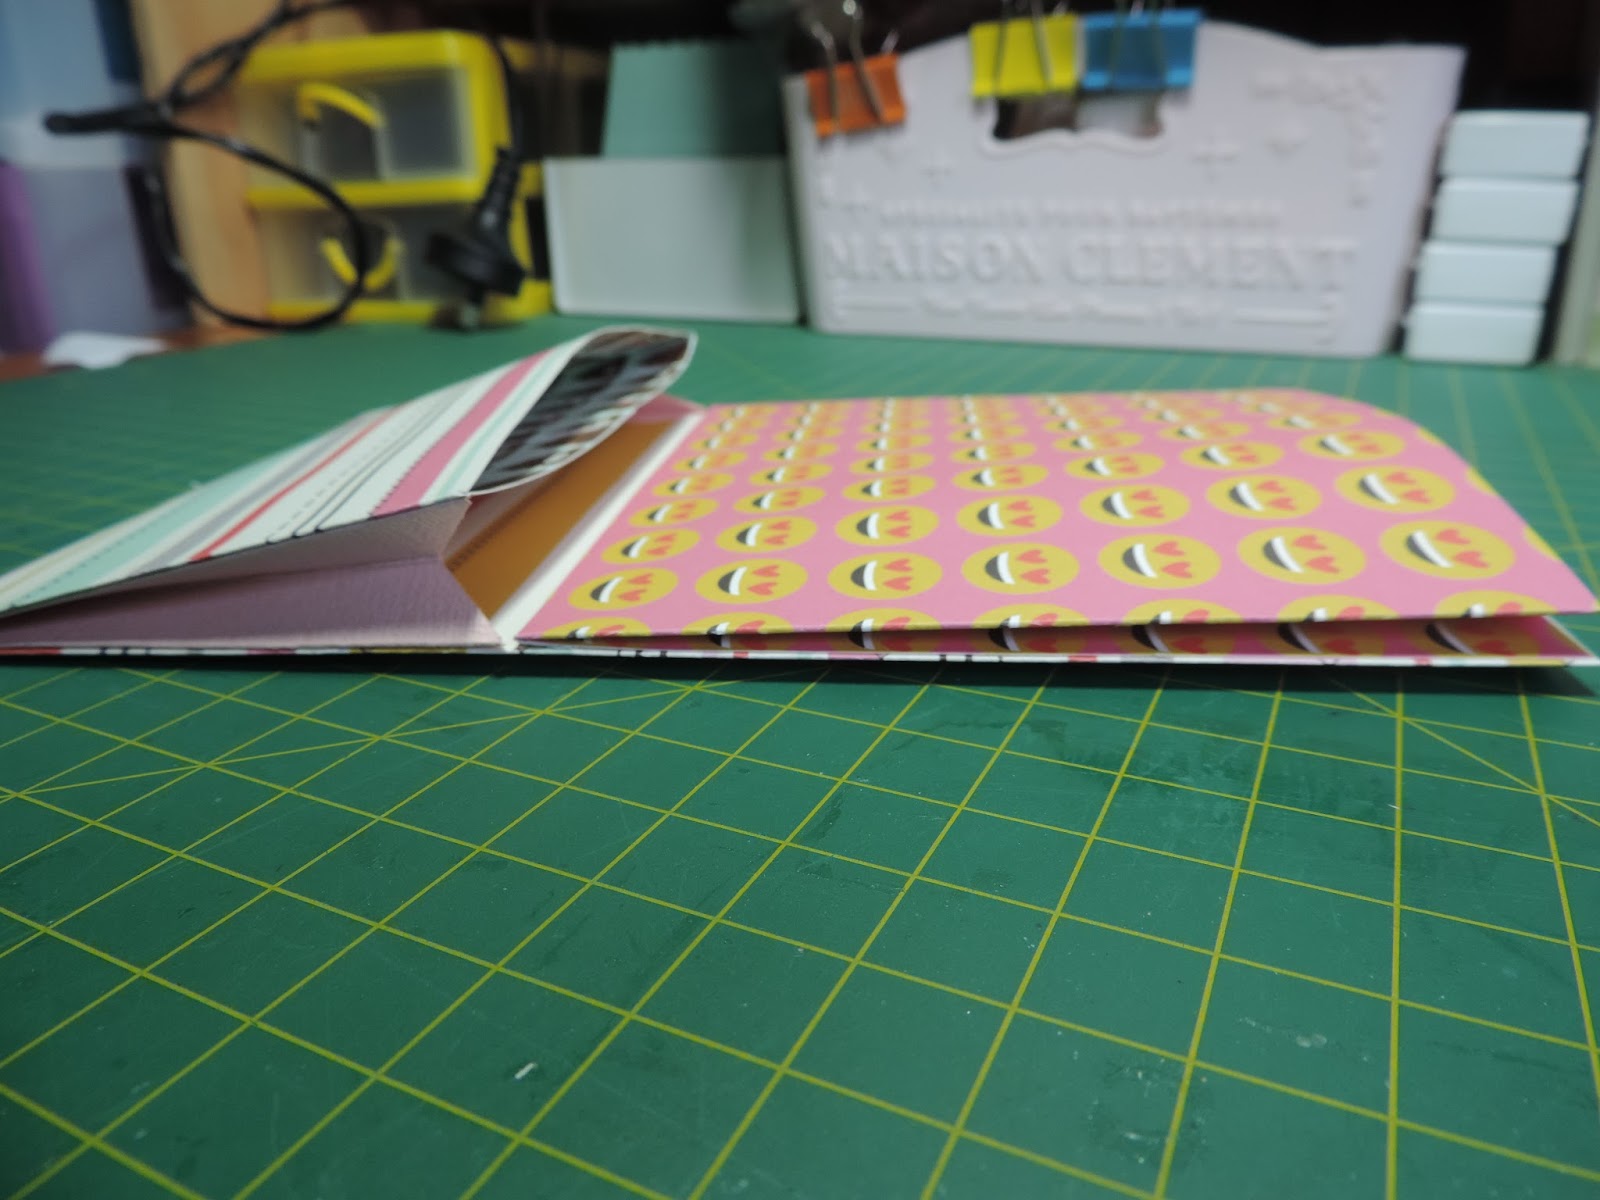
side view of what it will look like when you have added these pieces

Now you have two pockets on the front of the bag
Now you need a piece of paper that measures 7 3/4 x 5 1/2 inches to form another pocket at the top front of the bag.

This piece of paper is 7 3/4  x 5 1/2   and forms another pocket for the top  front of the bag. This piece is scored at 1/2 and 1 inch and then 6 3/4 and 7 1/4 inches then turn left 90 deg and score at 5 inch
Fold on the score lines and glue this piece to the top front of the bag to form another pocket.
I have added the pocket to the front top so that the loaded pocket has four pockets now.
This shows the two pockets from the top.  The back pocket is 8 1/2 x 5 3/4 and the front top pocket measures 5 x 5 3/4

To decorate the front of the loaded pocket, I added a film strip die cut and some emoji faces that I cut out using the emoji dies. I added some sequin ribbon to the front pocket and some of the speech bubbles from the decorative papers.  I also added one of the cute emoji paper clips from the July kit.


For the loaded pocket, I made two small notebooks which I sewed the pages into.  I used some of the 3 x 4 cut-aparts from the July kit for the little notebook covers.

I used two of the 3 x 4 cut-aparts left together to form the booklet covers.

I cover the paper with Craft Smart Glaze which makes the paper very strong and gives it a soft shine
 I used 8 pieces of 5 3/4 x 3 3/4 paper for the inserts.  These are folded in half so that they fit into the 3 x 4 covers.  I have just used a simple 3 hole saddle stitch for the paper inserts.  There are many tutorials on how to do this on Youtube also.

I have sewn the paper into the covers and added little emoji faces to the cotton strings


I also made several small tags from the paper.
This first little tag is made with two dies, one of which makes score lines on one side so that you can make a window that folds up


here you can see the fold up window
the pink tag with hearts is from another die that I have
I made two larger tags for the next pocket

These two tags have been made using the 4 x 6 cut-apart pages.  I have simply added the 'love you' to the black and white striped one.
I then made a card and envelope


I also made a shaker from one of the 4 x 4 cut-aparts.  I used one of the frame dies and cut several frames out of pink paper.  I glued the 4 x 4 paper to a square of pink cardstock in the back of the shaker.

I have added sequins, seed beads and stars to the unicorn shaker


For the back pocket, I used a large tag die and one of the frames from the pebbles collection from the July kit to made a tag that photographs can be added to.  One side of the frame tag is not glued down so that photographs can be added.

Here is the finished product.


I hope you enjoyed having a look at this loaded pocket.

You can see the video of my loaded pocket HERE.

You can get the July kit from Aunty Vera Scrap and Craft HERE.


Related Posts Plugin for WordPress, Blogger...